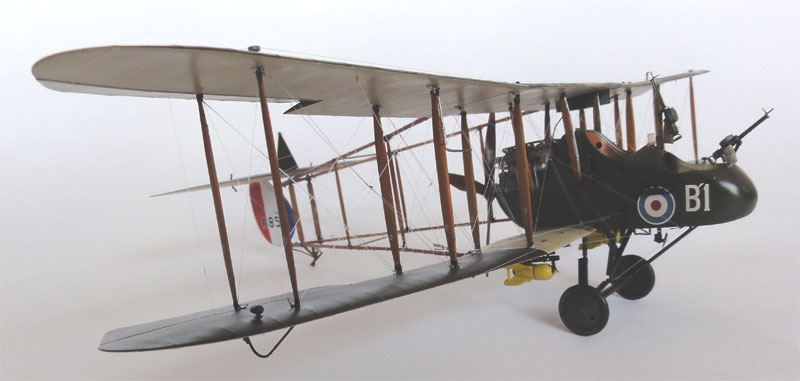
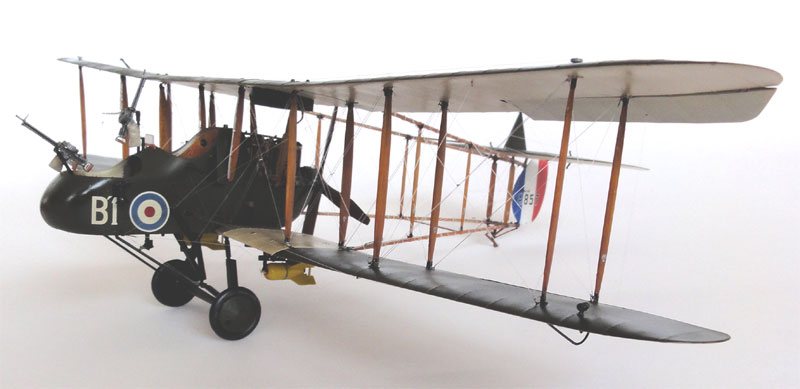
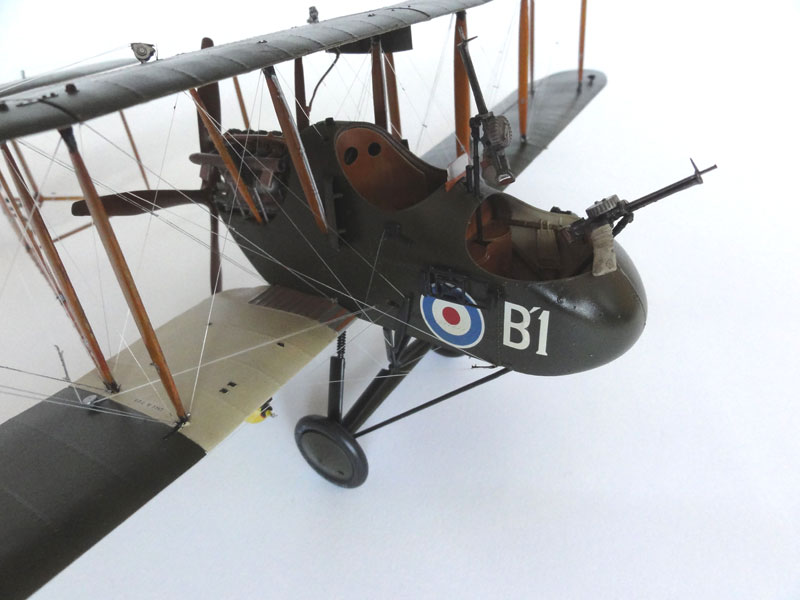
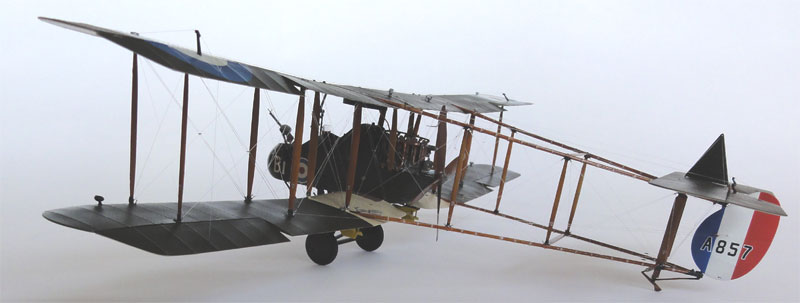
Royal Aircraft Factory FE.2b "Early"
[ page 3 ]
FE.2b "Early" model kit in 1/32 scale of WingNut Wings
Modelling report
series
.. continued from page 2....
![]()
STEP 13
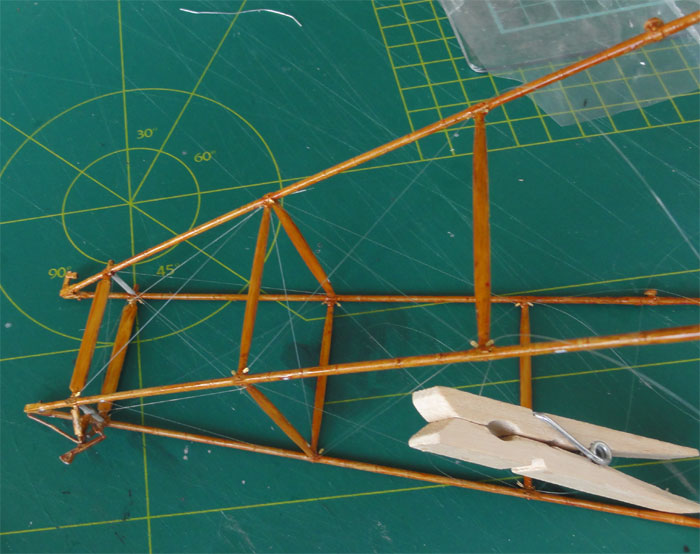
Assemble the tail as one unit first.
Next rig with fishing wire using
similar techniques as above but do not rig the wires that are supposed
to go to the main wing.
Again, wiring takes time.
Than, fit the tailbooms to the wing
trailing edges. The tailbooms are fine and fit accurately but I had to
sand the strut mating lips at the wing joint to get a good fit without
too much pressure.
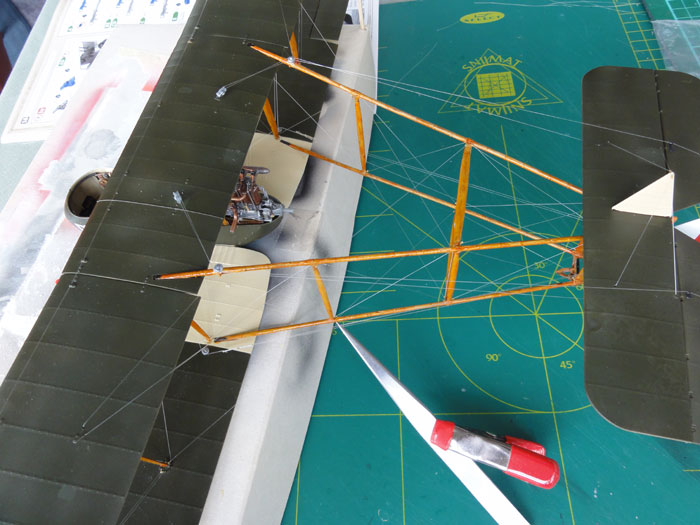
Add the tail wires and the control
cables towards the wing and fuselage now.
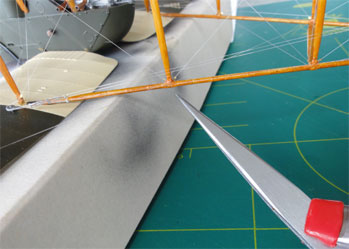
On this particular FE.2b, circular
clothing ?? straps are seen around the tailbooms. Probably these fix on
the plane the real bamboo sections of the booms. These were added made
from decal strips #98 on the decal sheet in light sand colour. See photo
on page 22.
Separate each strap-decal with water.
Fix on one side with superglue and turn around the boom. Fix in place.
A lot of work but rewarding!!
When done, Let dry.
STEP 14
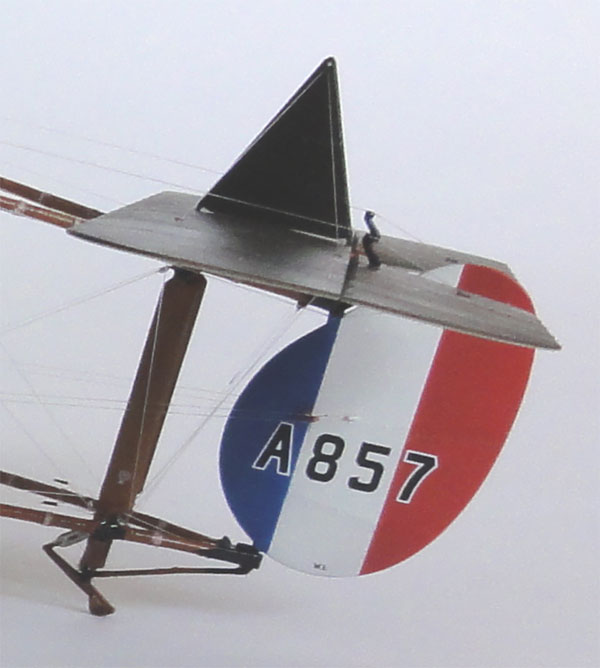
Add the control surfaces. As suggested,
holes were pre-drilled to rig the control cables.
Do not forget etched metal part P3
on top of the fin.
There are holes in the edges of the
parts to add some thin metal wires to make stronger joints.
Some aircraft had "bungees", so are without control return-cables. On the FE.2b of 22 squadron, full length control cables were fitted.
The long control cables to the rudder
use etched metal parts P7, P8, a sort of splitter, see page 26.
Now turn to the skipped assembly of the landing gear....
STEP 6
Assemble as shown, for scheme "E"
no front wheel is present.
STEP 7 and STEP 16
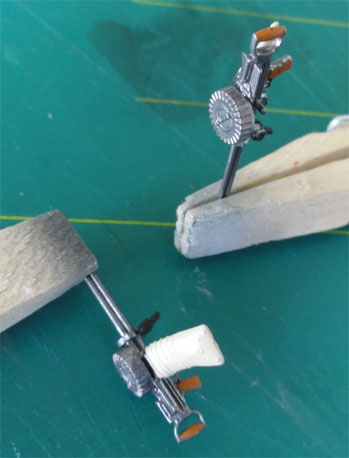
Armament is optional with various
bombs and guns. For the aircraft of 22 squadron a swivelling mount and
rear mount were set for the Lewis gun. A tiny windscreen was also fitted
(C1).
 ......
STEP 15
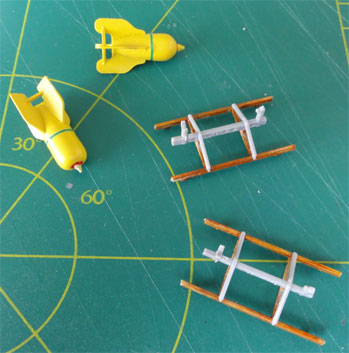
Bomb armament was added, using the
112lb bombs in peculiar colours of yellow! The release wires were added,
again fom fishing wire. Wires run from the bomb racks to the pilot switch
D43/D44/D45. These wires are indicated as blue lines in STEP 15.
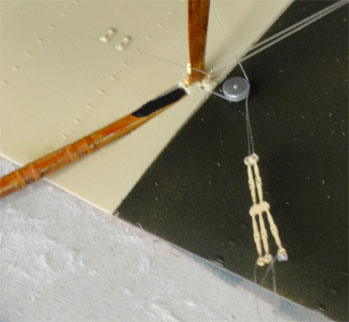
Also the wingtip skids and the control
pulleys were added as seen in STEP 15.
STEP 12
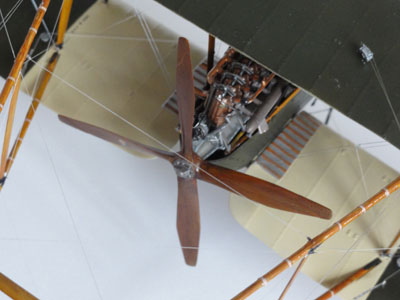
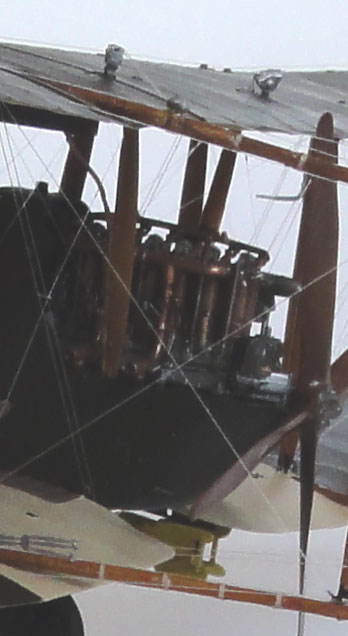
Now fit the propeller. On some propellers,
the metal tip protection was not there, so sand as desired. Paint the propeller
in a wood finish using a similar painting technique as for the wooden struts
above....
 ....
....
Now the assembly was complete. Now,
a final run through was made of the instructions and looking at the model
to see if anything was forgotten.
![]()
Finishing
Some weathering was done. First,
a wash was airbrushed by airbrushing a mix of Johnson Future/Kleer/Pledge
varnish mixed up with some brown acrylic colour. This gives an "oily"
and dirty effect.
The wing tyres were painted coal grey (very dark grey). On the wheels and tailskid, some "grass" from a modelrailway set was applied fixed with some varnish.
On the tip of the wingstrut pitottube (part strut D14), a piece of a metal needle was fitted to suggest metal. The airpipe was painted metal as well.
... and that completed this model!
The result....
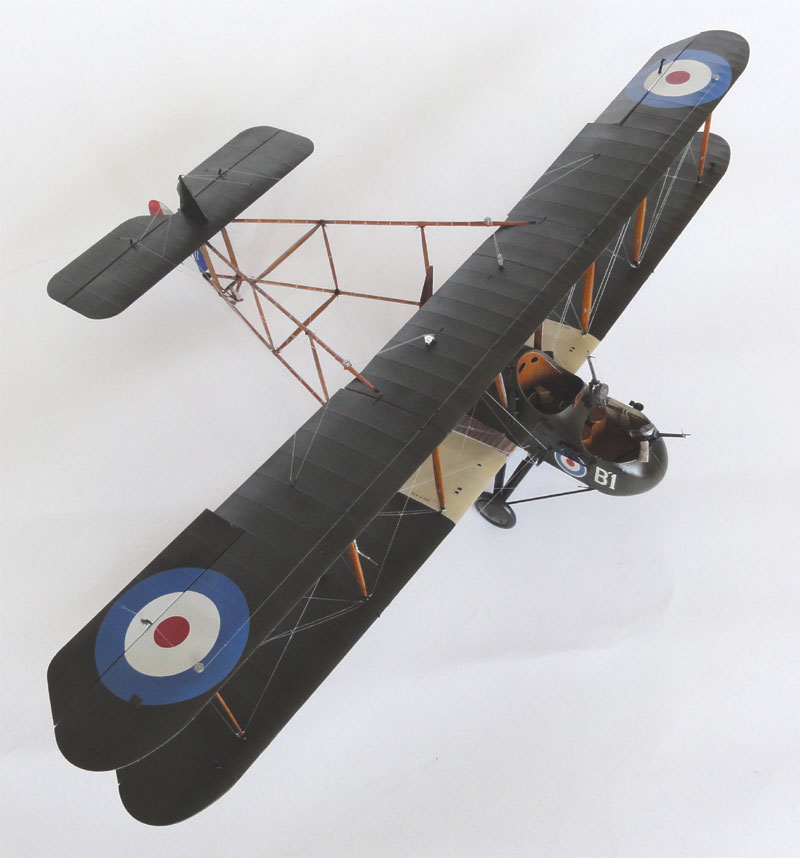
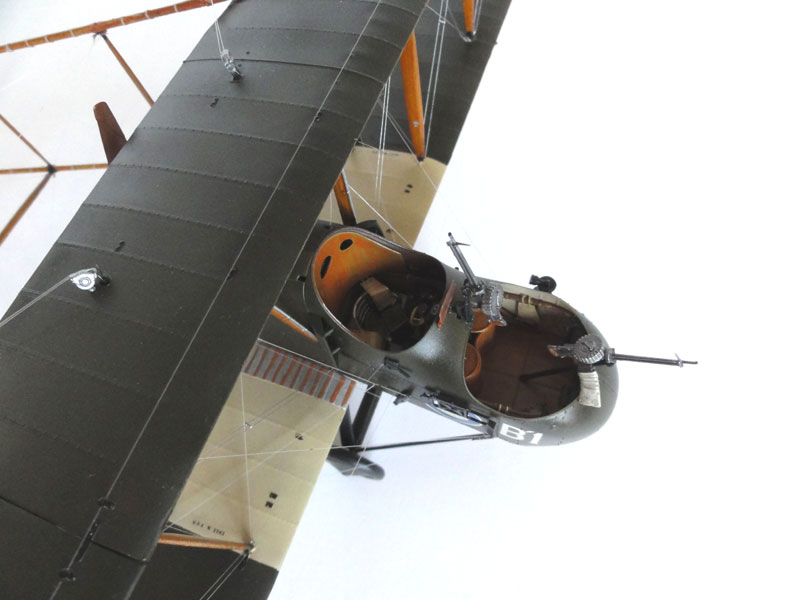
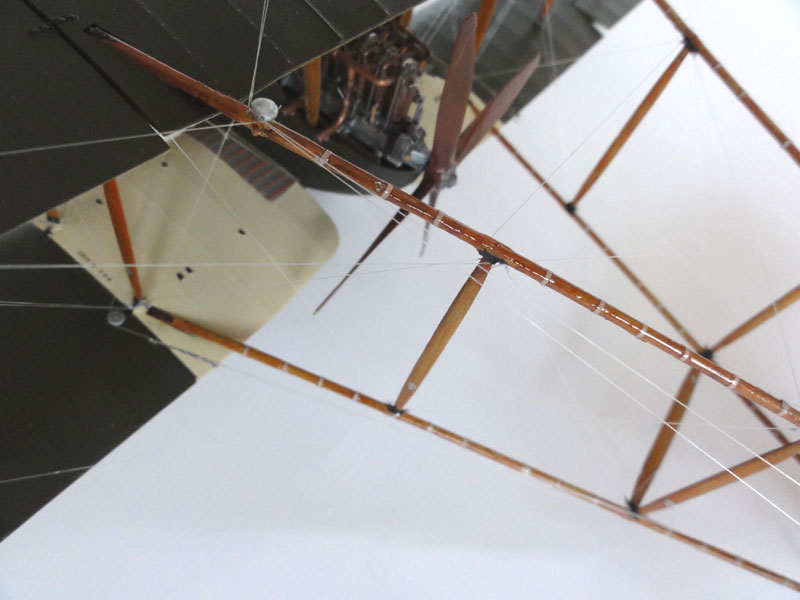
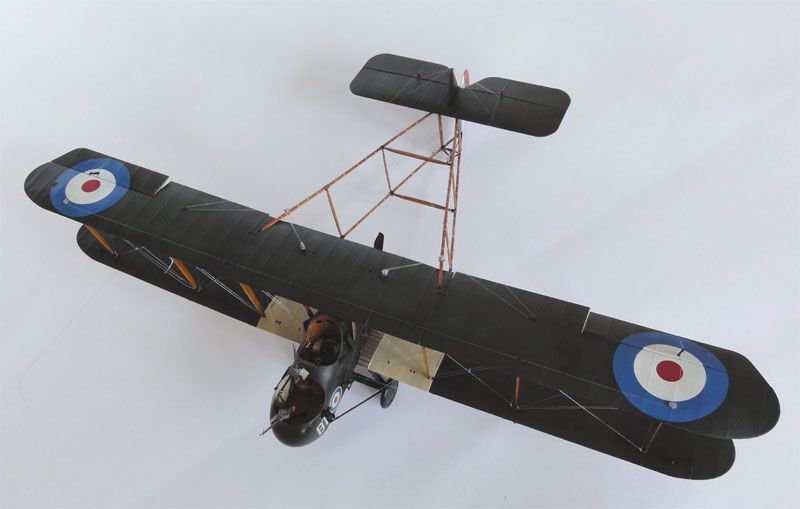
FE.2b , A857, code B1 of the Royal Flying Corps
22 squadron, June 1917
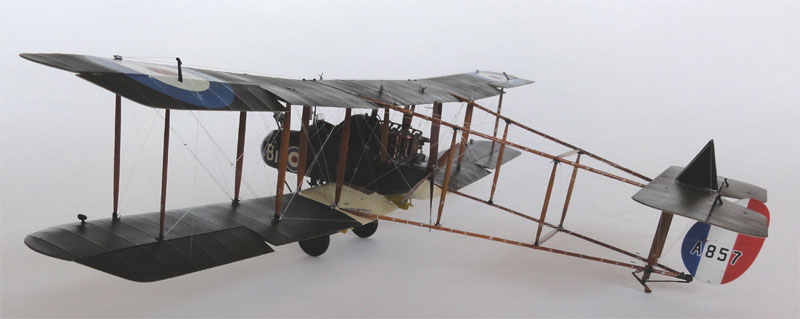
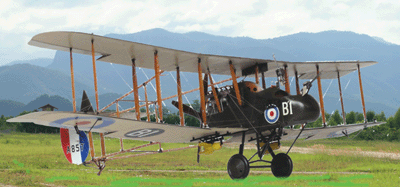
That completed this kit. The FE.2b "early" is a nice addition to the early aviation 1/32 collection. It took a gold medal at the Dutch IPMS NL Euro Scale Modelling 2012 contest.
( This model has also been presented in a written artikel in the Dutch IPMS NL MIP magazine 2013-4 , this with a companion "late" Fe.2b of my friend Peter)
Back to 1/32 scale Models.......

(c) Copyright Meindert "designer"/ All rights reserved. Your comments are welcomed by webmaster
Created this page
Oct 16, 2013
