Lockheed F-104 Starfighter
[page 2]
designer

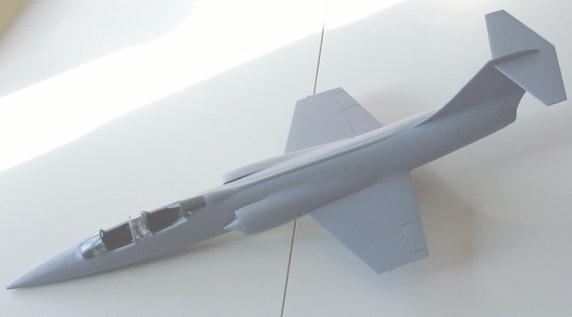
F-104 model in 1/32 scale

... continued from page 1...

Work on the cockpits and details...
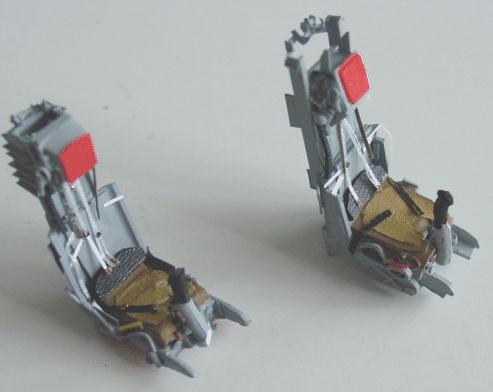
As the Revell kit was to be the TF trainer, two seats had to be made, one entirely from scratch.

And this is the result...

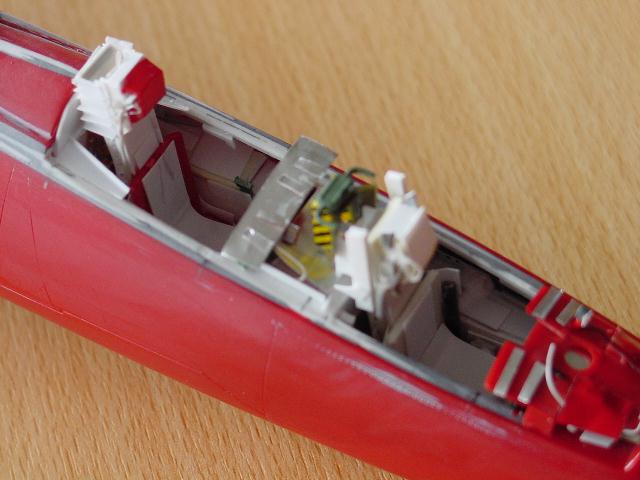
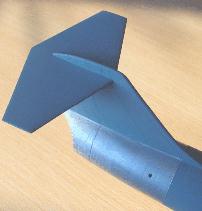
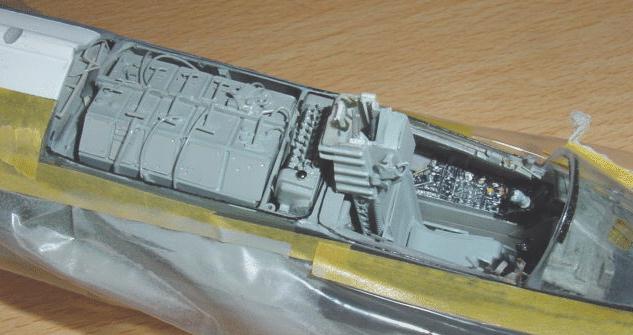
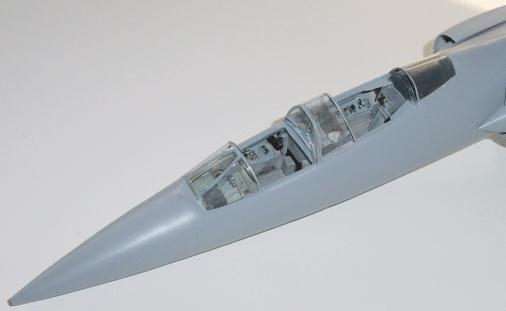
The TF-104G basic cockpit area, with some details already added.

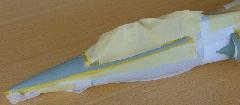
How I tackled the canopies you will see later....
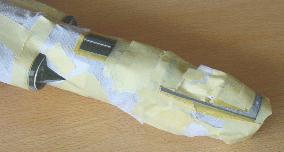
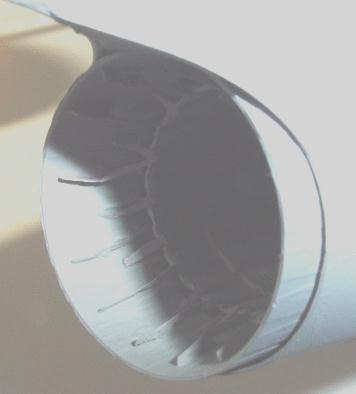
The Hasegawa kit was fitted with a radar, the basic kit parts being improved and details added.

..
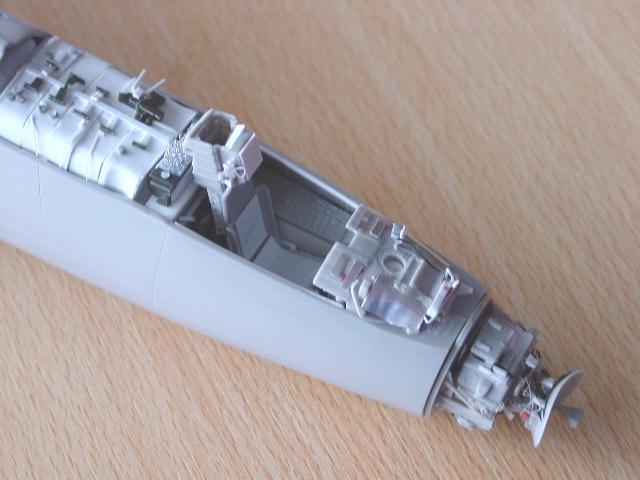
As can be seen here lot of extra work still needs to done. 
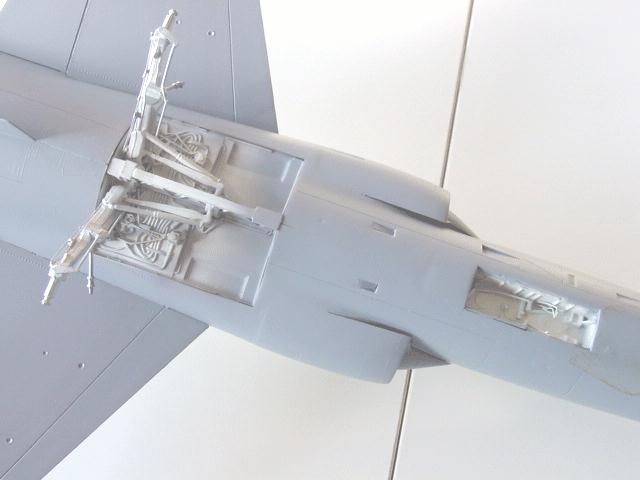
The RF-104G detailed cockpit section, still basic.

Hasegawa

Some details of the instrument panels. 
..
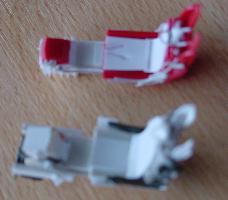
TF-104G rear and front panels

These are detailed with switches etc and the bigger instruments drilled out.

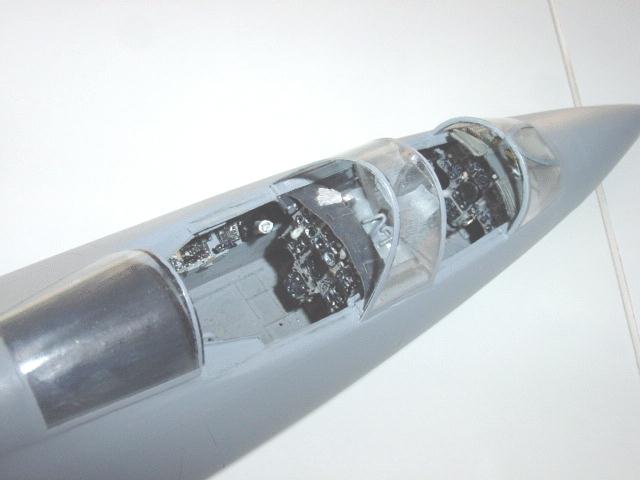
The cockpit with details added to the sidewalls and the canopy locks, needing thick strips to be added on the inside.

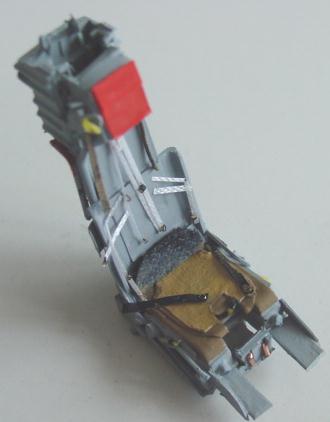
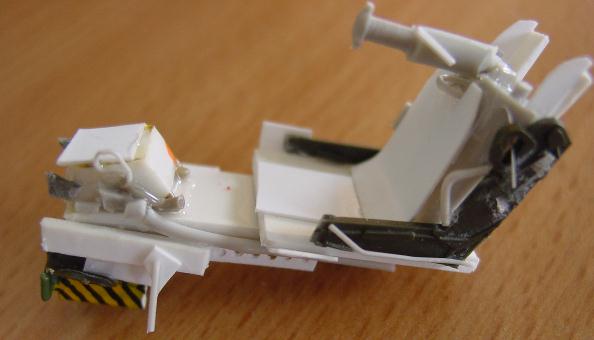
The RF-104 seat with some details added; belts to follow...

para hatch


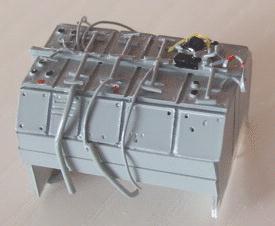
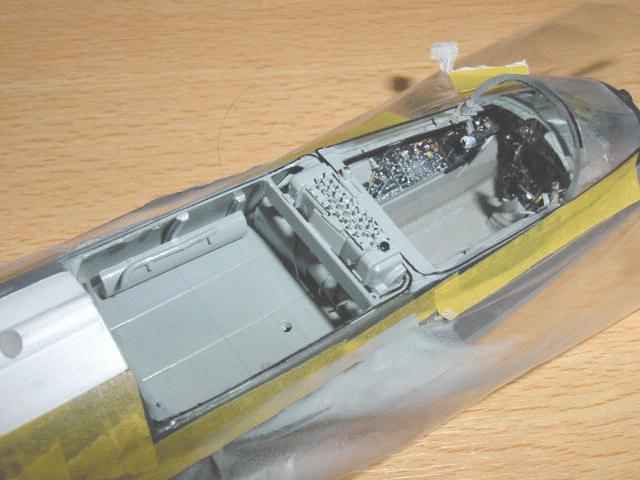
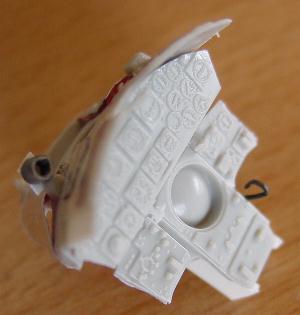
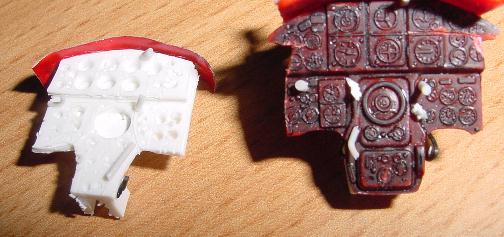
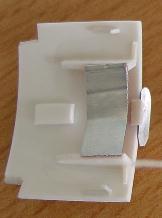
The RF-104G cockpit avionics hatch that will be in the open position.


Canopies of the TF-104G
I simply used a spare canopy that I had: 
a F-4 rear canopy of a Revell 1/32 kit.  The forward canopy of the kit was used with removed aft section.. 

Look at pictures and draw a pattern on tape with straight lines. Now by cutting each canopy with a razor saw you get reasonable resemblance to the TF canopies. When leaving them open, you don't see the difference! 

The forward windshield came from the F-104 kit itself.

The center window and  rear aft window was bended from two pieces of thin acrylic transparant plastic.

This saved me the work to make a mould from balsa wood etcetera and making the canopies myself from heated clear acrylic plastic.


TF-104 cockpit with canopy fixed parts in place, the forward, center and rear windows


 some details on the instrument panels

The models have now received a grey primer coat and canopy work for the fixed parts has been done.

An overall view of the TF-104 trainer in the primer of light grey
 

The RF-104G model has also received its lower coat of grey. Cockpit detailing has been done in areas as seen on the right.... 

The tailcone with some details added from pieces of cut thin metalsheet.
The Starfighters are now to receive their final coats of paint. The RF-104G got its camo scheme of the Dutch RNLAF and the enamel colours used were:
- RAL 7001 light grey: used a basic Humbrol 128, made lighter with some white
- RAL 7012: dark grey, used Humbrol 79
- RAL 6014 green: used mix of 50% Humbrol 163 and 50% Humbrol 116.

Of the mixed paint, make some extra and keep it in a jar for later touching up and finishing.
.
TF-104G has received its "overal" RAL 7001 light grey coat. This last coat was made "to appear lighter" by adding lots of white as looking at pictures the suggested paint was far to dark.

Masking was done of several detail areas, such as the metal aft fuselage of the TF-104 and the anti-glare panels: dark green on the TF and mat black on the RF-104G. Do mask over all areas (with Tamiya masking low tack tape) to prevent overspray damage.

The wing tanks of the Hasegawa kits were also finished, I will add these camo tanks to a kit later one.
 

The Starfighters are now being finished with details, starting with the cockpits.

The TF seats, rear on the left, fwd on the right. The seats were mainly made from scratch with some parts being used of  kit parts. The forward seat has two large launch rails, made of "U"-shaped plastic strips.

The seat straps were made of the cotton material and the cushion of a piece of leather from a belt. The red headrest of of red isolation tape, with several layers. Add with superglue to the rearside to assure future fixing. The brown cushion is painted tape..

Note the "glass breakers" on top, made from thin metal from old etched metal set left overs. 

The RF-104G avionics bay was made with cart and sprue, carefully looking at pictures. I made a first attempt (see previous pictures) but replaced it later on with another scratch built item as I was not satisfied. The end-result is seen below 

The Verlinden book is an excellent reference.


The bay "test fitting" in the model; seat temporarily in place

The RF seat was also mainly scratch built with the same techniques as described on the right for the TF-104.


the still masked area of the RF. Masking is also done to prevent damage while handling the model during detailling.


Go to next F-104  Page 3...

...

Back to 1/32 Models.......

3KB back to home
(c) Copyright "designer"/ All rights reserved. Your comments are welcomed by  webmaster

Created this page April 2001