Williams Brothers

247 Airliner model in 1/72 scale
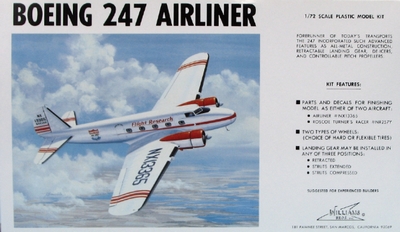
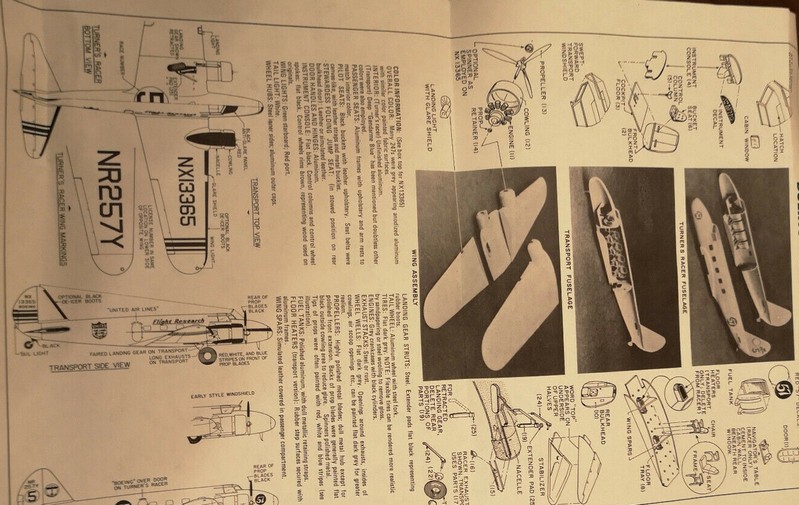
The Williams Brothers kit of this plane in 1/72 (kit no. 72-247) is excellent and the kit itself is special as the style of the parts, the instruction sheet and the box are very traditional.
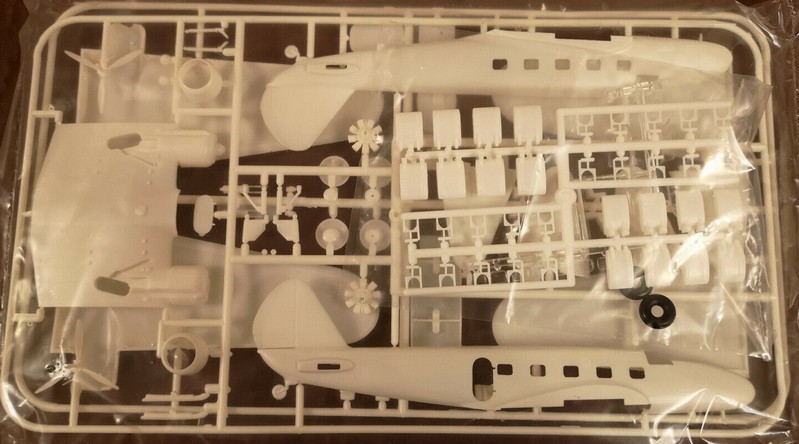
About 50 parts are in this kit in white plastic.
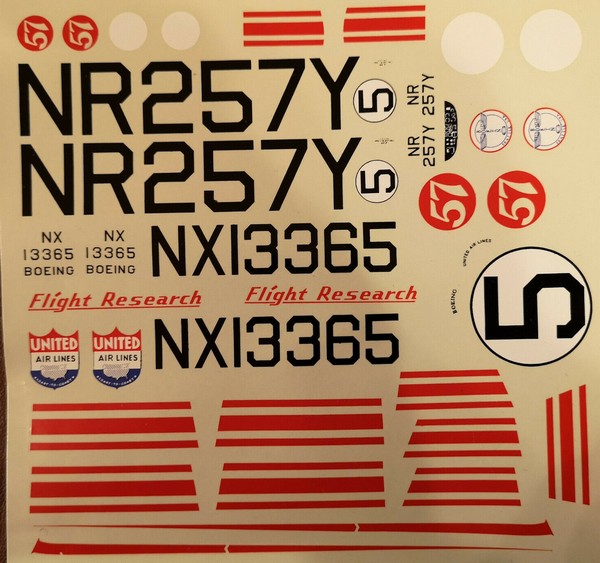
The decals are fine.
Some work here and there is needed to clean them up. But the basics are very good and accurate. You get also some alternatives parts which is fully explained in an excellent hand drawn instruction sheet with full details coming with this kit.
The kit decals
are for a racer plane of Colonel Turner in the Melbourne race of 1934,
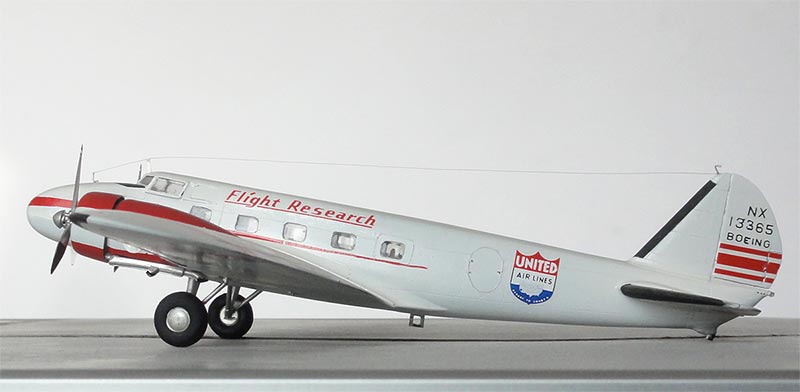
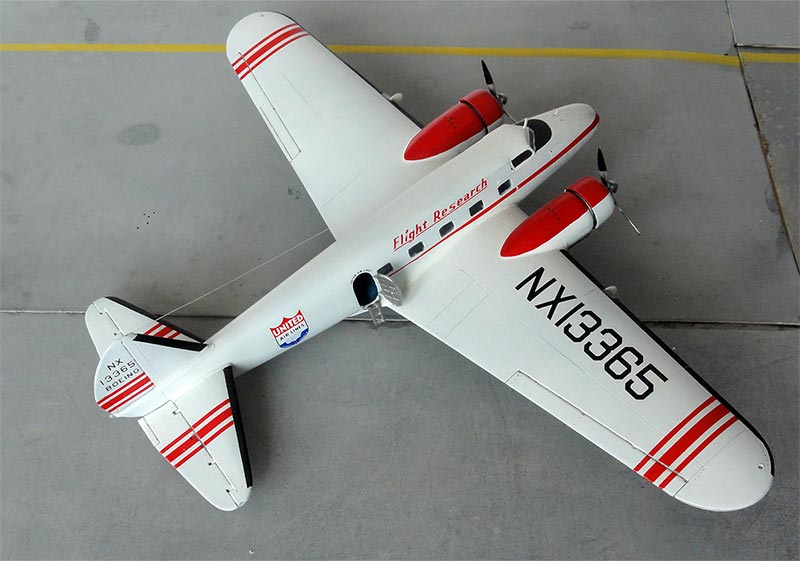
the other scheme is for a United Airlines
flight test plane. The last one was chosen as subject as it is very colour
full.
The fuselage comes with two alternative interiors and you also get two style of windshields, exhaust pipes, rubber and plastic tyres and two styles of gear struts.
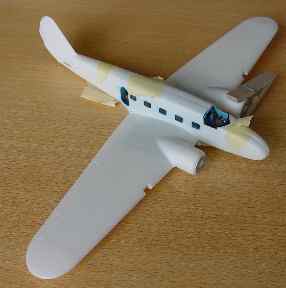
After careful study of the instructions, start with assembly and painting the interior. I then added the windows from inside the fuselage. The fuselage parts were glued together. You will need putty to get the cockpit windshield flush into the fuselage. I had some trouble here as the the right half part of the windshield was damaged, but I managed to get it OK with some Micro Kristal Clear.
The rear tail wheel was cut off, and replaced with a piece of sprue with a separate wheel from the spares box. The wing fits OK, just take care to carefully glue and align it.
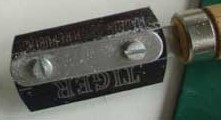
I also used a razor saw to get the gaps in the moving surfaces (ailerons, rudder and elevator) for a more realistic result.
The wing lights
were drilled out and you get in the kit two wing landing lights also but
these two transparent parts need trimming in order to get them flush with
the wing leading edge. The light were covered with Micro Kristal clear
after painting.
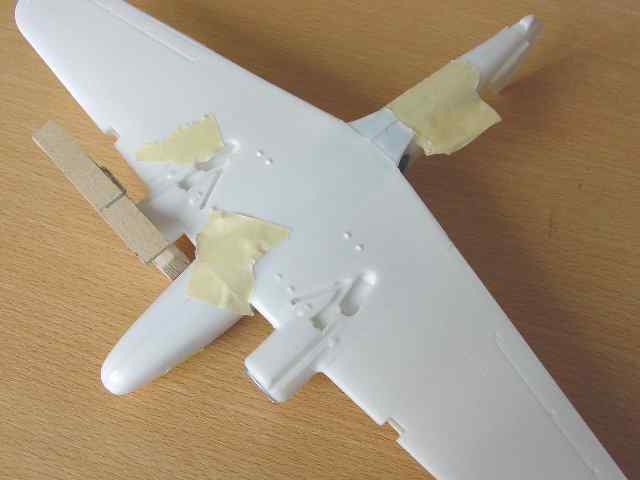
The cowlings
were left off at this stage, the overall parts being assembled to get the
basic plane. After some putty here and there and sanding, I then re-scribed
all panel lines and removed the raised existing ones. Next, the overall
kit was given a light grey primer paint with the airbrush.
After touching up here and there, the paint was polished and several coats of gloss white applied for the chosen United Airlines version. Next, I masked of the black anti-icing boots on the surface leading edges. This takes two hours to prevent over spray, but is worth the effort as you get a very handsome end-result. The boots were sprayed matt black. Next the trimming in red: you get the red striping on decals, but need to paint the red on the cow lings and upper and lower nacelles.
A warning when applying the Bros decals: they break up! So apply a coat of clear Micro Decal Film first before soaking them into water. Still after that, take real care as they are very thin. I lost some decals in the process.... and had to do some hand painting. The stripes as supplied are a bit to long, so trim them. The stripe on the nose I had to paint myself. The large lettering on the wing is very brittle and easily breaks up!
The final details
were now added:
- entry door
into cabin with a ladder made from some sprue
- exhaust and
cowling; I detailed the cylinder engines with some rods and cables form
the spark plugs.
- wire antenna
running from tail to cockpit area made from thin fishing line
set with super glue
- also added
some very tiny rivets with paint and a tooth pick here and there.
The final model
was given a gloss coverage, except on the dull leading edges and tyres.
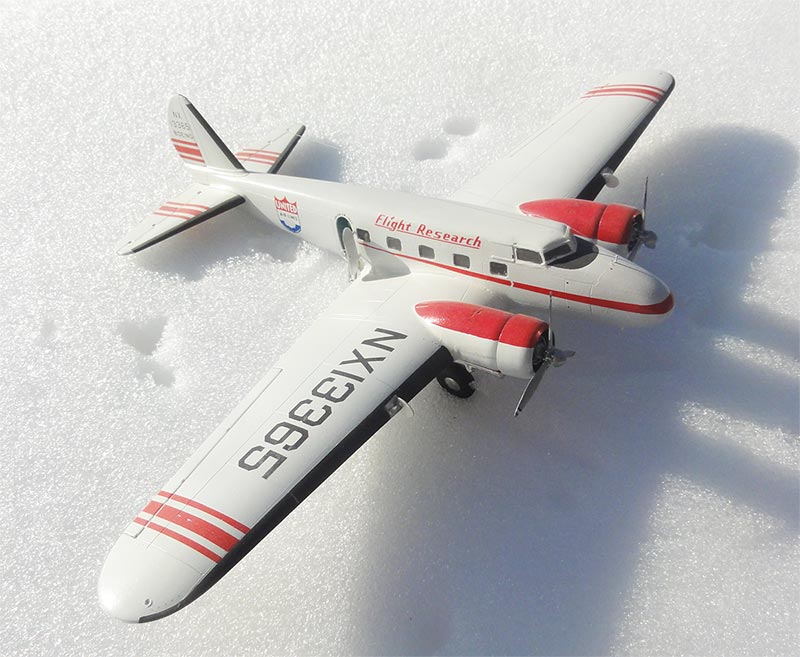
and there she is... a very handsome model of the exciting nineteen thirties!
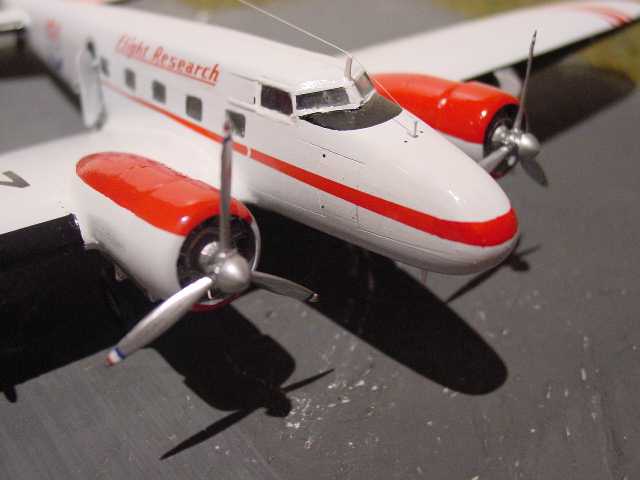
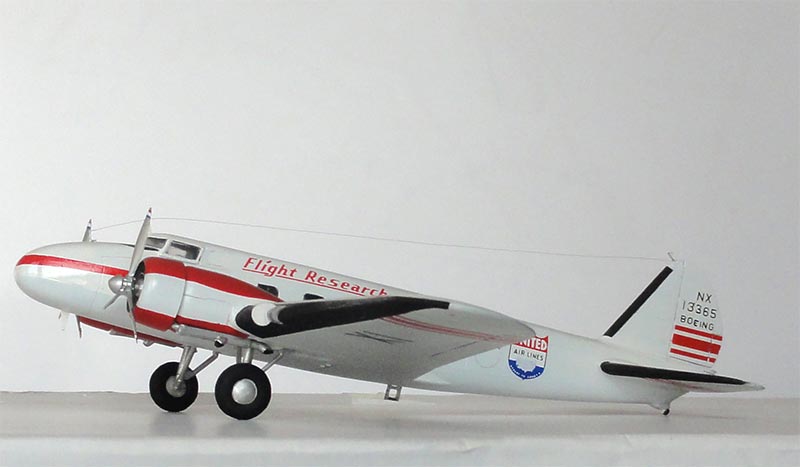
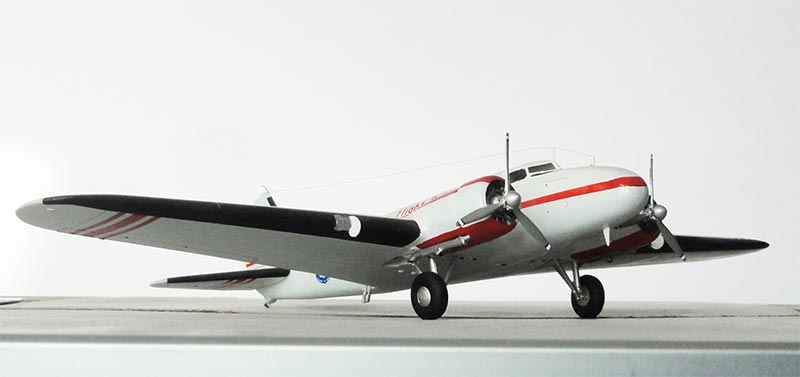
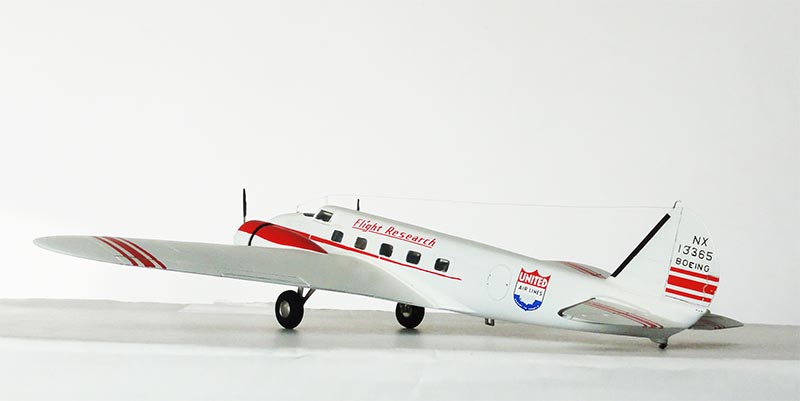
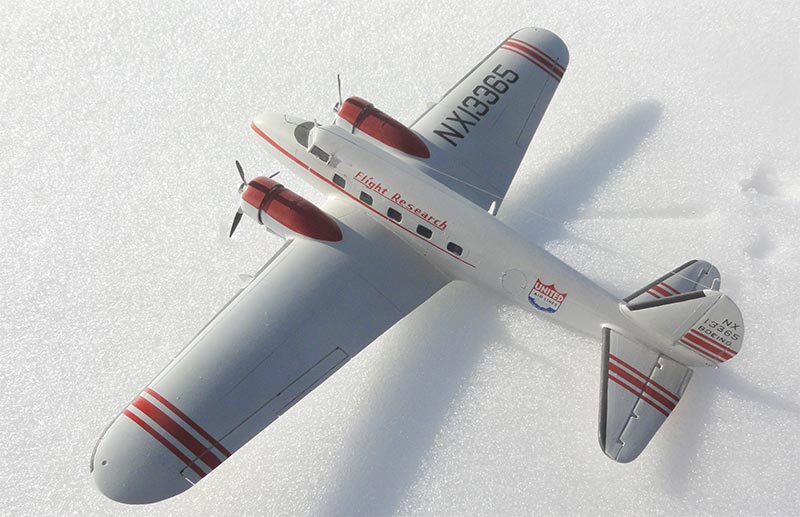 in the Rocky Mountains....
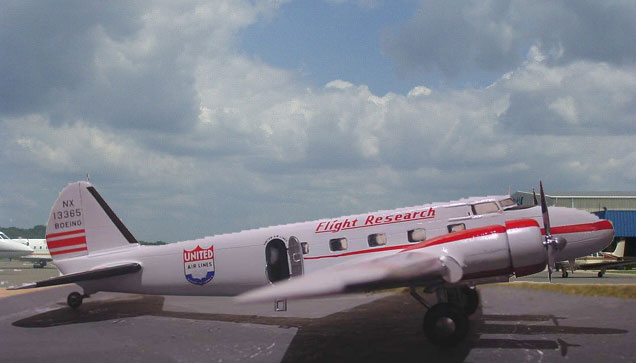

(c) Copyright Meindert "designer"/ All rights reserved. Your comments are welcomed by webmaster
Created this page November 7, 2002
