Amodel
Anaconda in 1/72 scale: kit modelling report of the Amodel kit
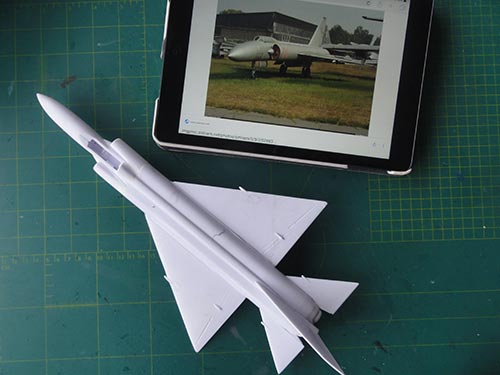
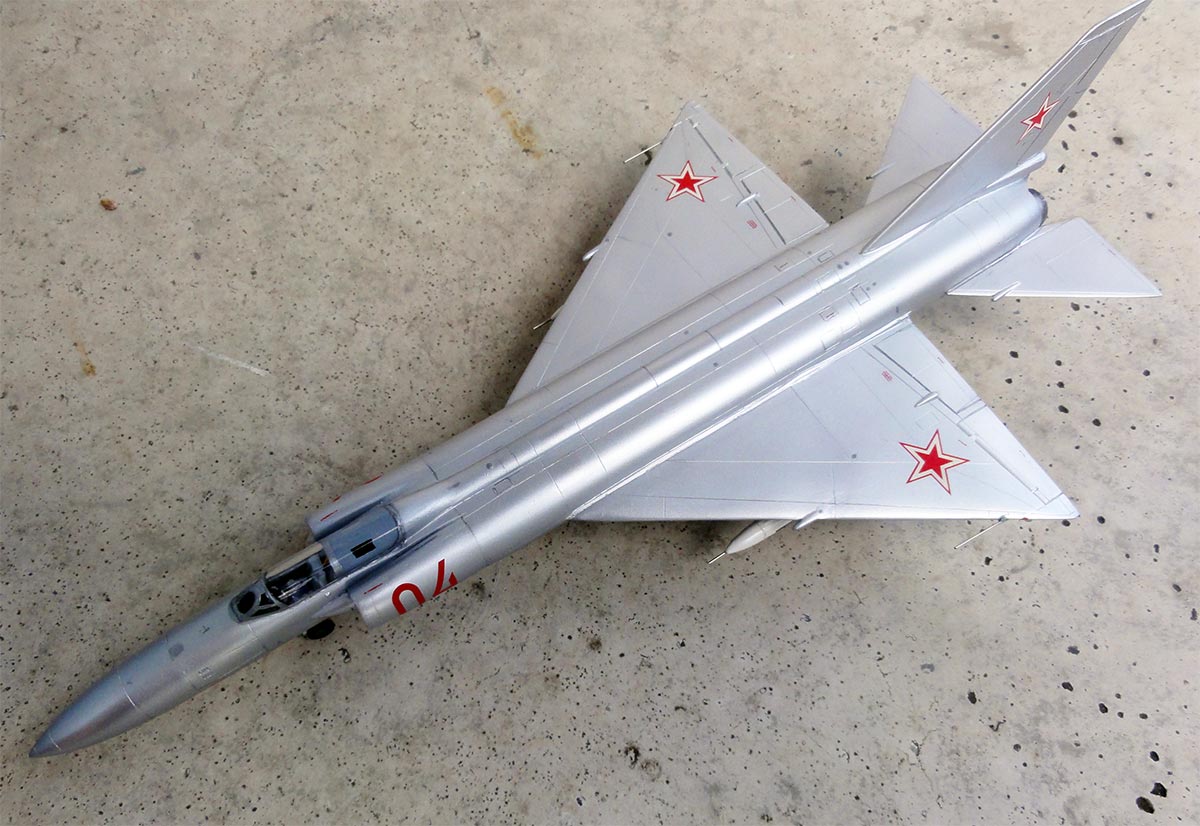
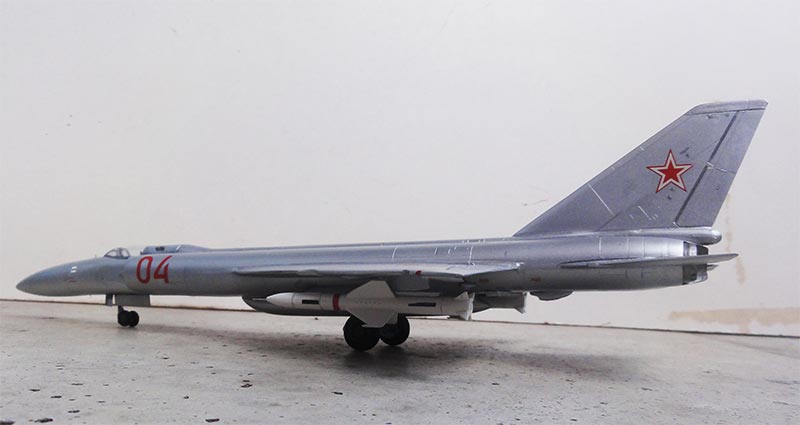
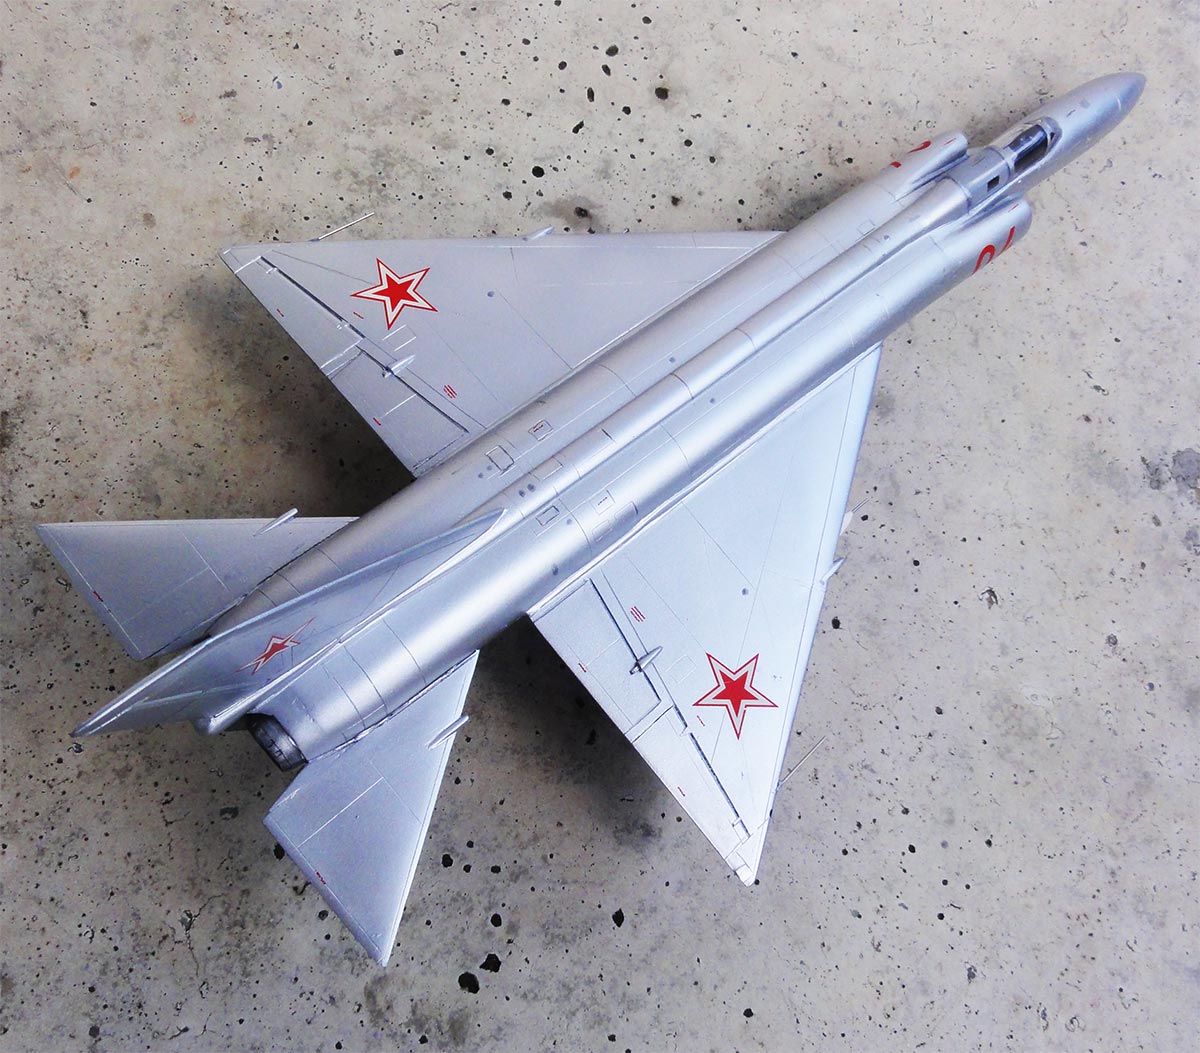
The Lavochkin OKB design buro proposed in the 1950s to design a high altitude interceptor to be fitted with air-to-air missiles and guided by ground radars. It resulted in a rather large aircraft, with 2 man crew and a very large delta wing and stabilizers. The Type 275 missiles were fitted on pylons below the wing. The intercept speeds was supposed to be about 1250 km/hr and a maximum speed of 1800 km/hr. Two large Lyulka Al-7F jets were fitted and the maximum take-off weight was about 27,500 KG and a range of about 2000 KM. System K-15 ( LA-250A) first flew July 1956. Weight problems required lighter systems and missiles to be used. Delays and problems led to cancellation of the program with only 5 aircraft manufactured. One survied and was on display for many years at Monino museum, Moscow.
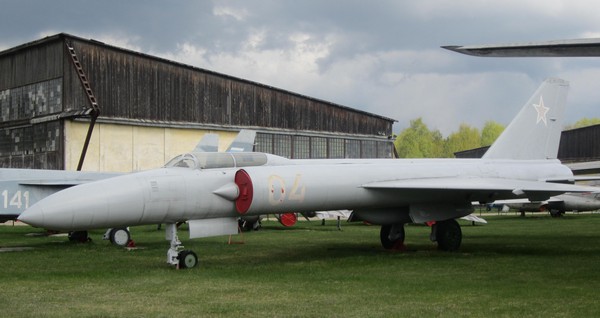
Photo made by modelling friend Stef at Monino.
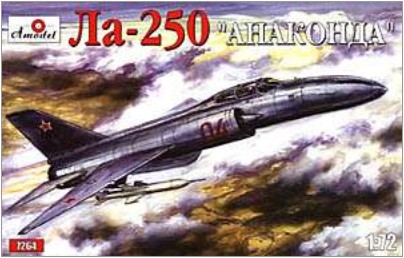
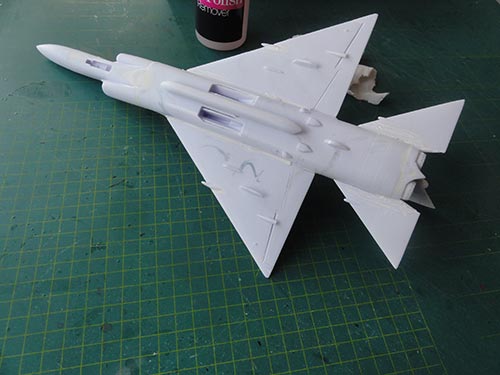
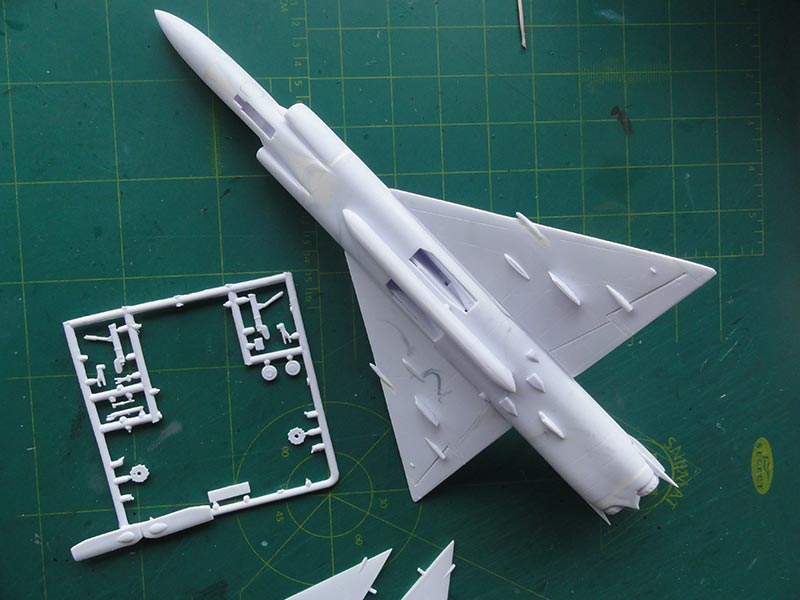
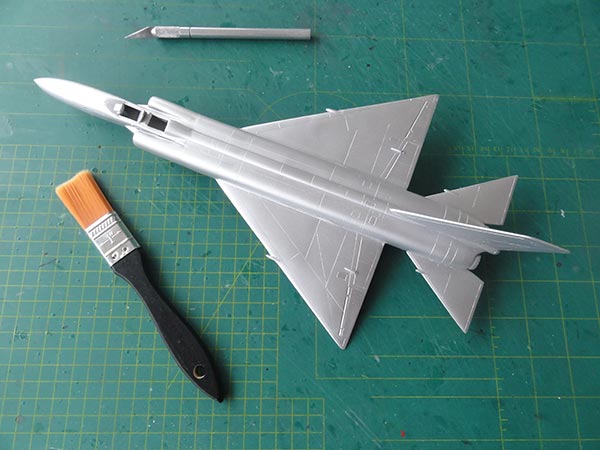
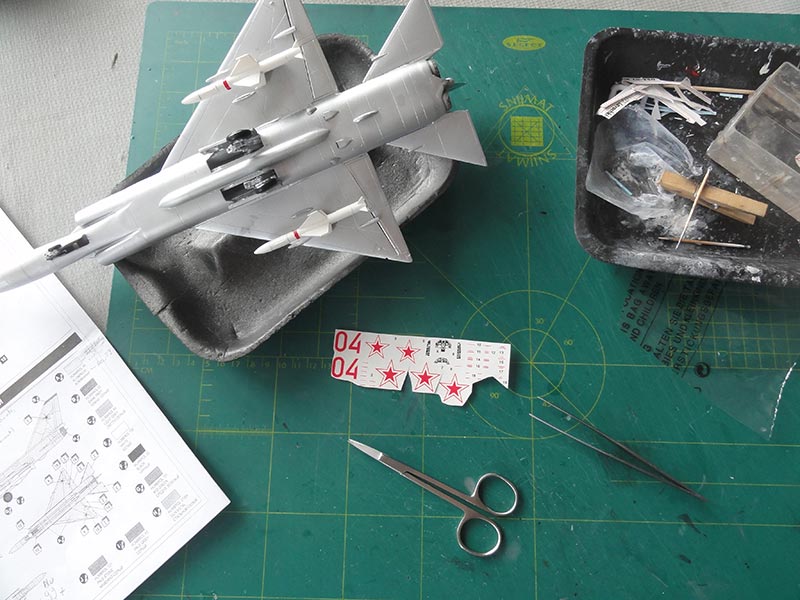
Amodel released a 1/72 scale kit in 2003. It is clearly short run with thick sprue gates and one of the earlier models of this company. There are about 80 parts in white plastic. Decals are simple but adequate. The scheme is of the metal coloured prototype "04" so this is a challenge to get a good finished result.
(Sorry, I forgot to make photos of the sprues).
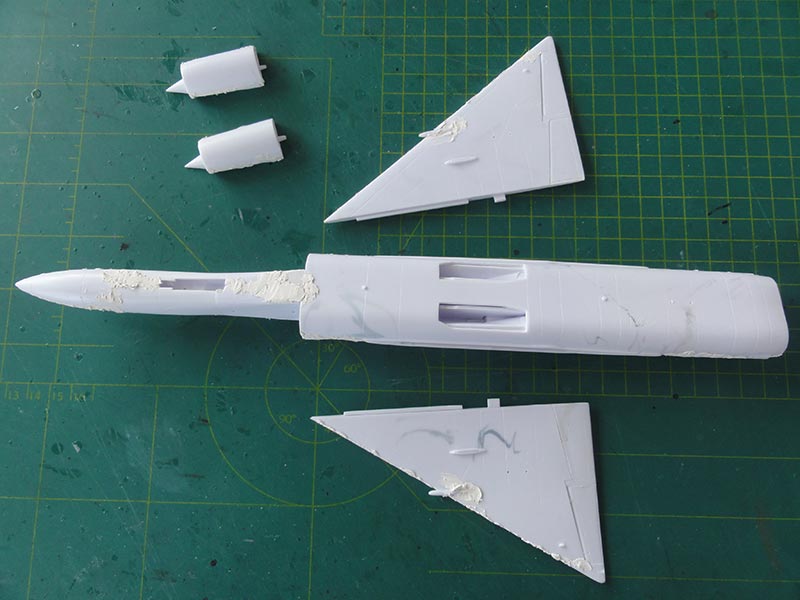
Many sub-assemblies need work, such as wheels on crude halves, missiles with separate fins and so on. There are gaps between the larger parts that need filler / putty.
Before closing the fuselage nose really ensure to put weight in the nose. The undercarriage is very weak but this is needed to avoid a tail sitter.
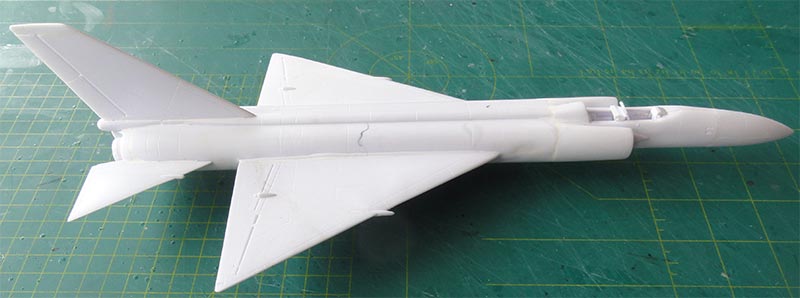
I recommend assembling and sanding the fuselage before fitting the wing.
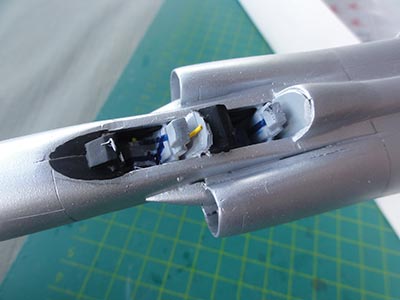
The large canopy is not very clear but acceptable when set closed. There is a cockpit interior that is OK and adding some seat harnesses completed the cockpit. It was painted the interior medium grey (though unsure about the colour). In order to fit the canopy I needed to trim the mid bulkhead #22.
The rear section also needed trimming the vertical plates #43. Fuselage closure needs sanding and later on filling.
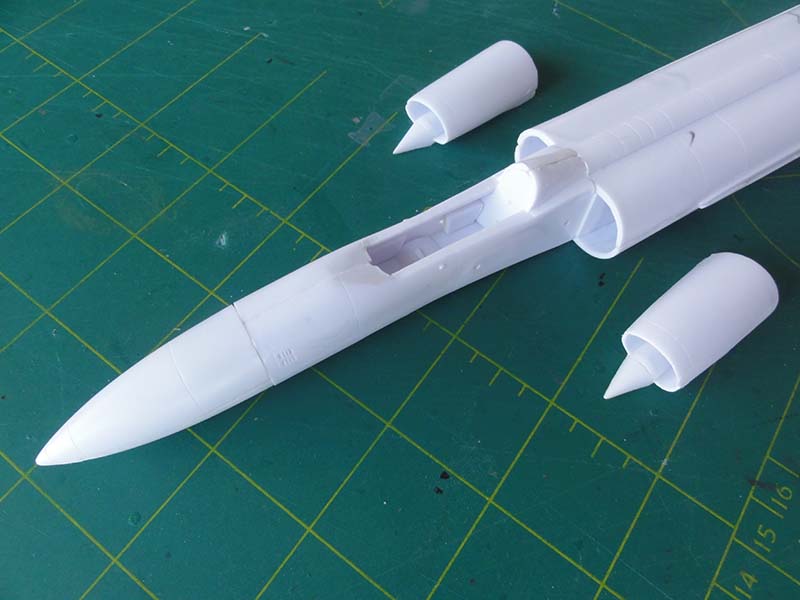
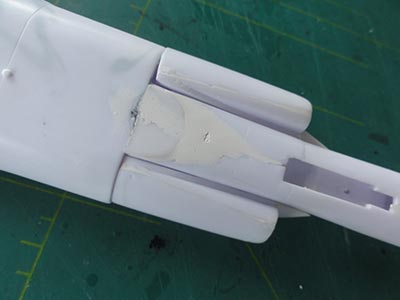
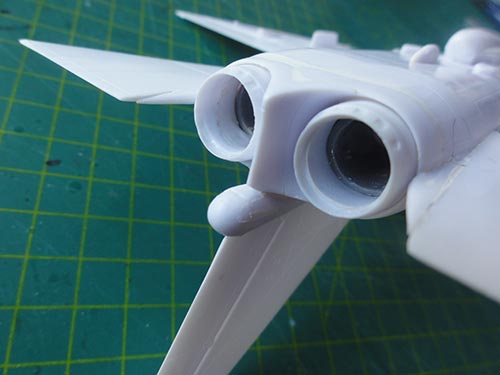
The intakes can be fitted and are deep but need filling and sanding to get a smooth fit.
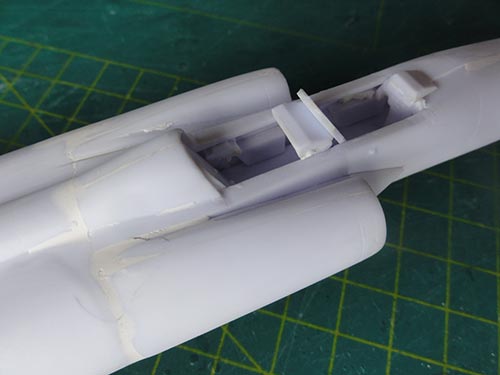
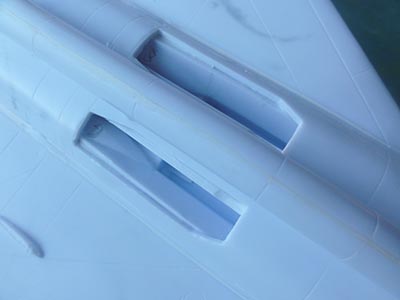
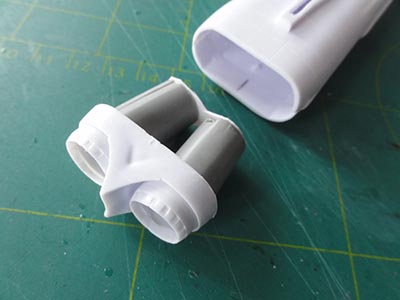
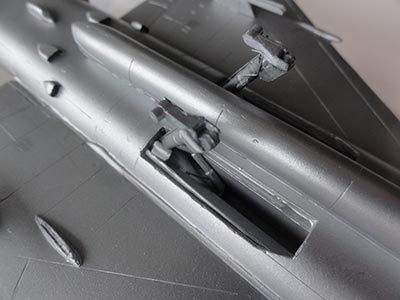
The large main gear bays needed white glue to fill the remaining gaps. The exhausts are acceptable but I made them a bit deeper with some tubes and their fairing #26 needs filling.
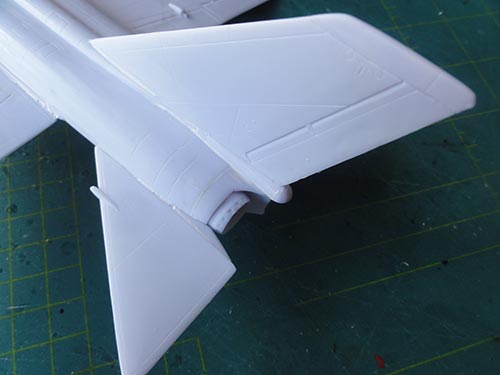
The vertical tail inner surfaces were sanded flat. The various smaller parts such as intakes and scoops are a bit crude and need some work to fit.
The wing-fuselage joints need some strip to close gaps and again need filler. Nail polish remover can be used to remove the putty/ filler in stead of sanding at smaller gaps.
The large lower "fairing" is also seen at the fuselage belly.
The stabilizers fit OK but some filler closed the gaps. Aligning and getting parts symmetrical needs care.

The model was now given a thick grey base coat. I airbrushed Revell aqua 75 steingrau.
As the model would get a metal shine smooth surfaces are essential.
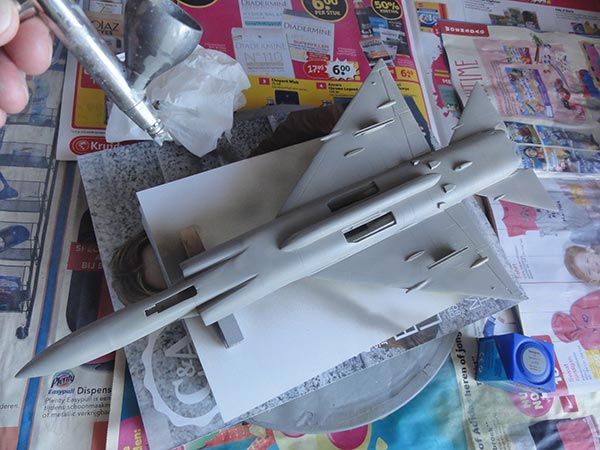
This revealed quite some additional work with filler/putty and sanding! This is short run and this is an early Amodel kit! This revealed quite some additional work with filler/putty and sanding! This is short run and this is an early Amodel kit!
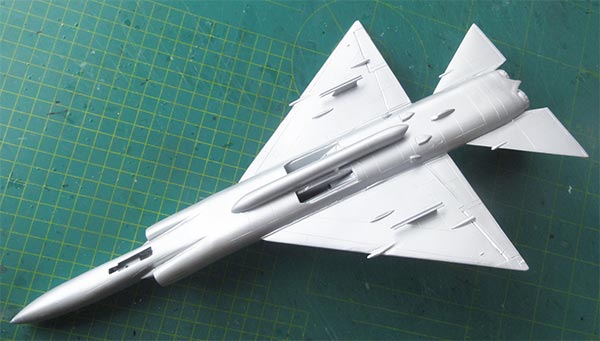
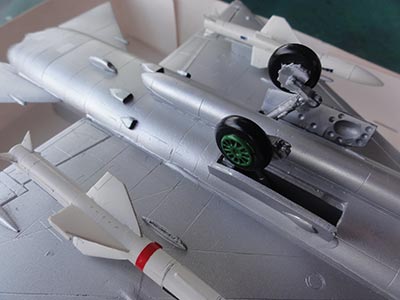
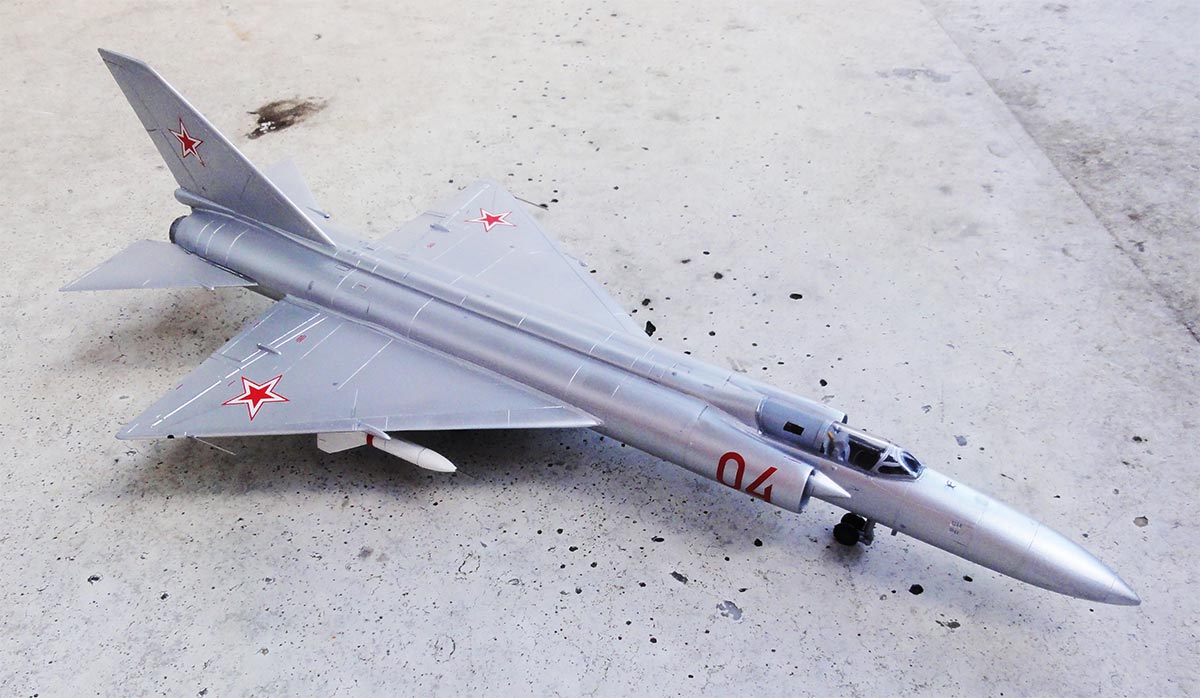
After that all looked OK, I airbrushed a first coat of Revell aqua 99 aluminium. I opted not for a shiny model but a "Soviet 1950s" elementary metal aircraft. On top of the coat I lightly misted a few coats of Vallejo acrylic metal Aluminium 77701.
The canopy frames were painted. Note that the rear section for the navigator is painted INSIDE the canopy. I think this suggests an adjustable screen inside. I set the canopy in place and filled the tiny gaps with white glue. When dried with a fine brush these were painted aluminium.
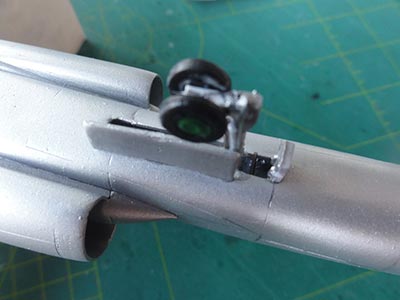
The undercarriage parts were legs in multiple bits.
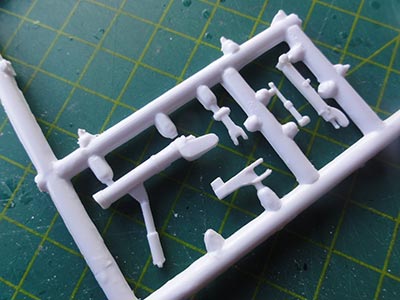
Very difficult to align and get enough strength. It was also a bit unclear. I glued metal rods in the legs to add more strength and used white glue to hide them a bit.
The wheel track is very small. I was unsure about the nose gear length, the model is tilted down when sitting on the ground.
The gears were assembled. The doors are rather thick but have some internal detail. Wheel hubs were painted green. I also added some hydraulic lines made from thin metal wire.
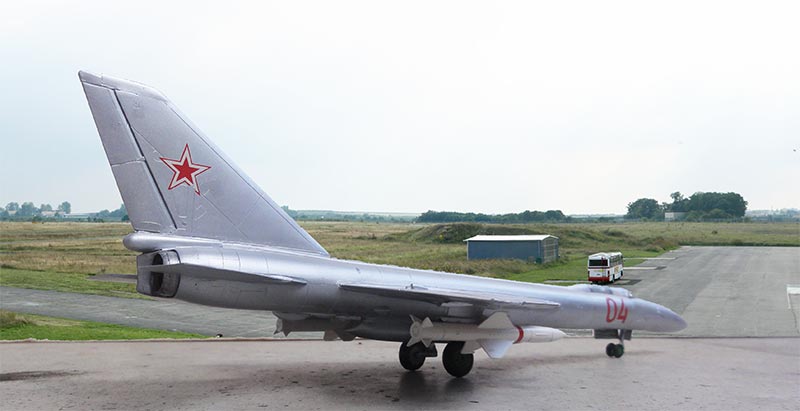
I wanted to install the 2 large missiles as per kit. This is quite some work as the missiles are crude. Do not forget the pitot on each missile nose.
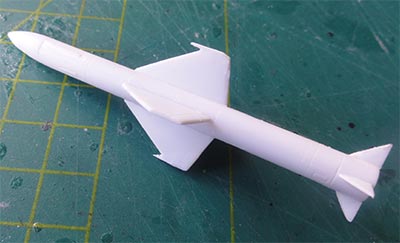
I saw a launch rail on the pylons, these rails are not in the kit. These were made from scrap. all was installed. I added a few stripes from decal strips to the white missiles.
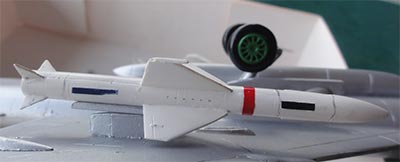
The kit decals were now applied. They are vulnerable so better add a few coats of varnish first. Each decal needs to be cut out anyway as the film aroud each one is a bit clumsy. The stencils are unreadable, I only added a few of these.
The flying surfaces were given a light wash with very thinned black paint and some panels were marked with a soft pencil. Anti-collision light were painted on the wing tips and pitots added: one on each wing leading edge and made from a metal needle.
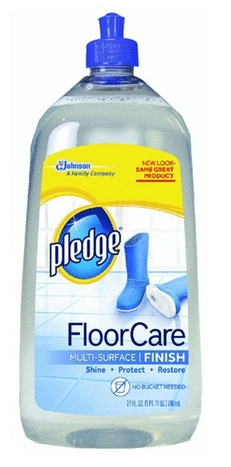
I covered the model also with a few coats of gloss, in this case with Johnson Future/Pledge FloorCare acrylic.
This completed this unique ANACONDA model. It is not perfect but adequate for the Soviet collection.


References:
- Air International magazine, Volume 26, pages 254...
- Wings of Fame, Volume 19, pages 150...
Back to 1/72 Models

(c) Copyright Meindert "designer"/ All rights reserved. Your comments are welcomed by webmaster
Created this page April 9, 2018