ART model in 1/72 scale
1/72 scale kit of the Yakovlev YAK-141 VTOL aircraft, NATO name "Freestyle"
In the seventies, Yakovlev designed the YAK-38 VTOL aircraft intended for operations from the first Soiviet navy aircraft carrier "Kiev". During the Cold War, fears were that this new ambition of the Soviet Navy would become a serious threat. The YAK-38 got NATO codename "Forger" but was actually a type to gain experience for carrier operations.
A far more ambitious
follow up aircraft type would be the YAK-141, that got NATO codename "Freestyle".
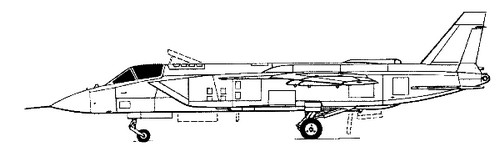
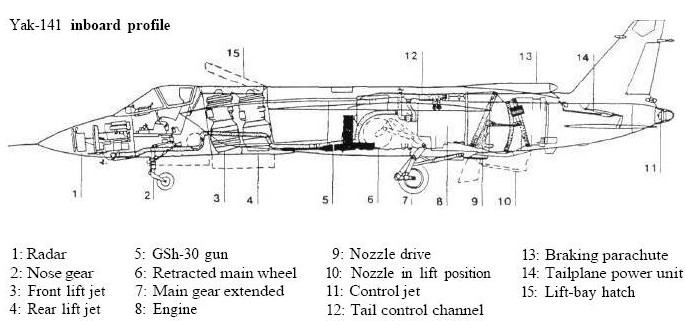
This aircraft design started as early as 1975 as a single seat high speed
fleet defense fighter. This required a straight but also a swivelling jet
exhaust for the R79 engine, that was situated between two tail fairings.
Two RD41 engines were installed to provide vertical thrust at the forward
airframe section aft of the cockpit with ventral doors.
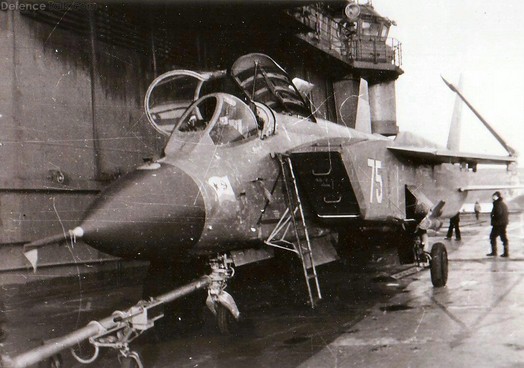
First flight was in March 1987 and the first complete transition from vertical to high-speed flight and vertical landing June 1990. Testing on the carrier Admiral Gorshkov started in September 1991. A big accicent occurred during a carrier landing but the pilot ejected safely.
After the fall of the Berlin wall and Iron Curtain, the political situation changed. Soviet Defense budgets were dramatically cut. The Yak-141 program progressed at a very slow pace, with two flying prototypes and ground test article. It did not really mature into an operational aircraft and in reality the program ended in 1992.
![]()
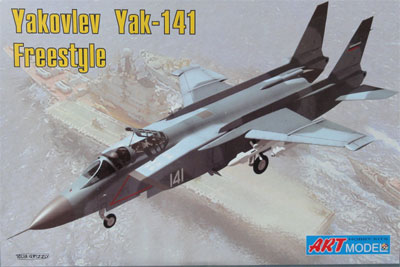
ART model
issued a YAK-141 kit in 1/72 scale in 2012. It costs about
EUR 20,- (Spring 2012).
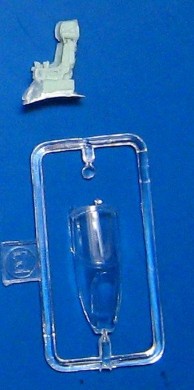
There are 7 sprues in light grey plastic
and a transparant sprue with the canopy and windscreen. Two resin parts
are also in the kit for the K-36D seat and the jet exhaust pipe. Although
the kit looks to be short run, the parts are very fine. Panellines are
engraved. Parts for 2 types of missiles, the R73 and R27 are also in the
kit.
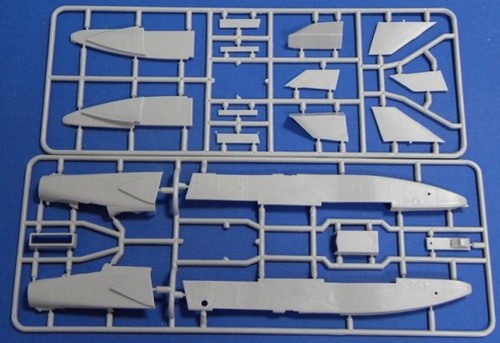
Option is to set the main jet exhaust
in the cruise position or a vertical position with open ventral doors.
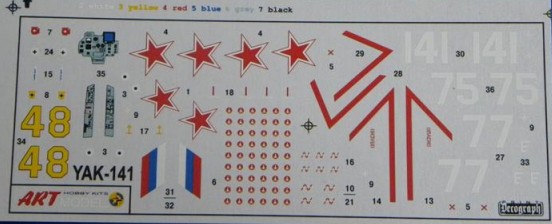
A nice decal sheet comes with the
kit for 4 schemes of grey aircraft, the buzz no "77" and "141" schemes
are only shown on the instructions.
The instructions are drawn in Computer
graphics but are a bit unclear. Parts to be assembled are shown on the
graphics but no clear arrows where they should go. Also, colour information
is vague, numbers are indicated but I don't understand what they mean.
![]()
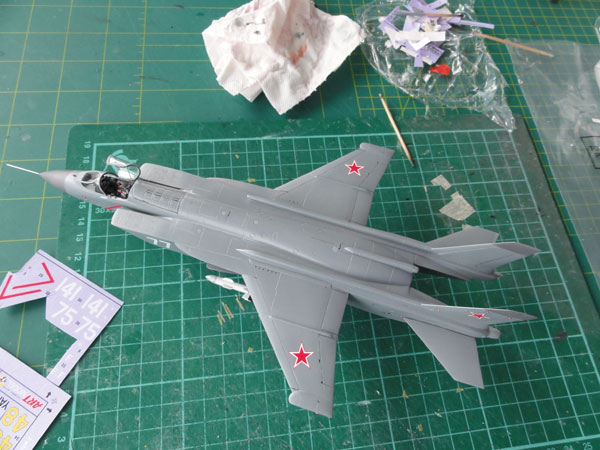
OK, let's start modelling this kit.
Assembly does not follow the usual order in aircraft kit. To begin with, I opened up the engine air intakes area in part 20 bulkhead. The assembly of the side fuselage parts and lower and upper parts requires careful alignment and filling and sanding with putty. Take care here, it will save a lot of work later on.
In the tailboom fairings and tail (parts 11, 12) , I had to fill the shrinkage with putty.
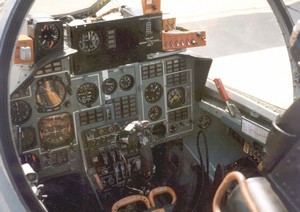
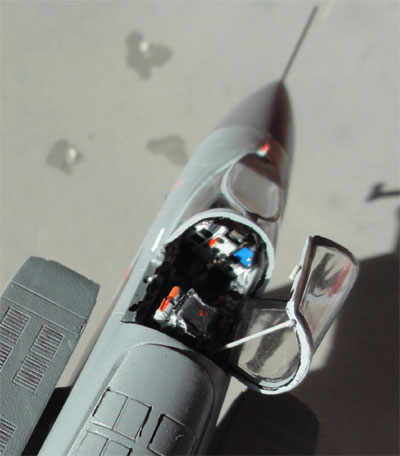
The nose is separate from the rear
fuselage. The kit cockpit is basic but small. The K-36 seat is nice being
a resin part but this was installed later on. The cockpit interior I painted
medium grey.
Filling and sanding was needed at
various places but nothing hard and that can not be taken care off. I used
ALABASTINE
CAR FILLER, which is a white colour putty. This is a fine putty that
is cheap, does not shrink a lot and is very fine.
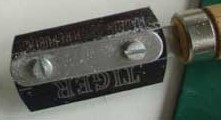
The flying surfaces edges like the
rudder and ailerons were sawed in for greather realism with a TIGER razorsaw.
The vertical engines show a gap here, but the door will be set closed so no worries here.
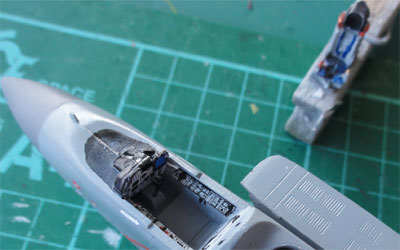
After sanding, the overall model got a coat of base grey applied with the airbrush to check for any flaws. Some small work was still needed.
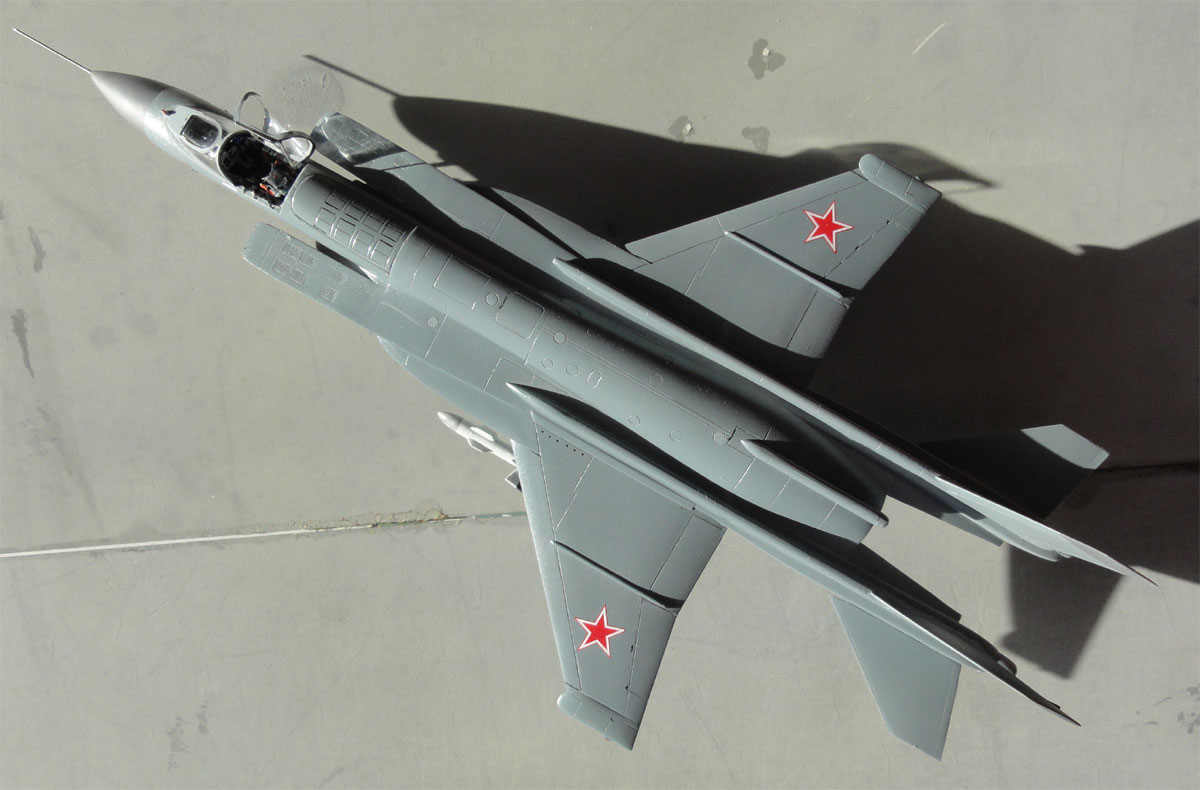
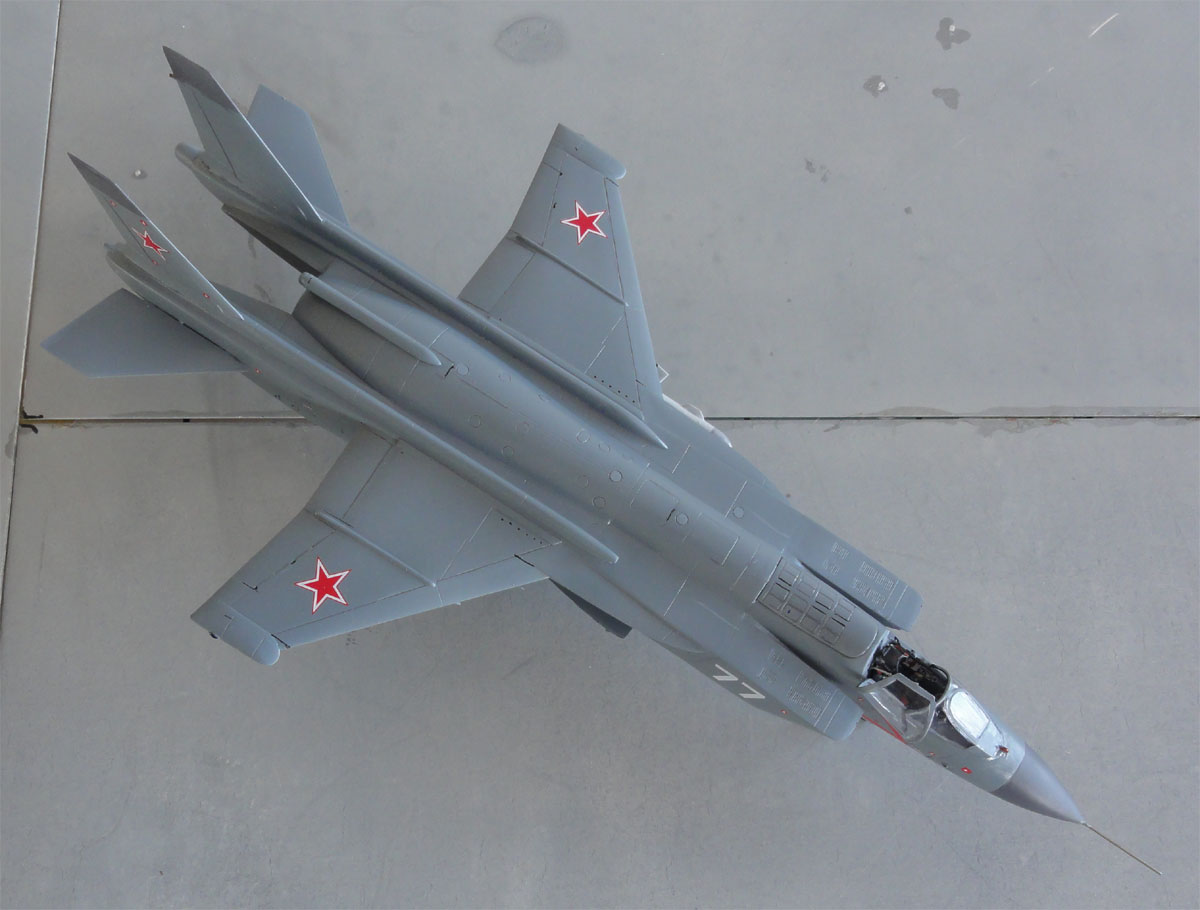
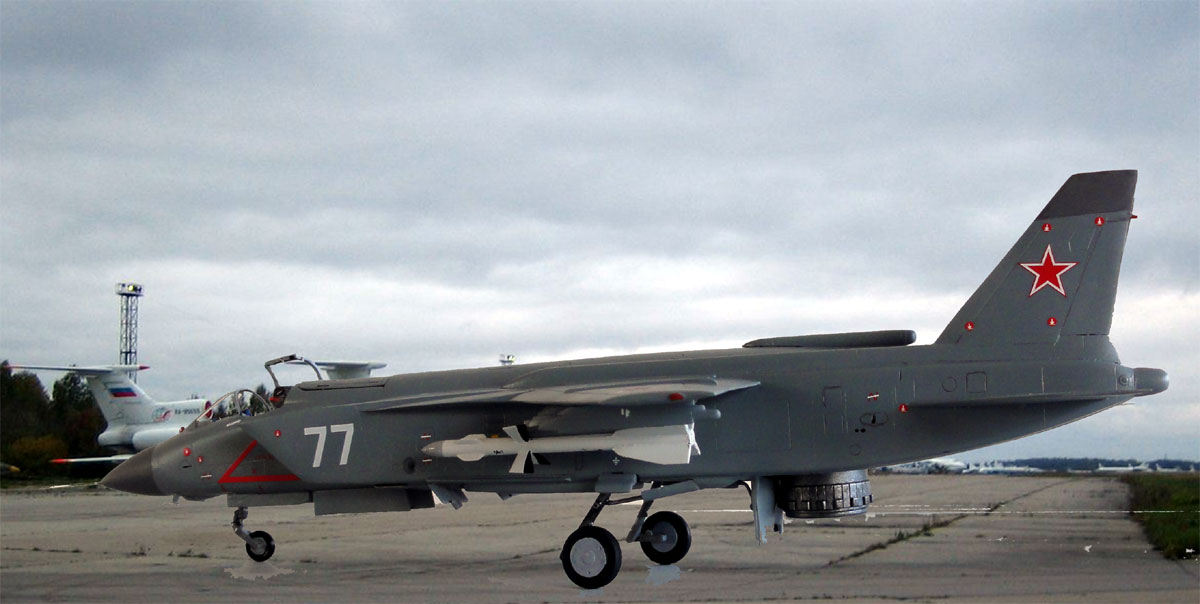
The overall scheme picked was for
the "77". For the overall grey, Revell Aqua acrylic No.57 grey
was used. Also the pylons were added at this stage to spray these as well
with the Harder Steinbeck
airbrush. The radar nose got a darker grey paint.
The vertical engines show a gap here,
but the door will be set closed so no worries here.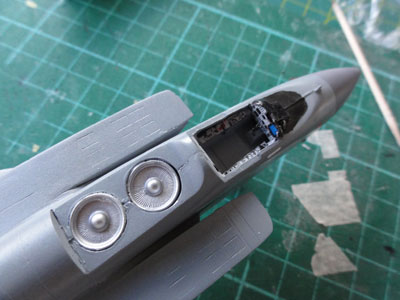
Next the kit decals were added. They are fine.
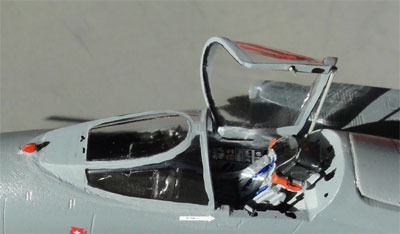
The one piece canopy was cut with
the TIGER razorsaw to separate the windscreen. Note that the canopy hood
swivels open to the right. The canopy framing was hand painted. The
seat got a lighter grey coat with painted details like a black headrest.
Some details were added with straps
made from blue decals.
The markings came straight from the kit with the decals. After decal application, these were protected by adding a couple op coats of of Johnson Future
The kit has parts for missiles, but I had an already painted spare missile from another kit, this was added. Some new small pitiot tubes were added from scratch below the nose.
![]()
The result...
 ..
..
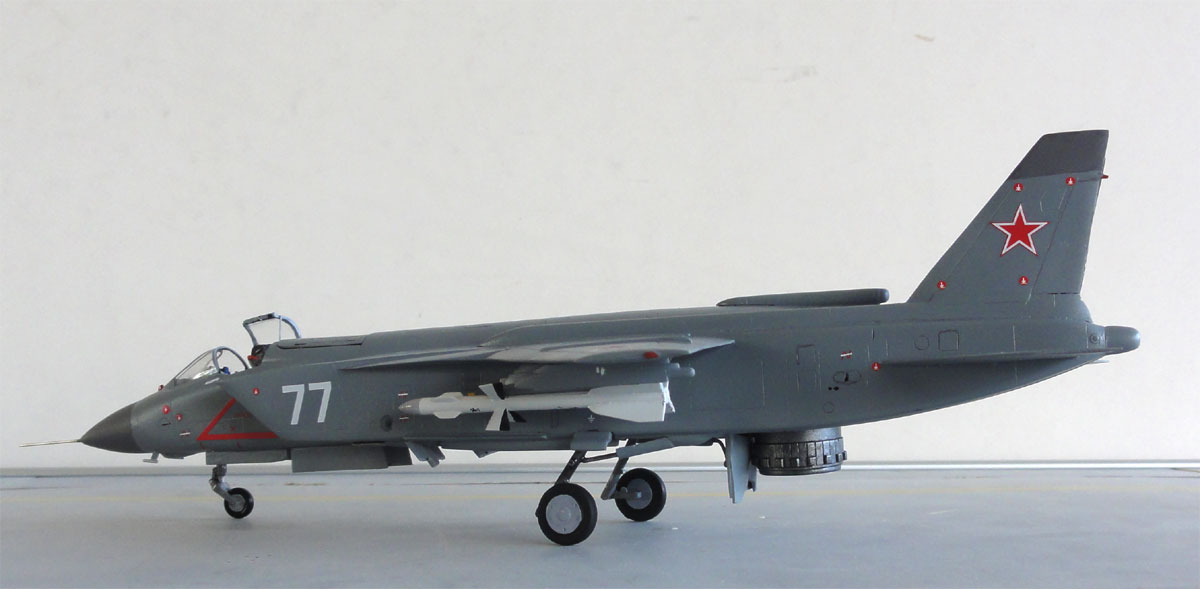


This model is very nice and the ART
MODEL kit can be recommended.
References:
http://en.wikipedia.org/wiki/Yakovlev_Yak-141
YouTube film: http://www.youtube.com/watch?v=fGPLQN18Ej8
Back to 1/72 Models.......

(c) Copyright Meindert "designer"/ All rights reserved. Your comments are welcomed by webmaster