"V-bomber"
[ Page 2 ]
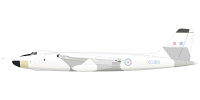
Vickers Valiant models in 1/72 scale
MACH 2 and CONTRAIL vacuform

Wings and tailplanes
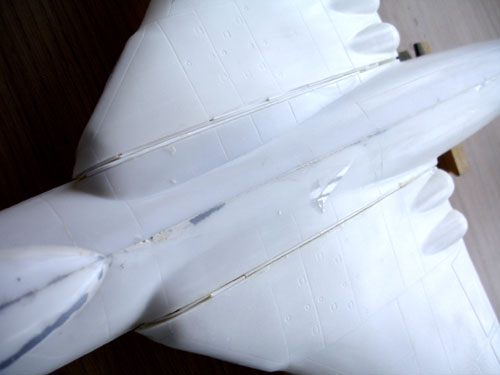
Next, I turned to the wings and tailplanes. The trailing edges will benefit from thinning them down a bit.
On the surfaces, some tiny flow guiding vanes are moulded on in the kit parts. I refined these with a small file and made them thinner. Also, I rescribed the control surfaces hinge lines with the Olfa P-cutter. The edges should be more prominent. I also cut-in sides of the control surfaces at the the trailing edges with a razor saw at the elevators, trimtabs, ailerons and flaps.
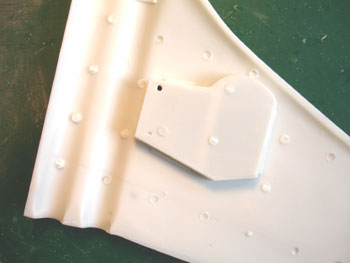
The main gear bays are OK, but I needed to scrape of some plastic at their forward edges as otherwise the wing leading edges of the upper and lower halves would not meet.
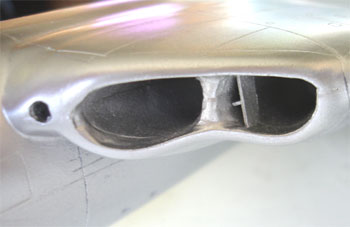
The intakes are a bit of a fuss with
4 separate parts. First, I sanded off plastic on their outsides at the
leading edges. It would really be a lot of work to get the intakes perfect.
A simple alternative would be to blank off the intakes with a protection
cover or something.
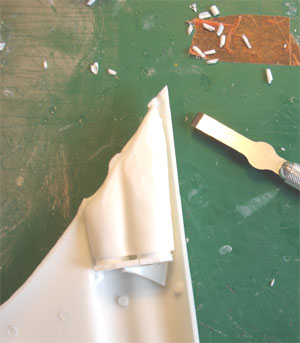
I opted to keep the intakes open.
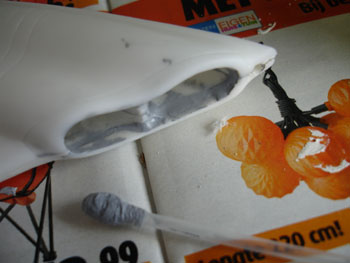
First the engine fan disks were first reduced in size. The intake
gaps and sidewalls got layers of putty. Quite some filling is needed here
to get a smooth result. The putty was shaped with nailpolish
remover
using a Q-tip.
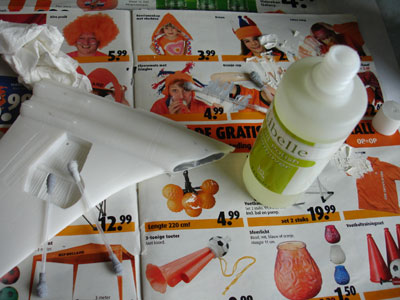
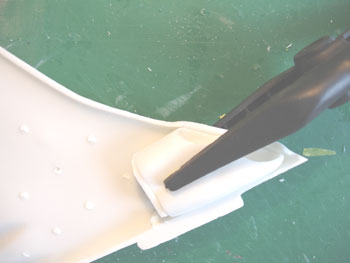
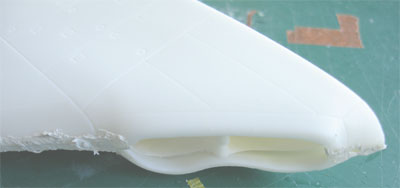
After sub-assembly, the intakes were
fitted inside the wings and I filled up the various edges , gaps and ridges
with car filler. After sanding the results are quite OK to take final overall
assembly further.
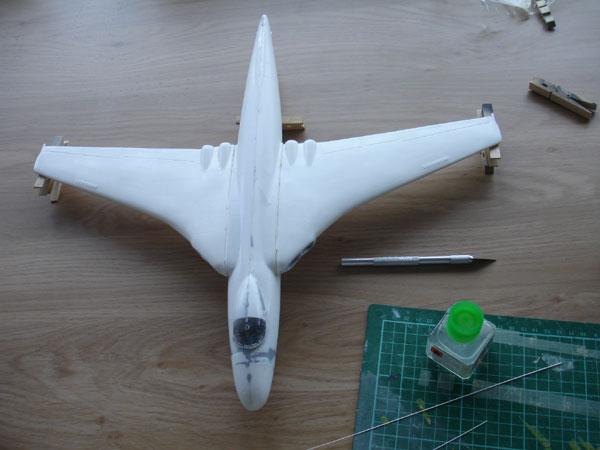
Next step was to do the basic assembly.
The wings would not really fit on the fuselage junction areas and wing roots have inaccurate angles and thicknesses.
The assembly of the wings to the fuselage is a very difficult exercise that may ruin your whole effort if not done properly. So take your time.
I sanded the wing root surfaces as
flat as possible to get a symmetrical dry fit. After that I used two component
glue, aligned the wingtips to be symmetrical and set the wings-fuselage
assembly aside 24 hours to dry. I taped the wings to a sort of made assembly
jig to make sure they would not change dihedral while the glue is drying.
You will also find that the fuselage is difficult to "set complete vertically"
while assembling the whole lot.
Nevertheless you will see large gaps
of about 2 mm but don't close these while glueing these otherwise you will
end up with wingtips pointing to the sky!
At no surprise, it turned out that
the wing-fuselage junction needed still a lot of filler. I added also lots
of plastic strip and sprue to get an even stronger joint and to avoid using
to much filler.
![]()
Numerous times the whole assembly
was sanded, putty, sanded, puttied....
Next came some rescribing of panellines
where the sanding removed them, quite an exercise.
Some amounts of light grey paint
was used to check for any flaws (using Humbrol 64 light grey, which is
quite good for this purpose). This kit is not easy to get a smooth result.

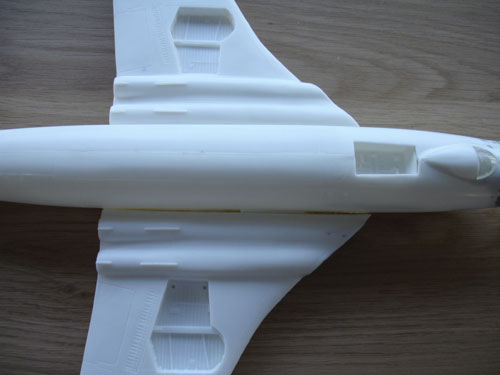
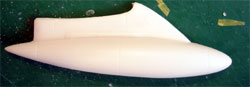
The vertical and horizontal stabilizer were made as a separate set. Aligning these parts was not that easy and you need to check if everything is symmetrical. The joint between vertical and horizontal stabilizers needed gap filling with sprue and putty.
Next step was to fit the vertical
and horizontal tail assembly on the rear upper fuselage. I drilled some
holes and used metal pins to get a stronger joint. Again putty,putty.....
and sanding was needed. Then, thinner guiding vanes from thin strip were
added on the lower horizontal stabilizer. (I could not find pictures that
they were also fitted on the upper surfaces).
![]()
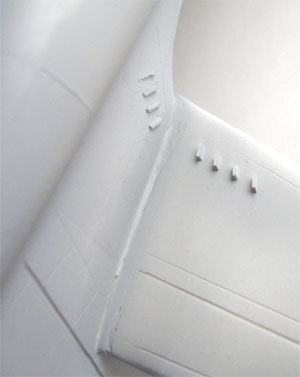
Details
Valiants had a small guiding flowvane
inside the outboard intake on both sides and these were made with a piece
of plastic card. In addition there are two round intakes between intakes
and fuselage.
![]()
The large underwing tanks were also
assembled. Small fins still to be added. They will not fit the wings easy,
you will need to fill gaps especially at the leading edge junction.
Next, the wing flow guiding vanes
were fitted on the outboard wings. I made new ones from thin card and the
gaps were filled with white glue and smoothened out.
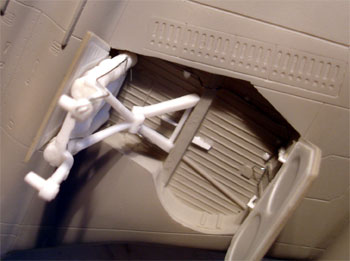
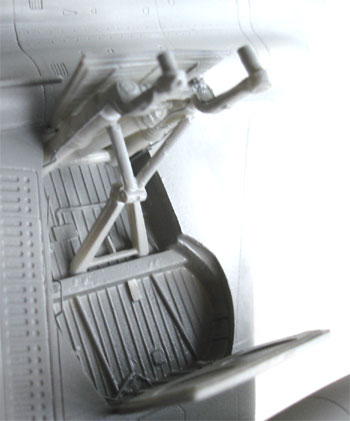
The wheels bays showed gaps and these
were also closed with white glue. The landing gear parts are a bit rough
but useable. The tyres needed filling and sanding. I added some break wires
to the legs and the nose gear legs got some extra card glue to it to make
it stronger. You won't see it anyway as it is hidden in the forward fuselage
and by the nose doors.
Please note that the nose gear leg
should be quite forward in the bay, it swivels/ retracts backwards. The
leg should be at say 25% length station of the nose gear bay; it is located
more forward than suggested by the MACH2 part.
On to next Valiant [Page ....]
Back to Models page....

(c) Copyright Meindert "designer"/ All rights reserved. Your comments are welcomed by webmaster
Created this Page August 13, 2006