[ page 1 ]
TSR-2 model in 1/72 scale

TSR-2 "XR220" seen at Cosford 2013 (photo by author Meindert de Vreeze)
The TSR-2 was to provide the United Kingdom in the Cold War a supersonic low-level bomber capable of delivering conventional and nuclear weapons.
From English Electric and Vickers-Armstrong groups (later through British Aircraft Corporation BAC) came up around 1959 with the TSR-2 with an advance swept wing, twin powerful Bristol-Siddeley Olympus powerplants and very sophisticated electronics and avionics. The crew of two personnel had advanced controls including heads up displays, weapons systems, communications, forward and side-looking radars and a fully automatic terrain following capability.
The TSR-2 proved itself enough during flight test although there were the usual technical problems for such a big step in aviation technology. The TSR-2 promised to do where it was designed for. Unfortunately with rising costs and changes in politics the project was doomed. It was stopped in 1965. Remaining prototypes were put into museums in the UK.
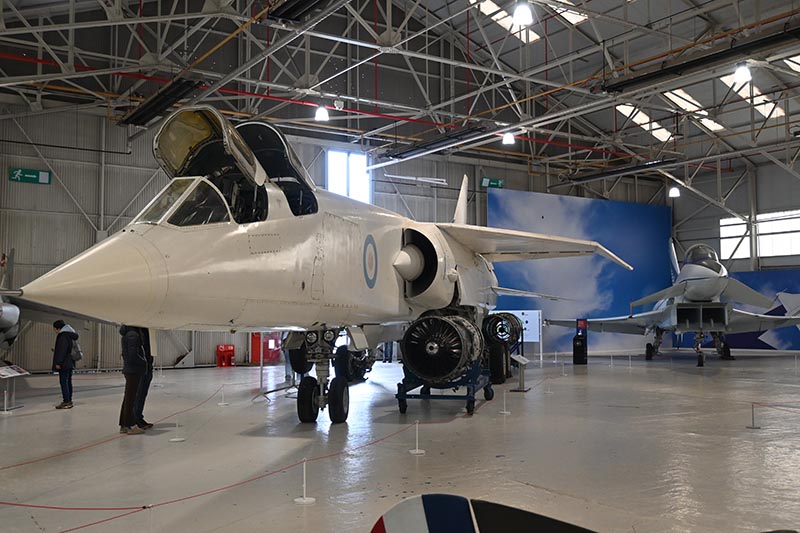
Later seen at Cosford in 2023 the XR220 is still there...
![]()

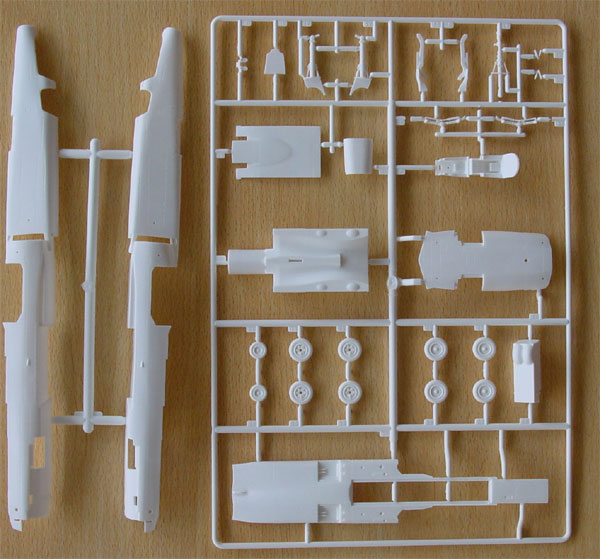
At last: a TSR-2 kit in 1/72 scale
with injection moulded parts, presented by Airfix in 2006. At the time
the kit was "limited edition". The kit was probably developed based on the Cosford museum jet by Airfix.
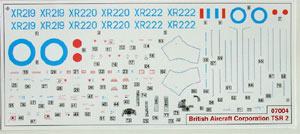
The kit has about 90 parts in white plastic, six parts in clear. The very nice decal sheet has markings for three prototypes, with different serials. The Airfix decals are very good and include all stencilling including the very fine walkway lines. The colour in general of the airframe was "anti flash" white with "faded Type D" roundels typical of the 1960s era.
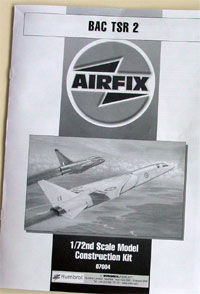
Instructions are typical Airfix style with
28 steps and simple with only with Humbrol enamel colours indicated.
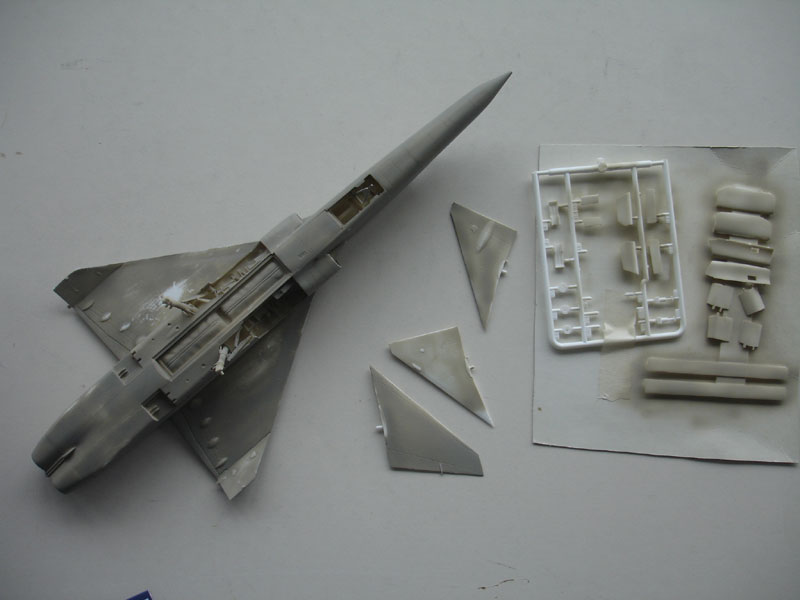
The kit's plastic is very soft with
recessed engraved panels, but the fit is very strangely not good in some
areas. There also some sink marks that need filling. The sprue gages are
rather thick so a razor saw is needed to separate the parts from their
sprues.
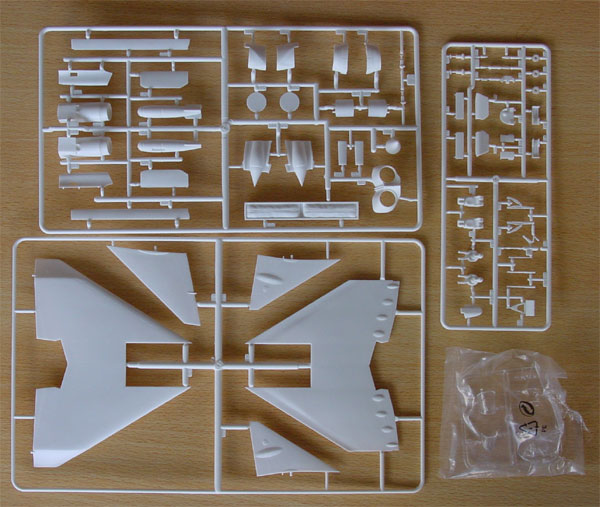
the parts in white soft plastic
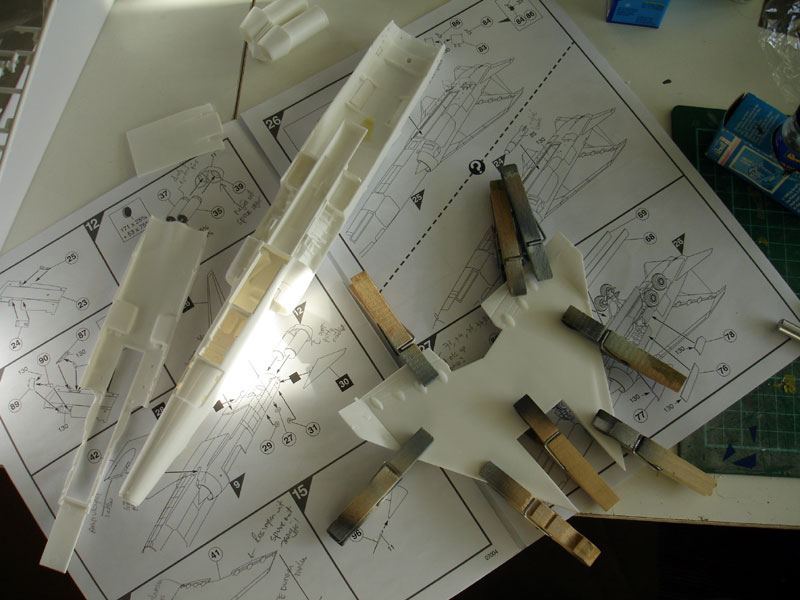
Part build up is a bit strange in areas as Airfix tried to avoid long gaps in visible areas. However, you will find particular fit problems. The overall airframe needs some filler, notably at the upper wing-fuselage junctions and lower wing-fuselage joint. The rear lower flaps have gaps as well near the airbrakes area. Also the intakes need filler. Although the kit seems well engineered, these are major flaws in the soft plastic parts.
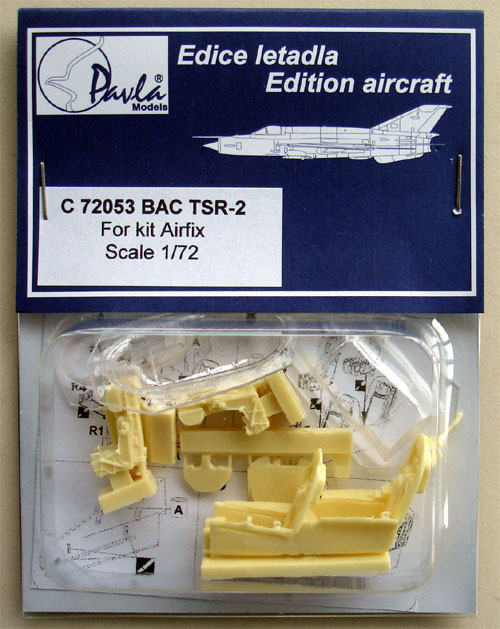
Kit detail is good with nice wheel wells, undercarriage, intakes and shock cones, and deep exhausts. The cockpit is basic and will benefit from using a resin set of Pavla.
The two canopies and wind screen are rather thick. I replaced the upwards tilting hoods with the Pavla vacuform ones.
The wheel doors can be set open although
most were seen closed on the prototypes. The doors do not fit perfectly.
there is a gap between the two aft nose gear doors; the main gear doors
need sanding to get a flush fit.
Speed brakes can be set open and
as on the real aircraft "do not fit" flush.
Accuracy seems reasonable OK looking at dimensions and this will not be a surprise as actual aircraft can be seen in a museum like Cosford and data is available. Looking at books and the web for detail photos is recommended when detailling this kit.
Some recommendations when building this kit:
- the cockpit will benefit from using
resin replacements for the seat and instrument consoles (like the one from
Pavla
set C72053; the overal cockpit is light grey with black instruments;
the resin set has very nice seats;
 .
.
- Martin Baker mk.8 seats have colours
like black cushions, aluminium frames and green hydraulics. Seat straps
were painted khaki and purple. Yellow details.
- Stick to the intake build-up sequence in step 6; paint the inner intake tunnel side flat black inside; So do fit the intakes to each individual fuselage halve.
- Step 7: the alignment pins on the fuselage do not match very well, so open them up.
- Step 8: slighltly sand the sides of the main gear bay part #18 to remove mould edges.
- the main gear bay is nice but the main gear doors are mostly closed on a TSR-2 so extra detalling is not really needed.
(Fit the airbrakes later on)
- Step 12: take care to separate part 11 from its sprue to avoid damage.
- Step 13: first fit part #23 (the upper rear fuselage) and #42 to the upper wing part #41 to get a perfect flat horizontal alignment
- Step 14: the trailing edges of the
wing were sanded a bit thinner; also edges of the moving surfaces edges
were cut in with a razor saw. Also the flap leading edges were engraved
a bit deeper.
- Assemble the main fuselage (except for the lower part # 34 of step 25). Fit the panel #70 at this stage, remove those strange stubs, fill with putty and sand flush.
- Step 15: replace the pitot tube with a metal needle; fit when model is nearly completed.
- Step 16: Fit the clear parts later on. The wind screen does not fit perfectly and the rear canopy hood is too wide; I set it open (and replaced the canopies with the vacuform ones from the Pavla set).
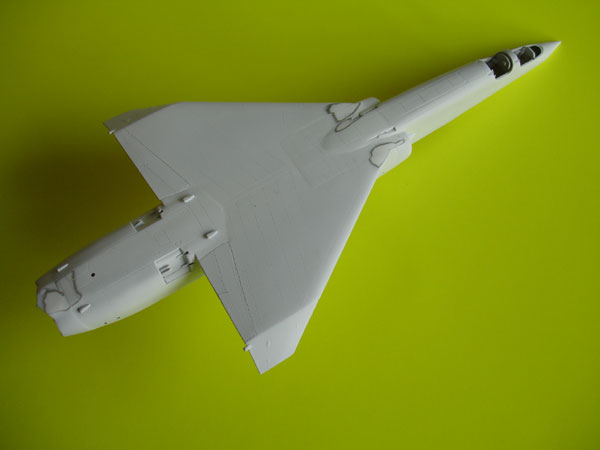
Now the model was filled, sanded and
sprayed light grey to check for flaws. Sand and re-fill.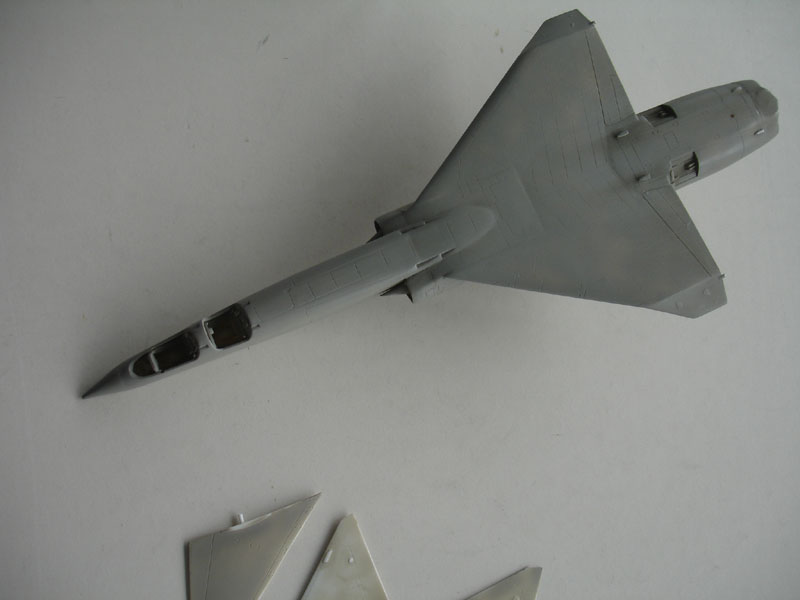
The light grey will also prevent
a disturbing "see through" effect when the white paint is applied over
the entire surface.
After satisfied with the overall
finish, add thin coats of white paint. The TSR-2 colour was White DTD Spec
900/4740.
Add the white coats with thin sprayed
on layers with the airbrush.
I still has to re-sand and add white
coats as the result was not perfect:
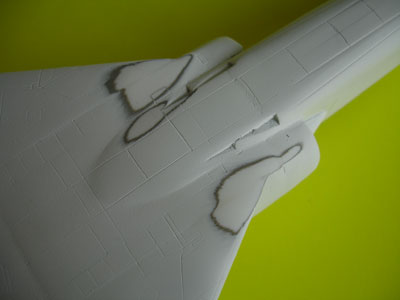 .
.

It took at least four layers of white.
Polish between applying the layers.
On to next
[ Page 2....]
| Check out a
1/72 Contrail vacuform TSR-2 build
Look here..... |

Internet:
Meindert's Walk Around on the IPMS.NL website
http://www.thunder-and-lightnings.co.uk
http://www.aircraftwalkarounds.be
Books:
1. TSR-2, Aeroguide
2. Wings of fame no 4 / page 122-138
3. Project cancelled, Derek Wood
4. Scale models May 1995 and February
1985
5. Dutch IPMS NL magazine: Modelbouw in Plastic
2006-3

(c) Copyright Meindert "designer"/ All rights reserved. Your comments are welcomed by webmaster
Created this page December 31, 2008