1/32 scale conversion
[ page 4 ]
Tornado ADV model in 1/32 scale
.... continued from page 3...

Before finishing the details of this model, I opted to start applying the paint scheme.
COLOUR INFORMATION:
Many schemes on the Tornado
ADV have appeared over the years. On delivery, the RAF paint scheme consisted
of Barley
grey sides and upper surfaces
and light grey undersurfaces with clear demarcation lines. The Barley grey
was later changed to camouflage grey BSC 626 with
light grey undersurfaces. In 2005 another scheme was introduced with
a medium sea grey over the overall airframe.
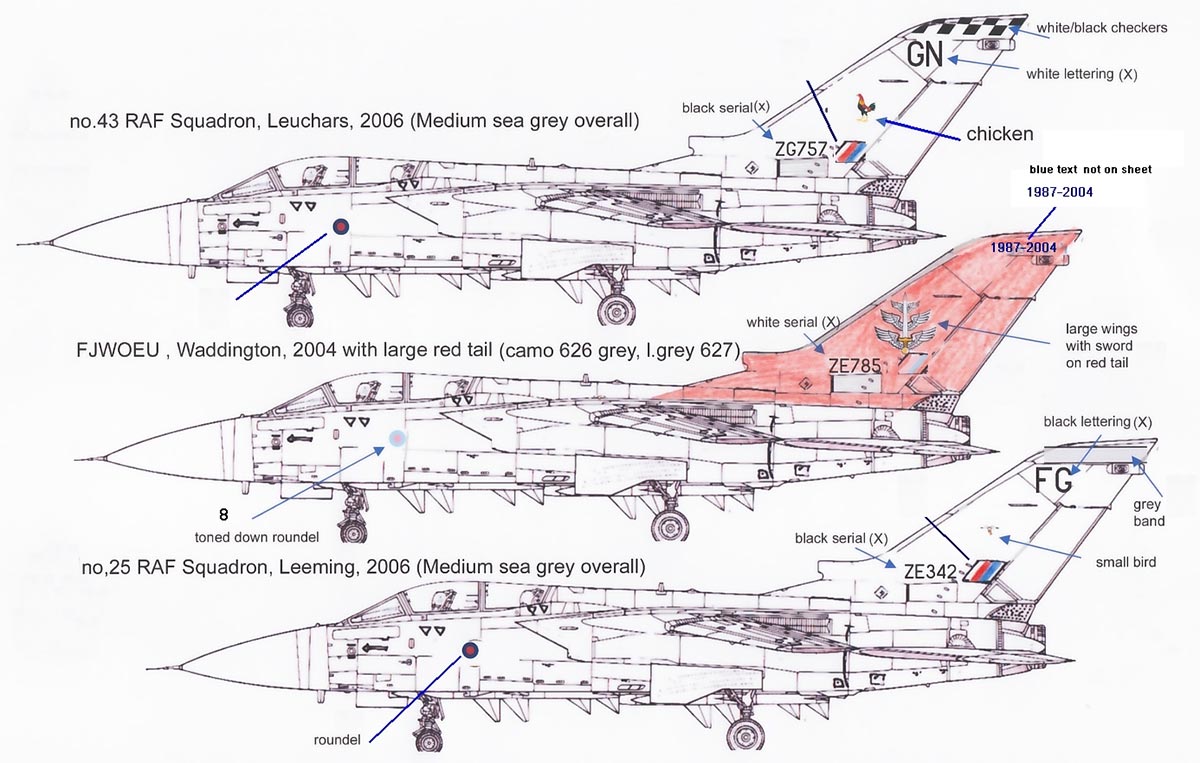
Variations in squadron markings, badges, coloured tails are big. National markings vary with full colour red-blue RAF roundels and flags, but also toned down ones. Check references but also internet photos.
Tornado Initial F.mk.2 (F2)
:
upper & sides:
Barley grey / BSC Flint grey BS4800-18-B-21 (Gunze 334 / approx. Humbrol
Hu167)
undersurfaces: Light
grey BSC 627. (Xtracolor X015 / Humbrol Hu166 / Gunze 332).
Initial scheme with toned down
markings.
Tornado F.mk.3 (F3)
upper & sides: "Camouflage" grey BSC 626 (Xtracolor X017)
undersurfaces: Light
grey BSC 627. (Xtracolor X015 / Humbrol Hu166 / Gunze
332).
Second scheme with toned down
markings.
Medium sea grey BSC 637 overall airframe (Xtracolor X003 / Humbrol Hu165 / Gunze 335).
Scheme introduced in 2005 with national markings changed back to full colour. (use 1/32 kit decals).
Details:
Cockpit interior: mostly light grey (about FS 26280 or BSC 694) ; black switches and knobs. CRT boxes light grey or dark grey.
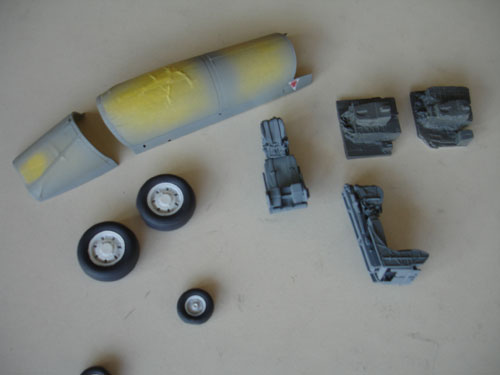
Seats: early Martin Baker seats: Medium Sea grey with white airco pipe on headrest, after 1991 Dark Sea grey with black airco pipe. Dark grey head cushion. Olive green seat cushions and yellow survival pack. Brown straps and belts with metal details.
Gear legs, insides of doors and wheel bays: white with details in metal and black.
Radome: slightly darker than BSC grey 626 with some brownish hue.
Information was used from various sources and included also instructions from other Tornado kits, such as the Hasegawa 1/72 kit for the F3. Off course also the various reference books and Internet were used as noted on page 1.
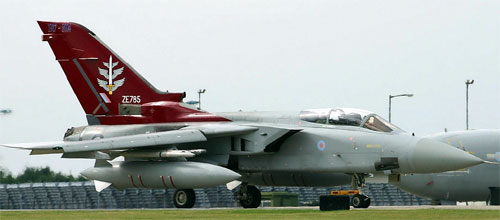
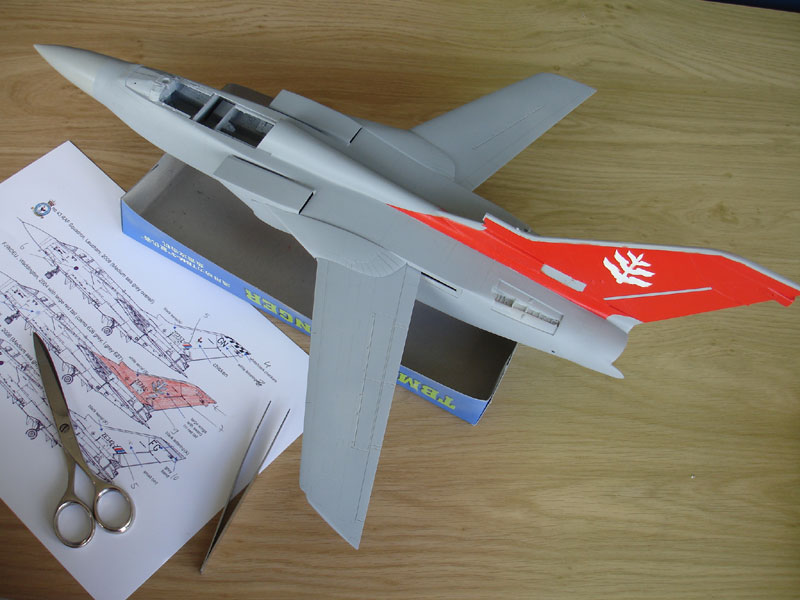
I wanted a scheme of: Tornado ADV F3 of the FJWOEU unit at Waddington, 2004. It has red tail with attractive markings.
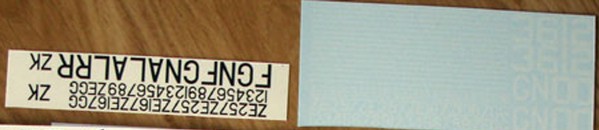
I made a decal design. It was printed for personal use for my model including the peculiar white stripes and markings.
UPDATE: many years later I made another few decal designs for the Tornado ADV F2 and F3 as requested by some 1/32 modellers. These can be custom printed.
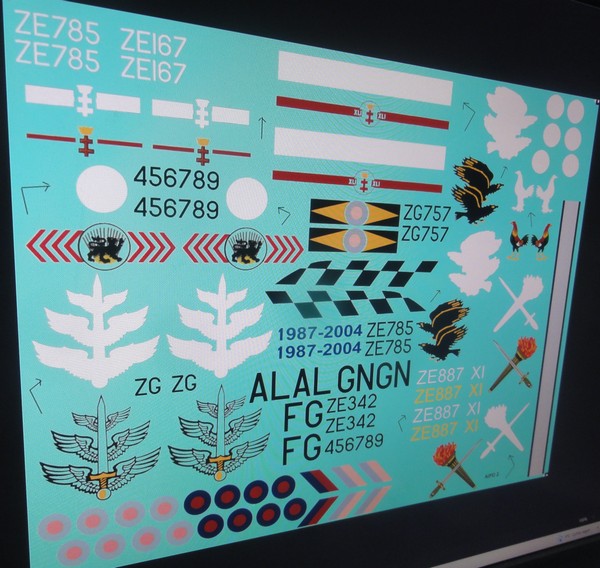
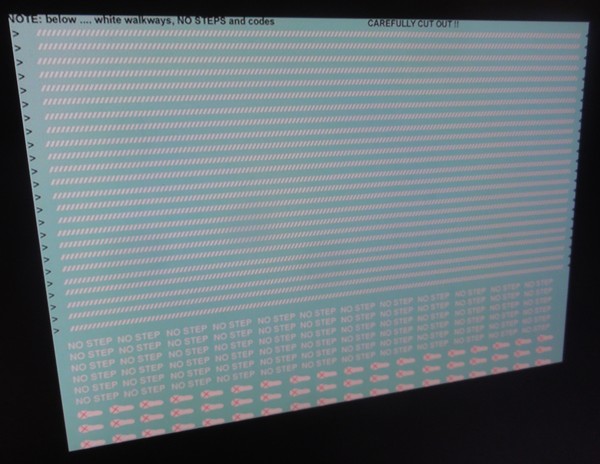
RAF walk way lines
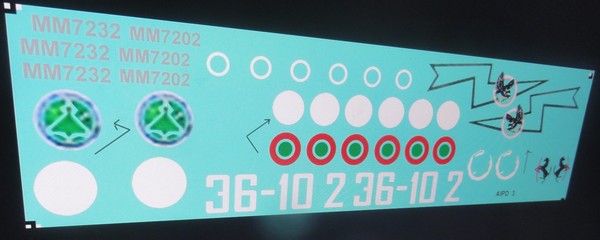 Italia
 LOOK AT THE DECAL PAGE HERE...
![]()
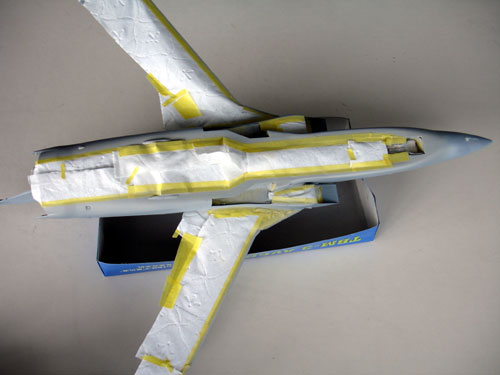
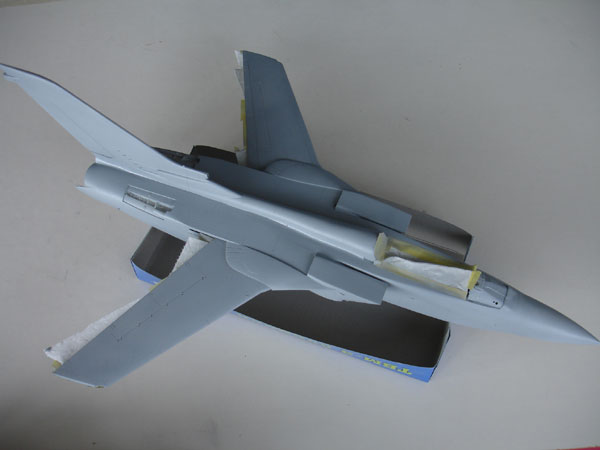
The lower light grey BSC 627 was airbrushed
using Humbrol 166 enamel and after that covered with tape a paper to apply
the darker side and upper grey of Humbrol 167.
 .
.
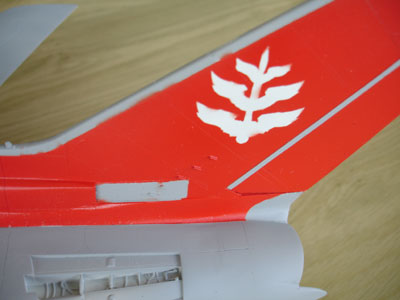
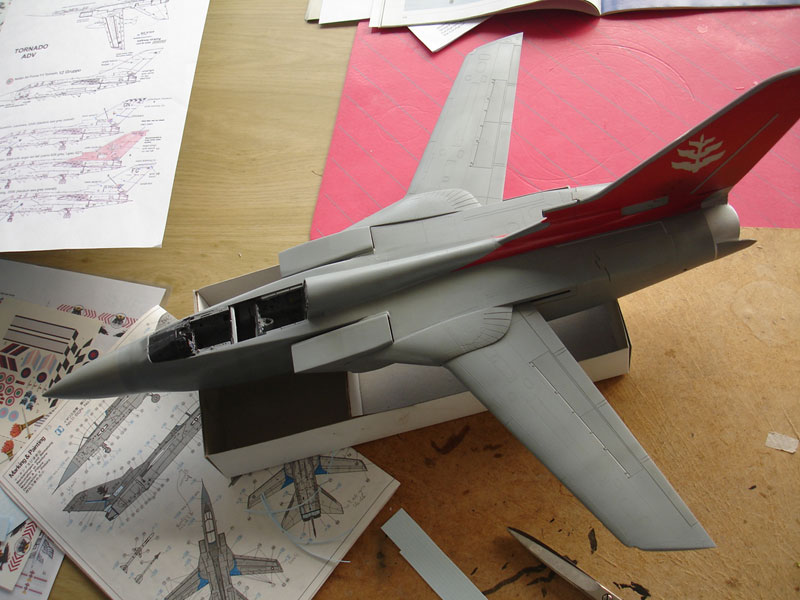
The red tail required first a matt
white base primer coat. In some tail areas on the fin, grey and metal panels
are seen. These were masked off with Tamiya tape.
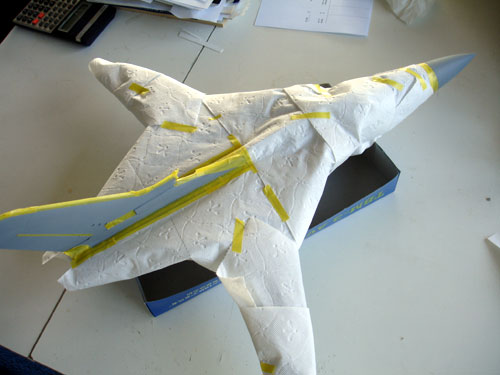
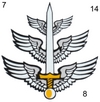
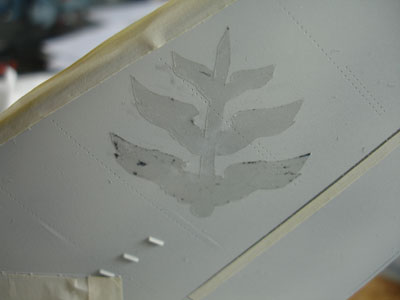
After covering the rest of the model, a white base coat was sprayed. The "feathered sword" unit badge was masked off with masking film. I cut out the film after applying it over a printed badge with a very sharp and "dangerous" surgeon scalpel. This makes clear cuts.
This way, I could keep a white base
undercoat on the red tail for the badge to applied with a decal.
 ..
..
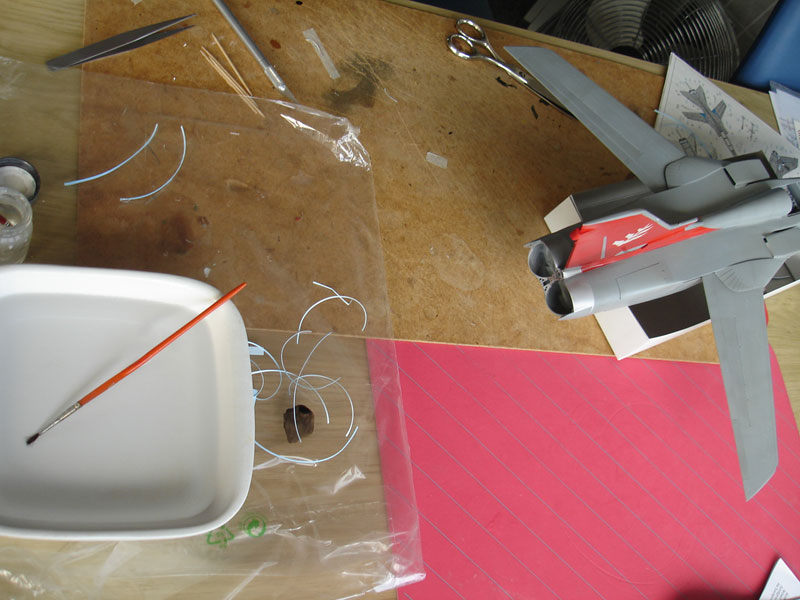
A mat red coat was sprayed and after drying finished off with a gloss red coat. Here you see the oversprayed masking film that was removed and is thus not needed anymore...
(NOTE: I later found a way to have these custom decal printed). 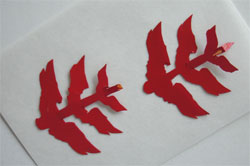
After 24 hours drying, the overall
surfaces were polished.
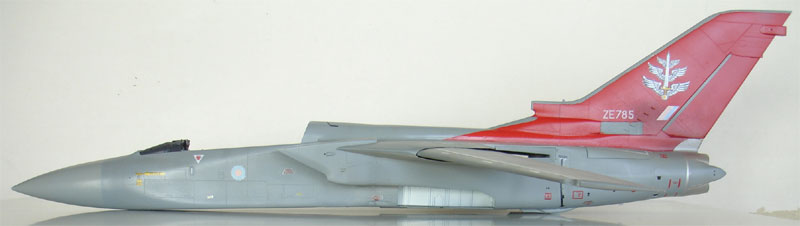
The basic model of the Tornado F3 was now ready to receive its first markings through the custom made decals. This was done now to prevent damaging an otherwise outfitted model with all gears and stores that would make handling difficult.
Make sure that the surfaces are gloss to prevent silvering (air bubbles below the decals) later on. The gloss sheen was achieved by spraying on several coats of Johnson Future (called also Klear or Pledge) with an airbrush.
Some of the home made markings needed are printed on white decal sheet so needed a very carefull cutting to their edges. This is very difficult particularly for the winged sword on the tail.
So the "swords" on the tail were carefully and tediously cut out with a very sharp scalp knife and scissors.
The special blue numbers 1987-2004 on top of the red vertical tail had to be hand painted. This was done on spare clear decalsheet. I made 6 examples and picked the "best ones" for use on the model.
(NOTE: I later found a way to have all these custom decal printed).
The particular white Tornado ADV walkway stripes on upper wings, fuselage and intakes were added in white using the home made decals. These needed long cuts.
(NOTE: I later found a better way to have these custom decal printed).
The white serials from the home made decals were also cut out and added as needed for the particular picked plane desired.

Some markings came also obviously from the kit like stencilling. The toned down roundels can be obtained from the home made sheet but better is to get some from other sources like the Revell Gr.mk1 kit of XTRADECAL roundel sets.
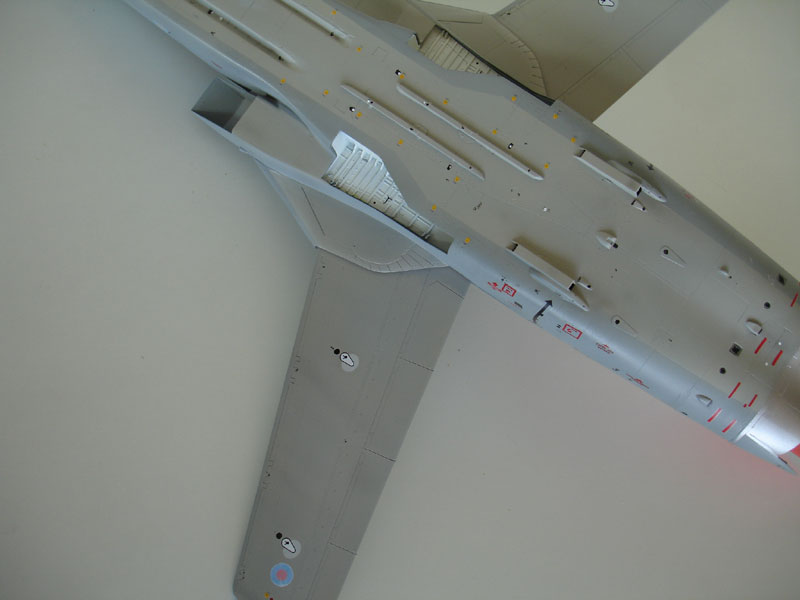
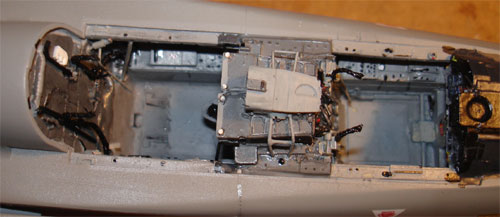
Lower airframe details, some markings were applied with a toothpick with some paint, others with kit decals. Main gear bay details and optional Vicon Chaff dispensers still to be added.
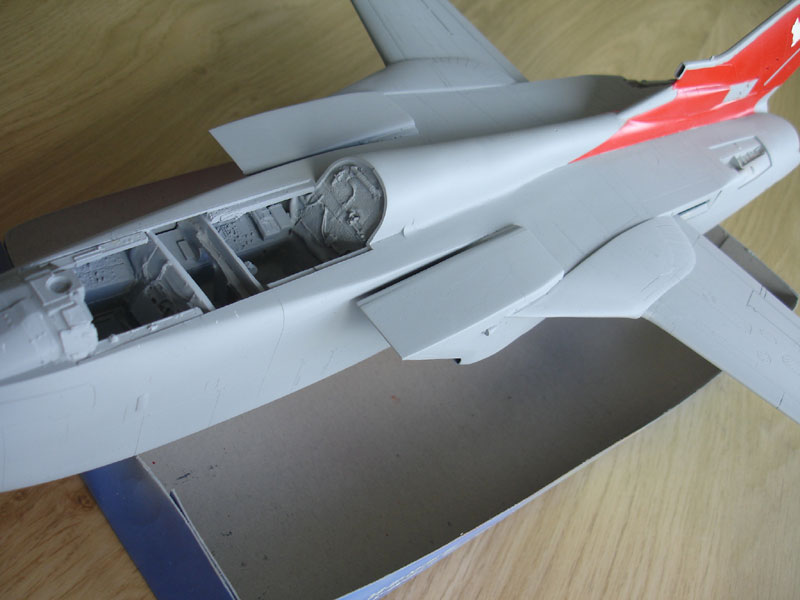
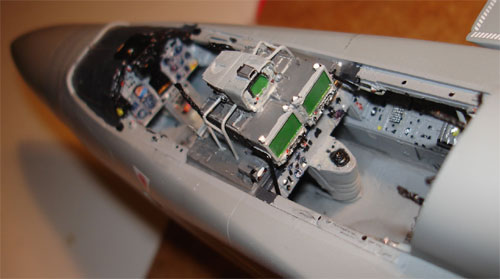
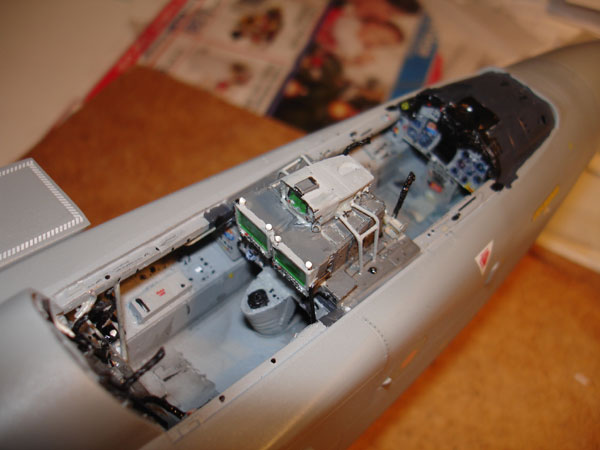
Work was also started on cockpit finishing. A mix of decals and paint was used here. Weathering was limited in the cockpit as the "office" is kept clean. The upper resin parts for the CRT and seats still to be detailled with paint and decals.
Note that the mid bulkhead is solid behind the front pilots seat (on a real Tornado its lower part should be open). This was noticed too late during construction and it will not really be noticeable once the seats are in place and cockpit fitted out.
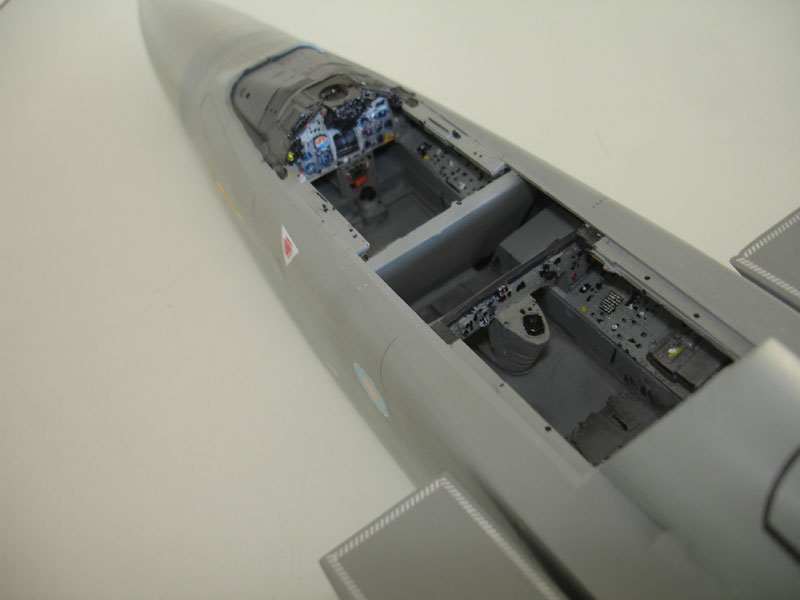
The various detail parts were also painted. The canopy was masked of inside and outside. Details like de-misting ducts still to be added.
The cockpit was detailed using the
available pictures from references. Detailling was done with stretched
sprue and plastic card.
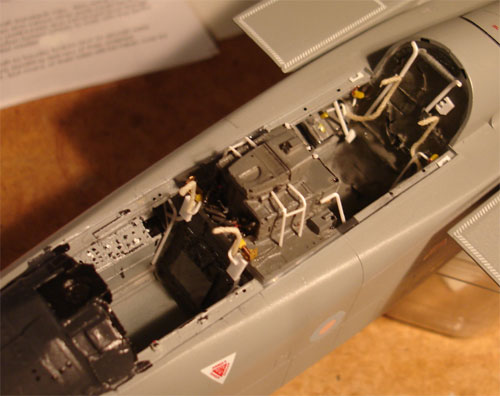
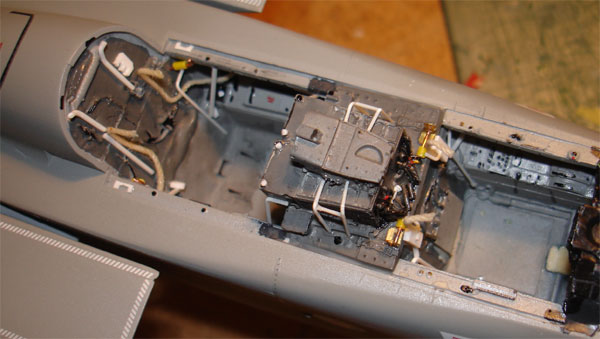
.... after painting the details........
Control sticks still to be added as well as the ejection seats.
Now, the airframe and details were touched up in areas regarding some weathering and so on. With very thinned paint and the ProModeller weathering black wash very subtle panels were highlighted. Do not over do it as Tornado's are well maintained.
After 24 hours drying, a protective coat of Johnson Future / Pledge with a bit mixed in Tamiya matting agent was sprayed over the model. this will give an even shine and protect the decals.
The next step is now to add the various detailed airframe parts such as the undercarriage.
On to next [ Page 5 ...]
Back to 1/32 Models.......

(c) Copyright Meindert "designer"/ All rights reserved. Your comments are welcomed by webmaster
Created this page:
July 27, 2008