SE-5a
[ page 1 ]
Royal Aircraft Factory SE-5a model kit in 1/32 scale
Luchtvaart Afdeeling (pre-decessor Dutch AF)
On January 6,
1918 during World War One a single British SE-5a biplane landed on Dutch
soil at the small town of Brielle.
This type of
biplane was designed 1915 and produced by the Royal Aircraft Factory. SE
means "scout experimental" and from the SE.5 SE.5a was developed. The planes
were deployed in large numbers by the British at the western front. Many
modifications were made and there were more than 5400 units built. For
example originally there was a windshield in front of the pilot on but
this was soon removed.
modelling report
series
of interned aircraft for the Dutch "Luchtvaart Afdeeling"
Much of the British aircraft production was depending on the available engines such as the Hispano Suiza. This engine was made in huge numbers by numerous factories, but the production quality was not always good.
A single SE-5a
plane was interned for the Luchtvaart
Afdeeling (LVA), the pre-decessor of the
Royal Dutch Air Force, which formally paid 3000 Pound Sterling for it,
to avoid being accused of taking sides in the conflict. The biplane had
a 200 hp Hispano Suiza engine. The aircraft was not much used afterwards.
It had the British serial B4885 and got Dutch registration SE 214.
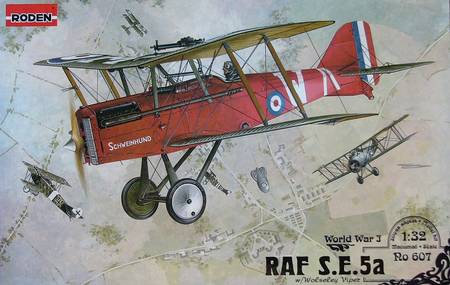
In 1/32 scale, there is an SE-5a
model from RODEN and from mid 2009 also from WingNut Wings.
DutchDecal
had also released a decalset #32009 for this LvA plane complete with the
orange Dutch balls. I also had a Windsock as a reference book, and you
can find much on the Internet. So there was nothing more to stop building
this kit.
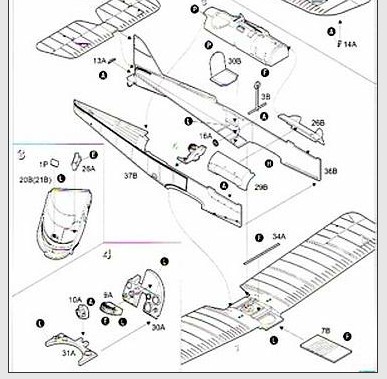
modelling a biplane requires some planning and a different order than ordinary modern aircraft kits. Particularly considering the various wires.
I had bought the RODEN box with Wolseley
Viper engine ... and what happens ... RODEN came naturally with the same
kit but with the right Suiza engine. I did not worry too much and changed
some parts. Main difference is the radiator and the "Geared" propeller
shaft which is higher for the Suiza. The LVA biplane had a two-bladed prop
and there are two versions of the two-bladed props RODEN kit, so no problem.
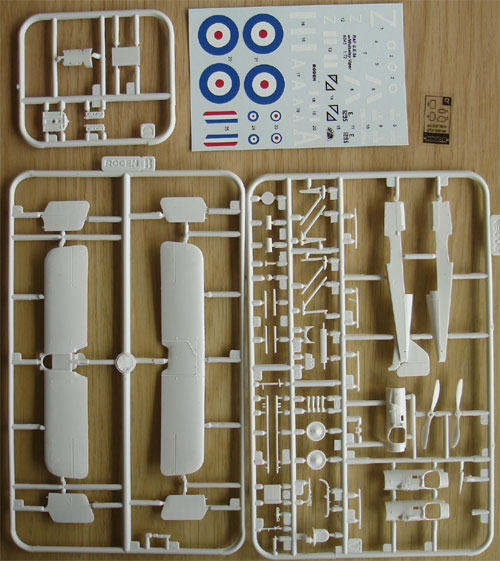
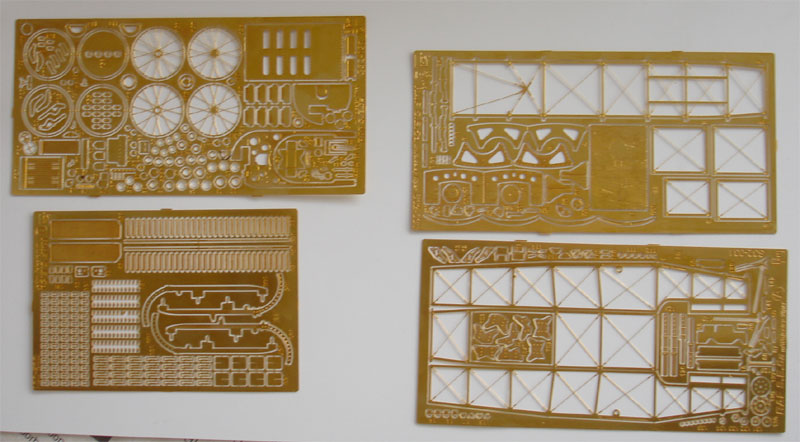
The RODEN has only plastic parts
and includes the details in the fuselage. But I was able to buy at a low
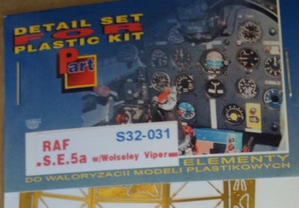
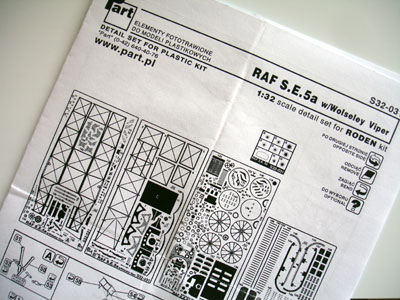
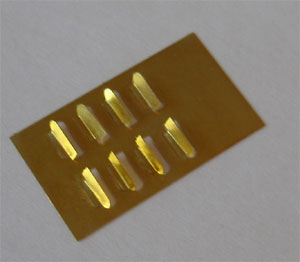
price an etched metal set from ELEMENTY.
The PE-set has more than 300 tiny parts and it's quite a hassle if you
want to use all of them. Especially within the metal internal frame is
very fun to make ... although I later discovered you do not see much of
it .... more about that later.
 ..
..
Some wires of English biplanes are flying wires with a profile. I bought a set of PE flying wires from RB PRODUCTIONS.
The RODEN kit is fine. One might argue that some aspects are even better than the much more expensive WingNut Wings kit, such as the shape of the wings. But both kits are beauties.
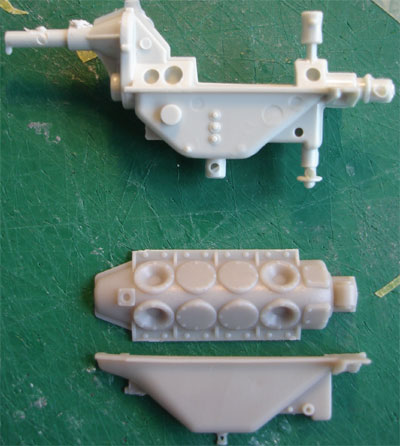
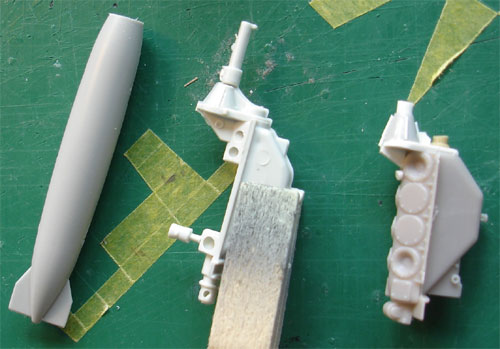
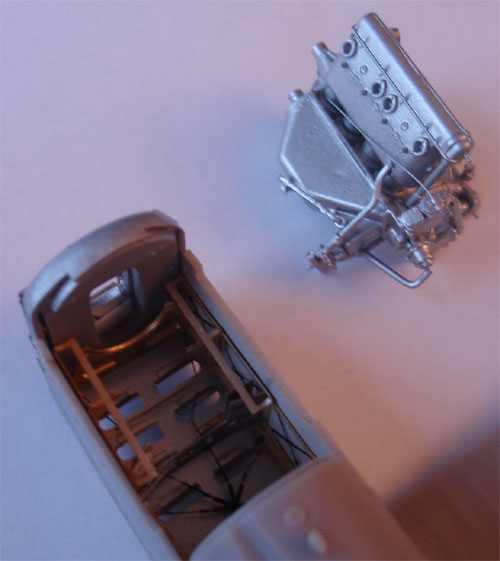
I started modifying the Viper engine
into a Suiza. After all, I had purchased the wrong kit for the LVA plane.
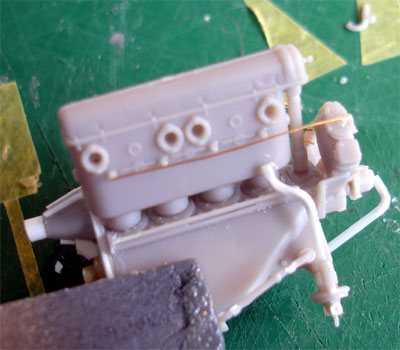
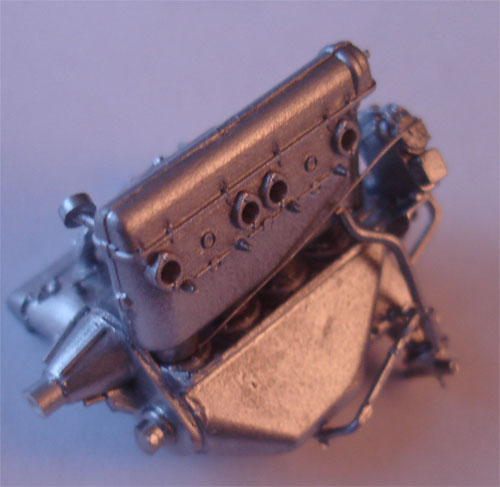
The modified Viper engine to Hispano Suiza can be seen in the pictures.
 ..
..
 ..
..
The engine was a metallic color,
and was provided with some spark plug cables and oil lines and such.
 ..
..
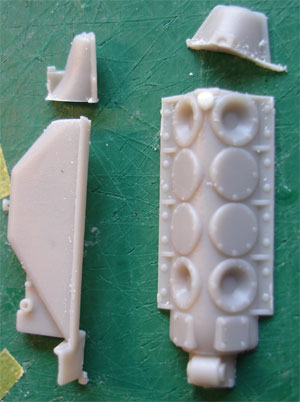
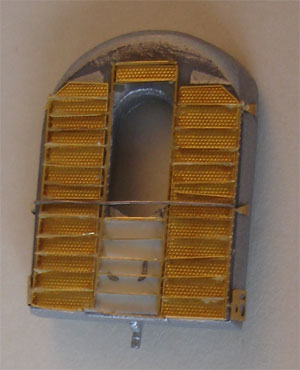
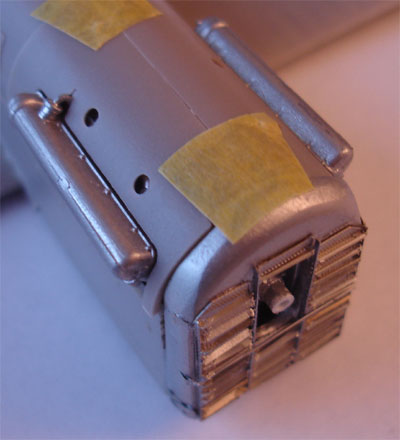
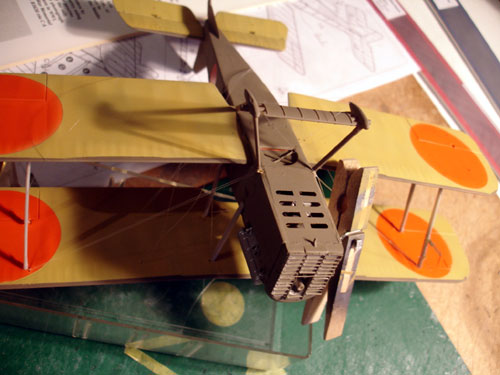
The Viper radiator from the kit was
also modified for the Suiza. The plastic radiator was sanded smooth and
then I glued the ELEMENTY PE parts on it. I used the German Superglue Krick,
thickness mittel. It looks correct for Suiza.
 ..
..
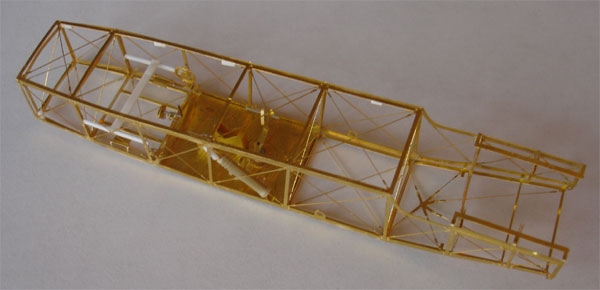
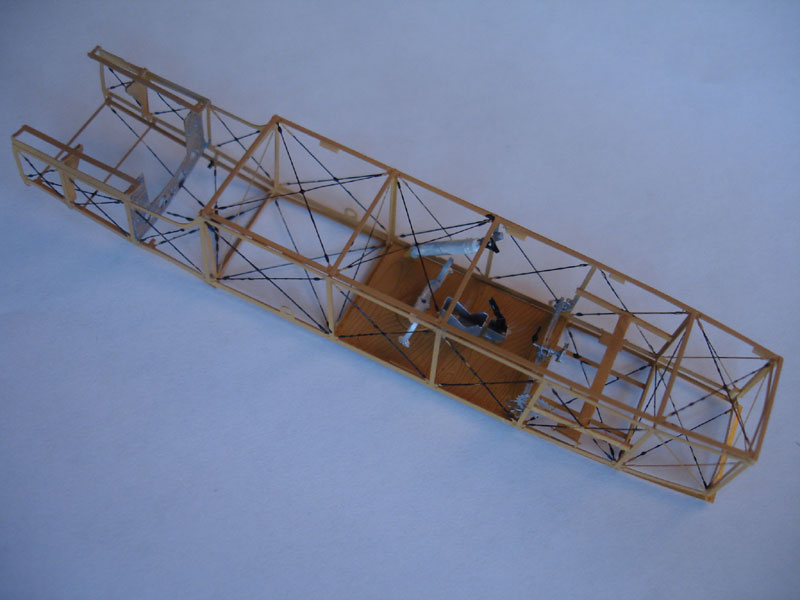
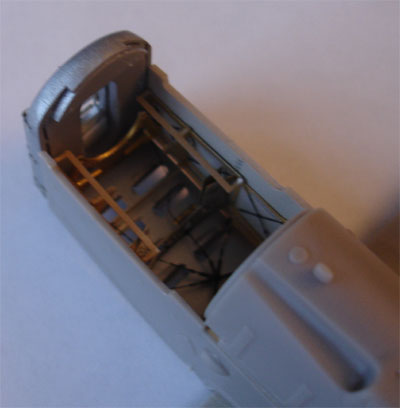
Next, the inner fuselage frame of
ELEMENTY was put together. It is a few hours work. Some details was made
from plastic strip and rod. The frame was given a coat of wood color with
spray paint and then the tensioning rods painted black.
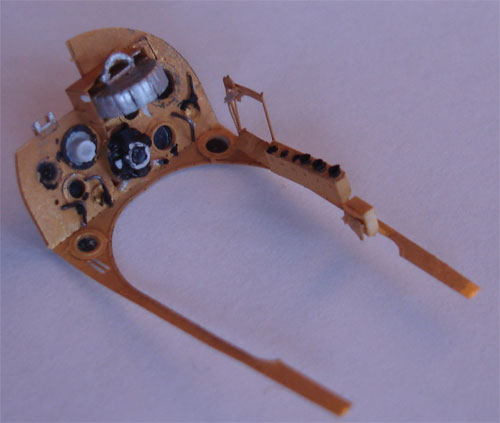
The instruments can also be detailed
using the PE set, but actually I found that the RODEN parts give a good
result as well... The instruments are provided through a photo negative
frame, but they are hard to see.
 ..
..
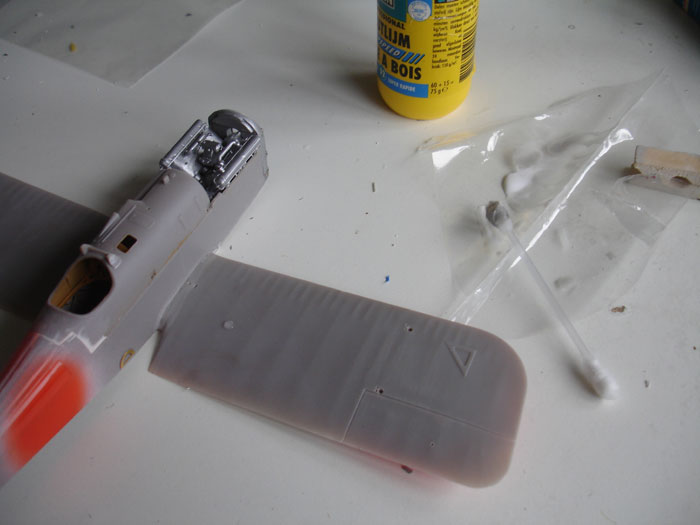
The next challenge was to prepare
for the wires. I started drilling holes in all wings, fuselage and stabilizer
using a miniature drill of 0.4 mm. (There are modellers who do not
completely drill through the holes, gluing the wires half in later. For
me this does not work as many wires do not stick and come loose, so I always
drill the wholes completely. This means that later there has to be filling).

I also had to insert a very thin piece of plastic strip in the underside of the fuselage under the wing between the fuselage halves. I filled the seam underneath with white Alabastine car filler. The pilot fuselage cover is not a good fit either, but on real planes this is often also the case.
..
 ..
..
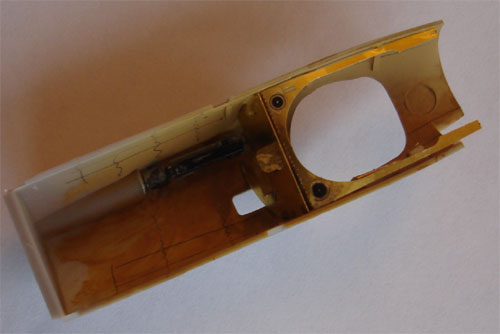
I went on to put the engine inside the front fuselage. This engine had some detail and had a metallic color. Fitting the engine and radiator did not go very well. In fact, I had to cut away a section of the rear of the engine!! You see nothing of it later.
..
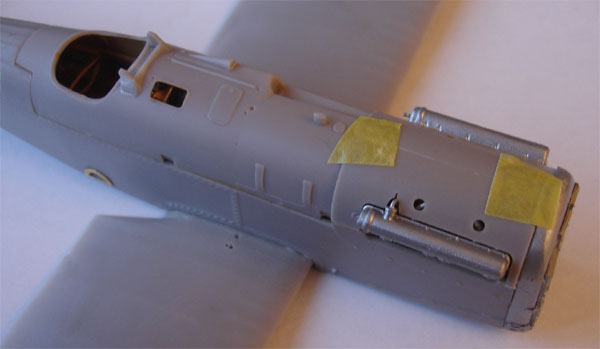
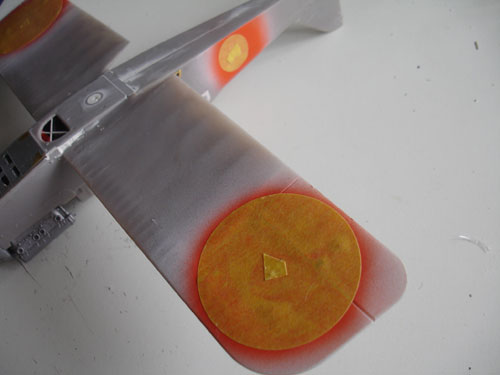
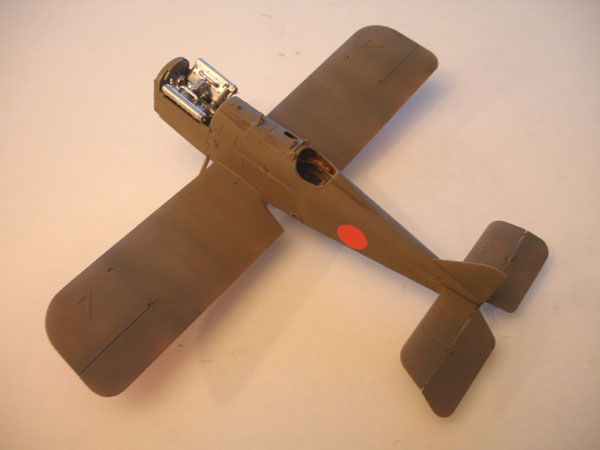
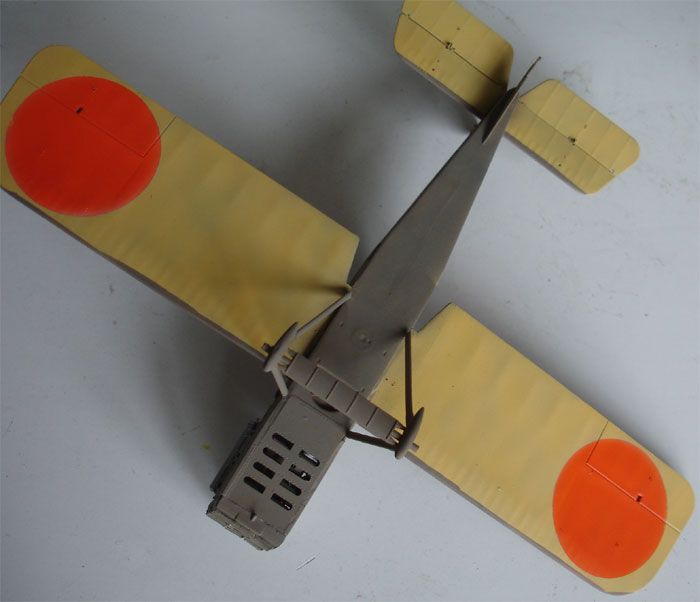
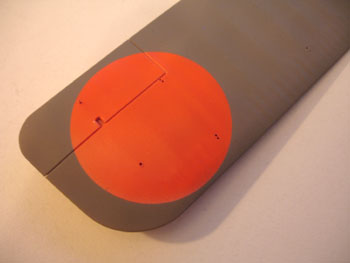
Dutch Luchtvaart Afdeeling planes
had orange balls, orange being the Dutch royal familiy colour.
![]()
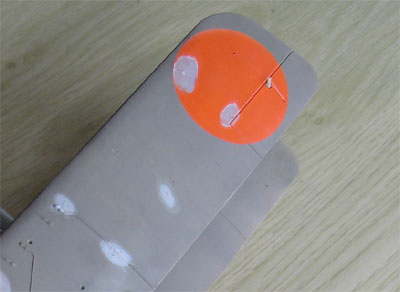
I decided to spray the LVA orange balls and not use any decals. It is now much easier to apply the bals now than later.
The spraying of the orange balls was
done in 4 steps:
1. the surface at the balls areas
was sprayed roughly mat white. Then they got a rough orange spray using
#4682 Model Master Acrylic Orange. This is a good match. 
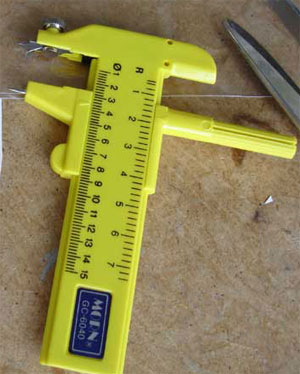
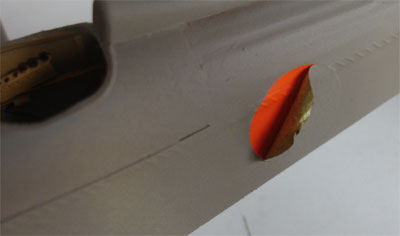
2. after drying, set in place a piece
of circular tape. Cut out the circle of the ball using a Compass
cutter set at the correct ball diameter.
 ..
..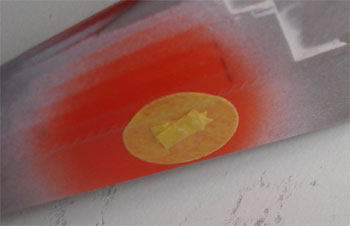
3. just put this tape for each ball.
The orange ball is now protected.
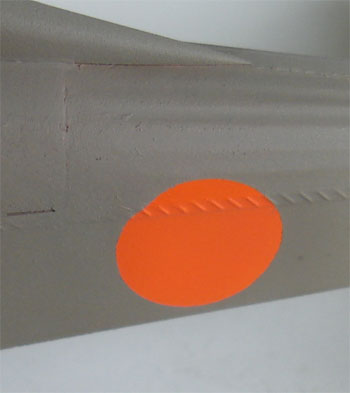
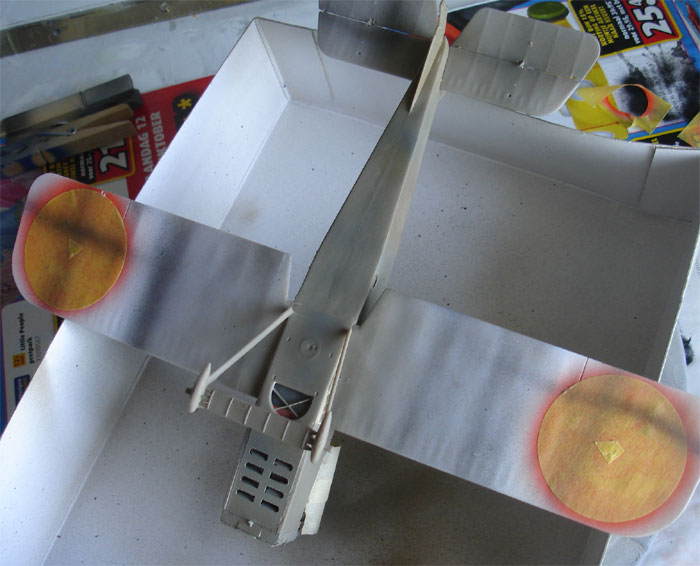
4. now overspray each ball color
depending on where the ball is with the surrounding colour (khaki or linen).
Application is needed of 6 balls.
 ..
..
Time for the rest of the colors!
On the sides of the cockpit you see on the SE-5a often wrinckling of the fabric. This was suggested by applying some white glue on the sides that was sprayed over. You get a subtle effect.
This SE-5a has a PC10 khaki colour
as well as linen for the wings. I found the Revell #87 Erdfarbe Acrylic
paint (in the blue square plastic containers) useful for PC10 khaki. I
used for the linen a mix of Revell 88 Acrylic and 15 yellow oker. Some
pre-shading was applied first with black stripes. The final colour will
than look deeper.
The various paint colours were applied
with the airbrush.
On the wing leading edges there is
still a bit of khaki colour, this was masked before the wing undersides
were sprayed in linen.

After drying of the paint comes the
"fun" job of assembling the wings and then adding the "rigging" with wires
and flying wires. Applying the wires is always a significant "challenge"
to put it mildly. Some wires are double and run parallel. This is well
shown in the Windsock book.
For the wires I used fishing line
with a thickness of 0.2 mm. First , of each wire one end was bonded with
superglue in the pre-drilled hole. After pulling the wire to the appropriate
hole to the other side, fix it again with superglue under the weight of
a cloth peg to dry.

Work with the wires from the inside
out. After all wires were installed, cut off their long ends with a very
sharp surgical knife. The control cables to the rudder and elevator were
fixed as well with super glue using fishing line.
After all wires have been applied,
the next step is to fill all the holes on the outside with putty. This
is quite a job because you will damage the already applied paint. After
drying of the filler do carefull sanding.
 ..
..
Then you have to again spray one a layer of spray paint in the right color. The result is very pleasing and you get a good result and a strong wing assembly.
On to next [page
2....]
References
- RAF SE-5, WindSock datafile no.
30
- RAF SE-5a, WindSock datafile special,
1993
- Air International, Volume 44, pages
178-185
- IPMS Nederland, Internet site NedMil
on Dutch interned plane (for members only)
Back to 1/32 scale Models.......

(c) Copyright Meindert "designer"/ All rights reserved. Your comments are welcomed by webmaster
Created this page March 18, 2011