KLM NOORDZEE HELICOPTERS
[ Page 2 ]
...continued from
page 1....
Page 2
Page 3
 ...
...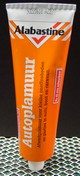
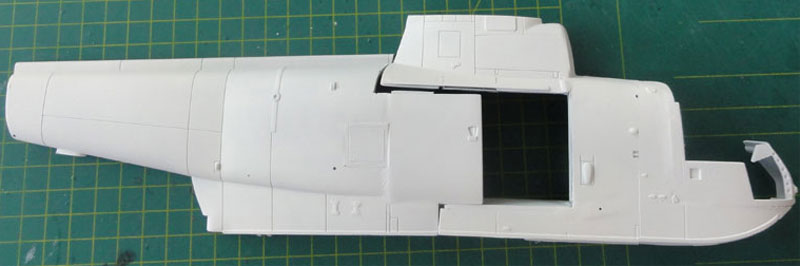
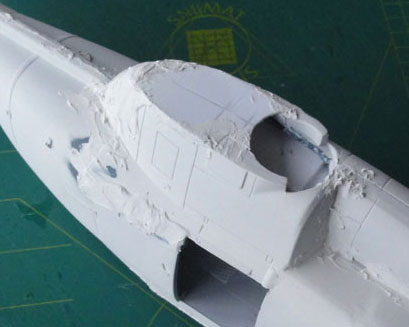
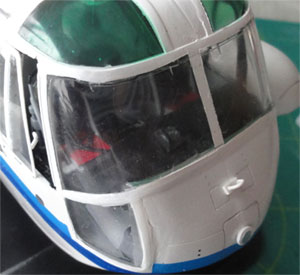
The overall fuselage was assembled. All glass work was protected with masking tape. Now loads of putty were used. I use the white car filler of Alabastine (in Dutch "autoplamuur") .
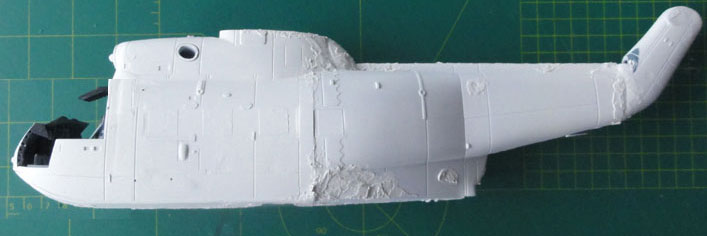
The rear tailrotor mast was set at an angle as on a S-62. After the putty dried, sanding was done. Next, a white base coat was added and some new putty/filler was needed in places.
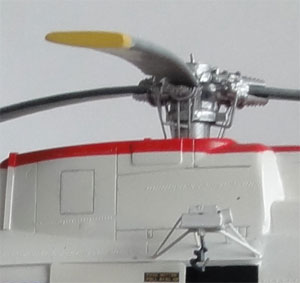
The rear of the main upper rotor fairing
was made smooth, removed the large cooling vent. Some strip was set in
place here.
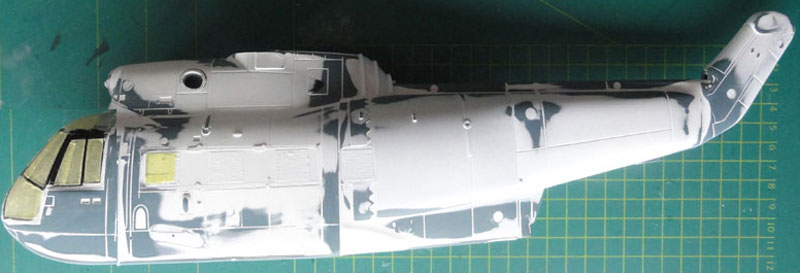
The result is seen here with again
some filling; the "white dots" are filled gaps with hidden metal screws
of the toy model. The starboard engine is not there on a real S-62. A new
port flat fairing was made with card and loads op putty.
 .
.
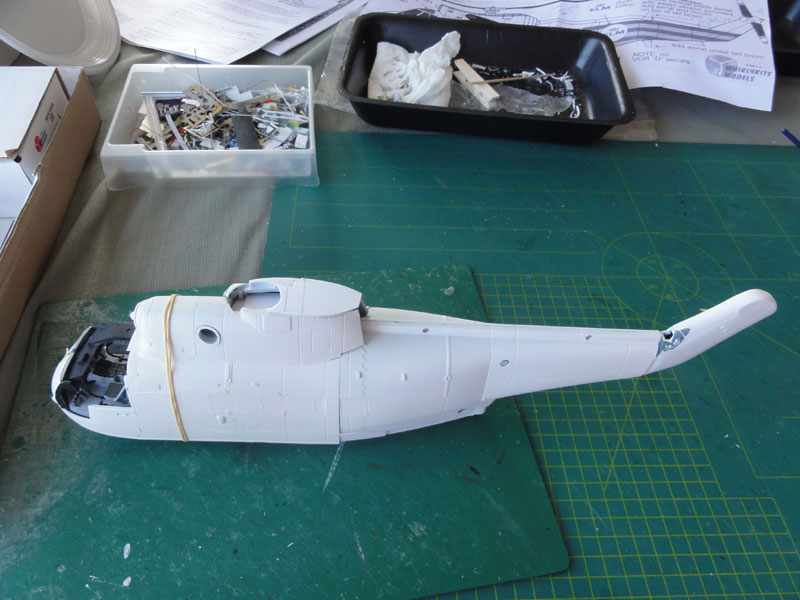
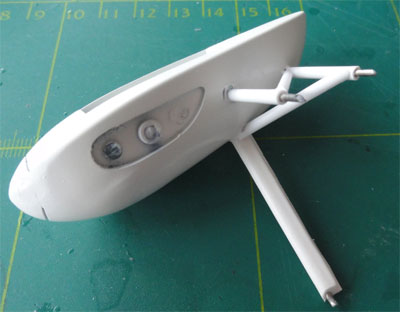
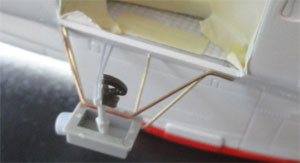
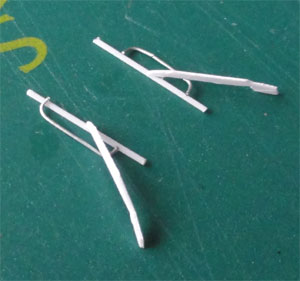
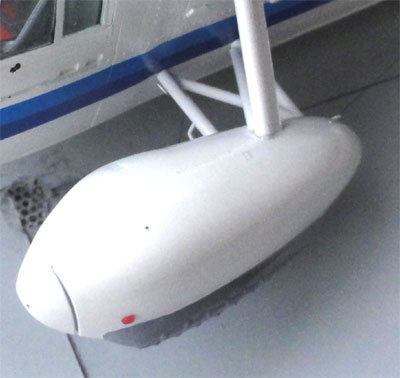
The location of the sponsons was determined as situated next to the cockpit. Metal struts were used from thick metal wire and plastic tubing. Holes were drilled to fit in the struts to get a strong assembly. The main upward strut got an airfoil shape.
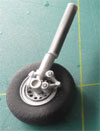
The S-62 has an undercarriage with
two big wheels. The wheels were luckily found in the spares box. The smaller
rear wheel was also found in the spares box.
 ..
.. ..
..
![]()
The model was now ready for the colours.
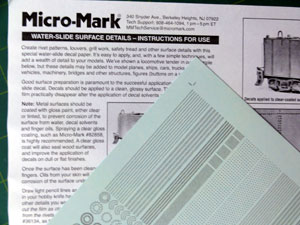
But there are numerous "raised rivets" on this helicopter as on many many
helicopters. And in 1/32 scale they are visible. So I used "raised rivets"
from Micro-Mark that makes them for railroad railcar models. These
rivet decals are real value for money and I highly recommend them!
Strips of raised rivets were cut
and applied as a normal decal on the S-62 model. They will be seen when
covered with paint.
After several rivet decals set on the model, a gloss white finish was applied with the Harder Steenbeck airbrush using MR.HOBBY GUNZE SANGYO H1 white acrylic but any white can off course be used.
The horizontal stabilizer was made from a piece of scrap plastic found in the spares box. It was sanded in an airfoil shape.
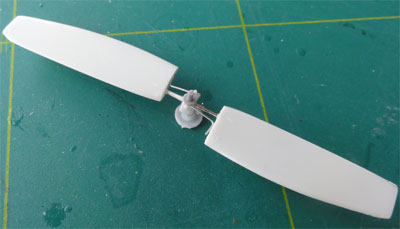
The tailrotor was made from blades
found in the spares box as well and shaped. Its diameter is 85 mm in 1/32
scale. Its hub was made from metal rod and some plastic bits.
![]()
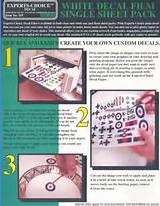
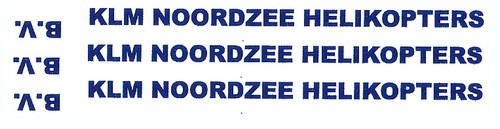
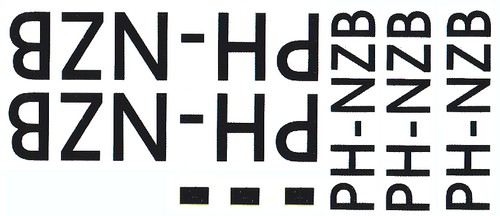
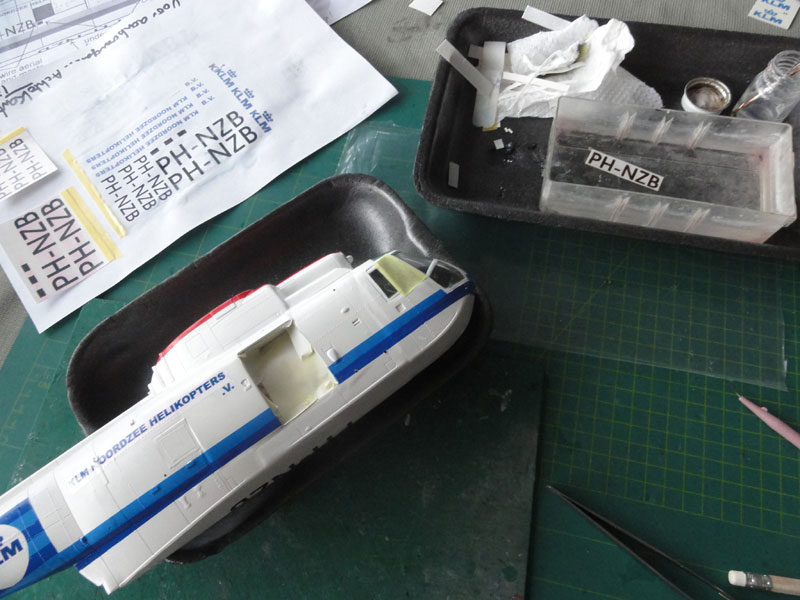
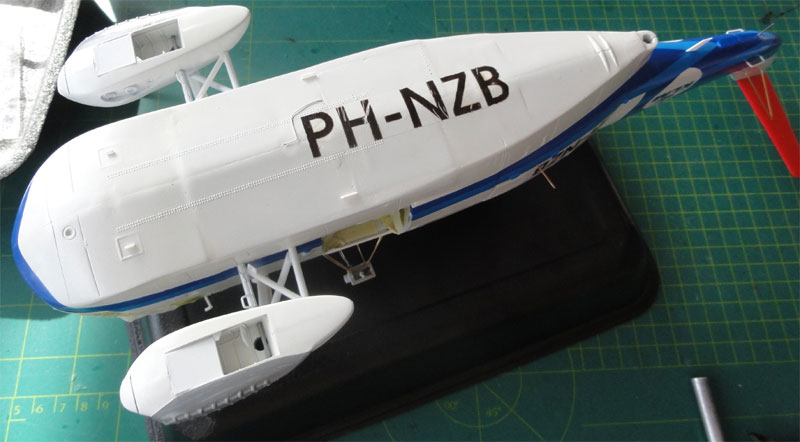
The S-62 would be made as a KLM NOORDZEE
HELICOPTERS "PH-NZB" model. So I had to make my own decals. With a text
editor the markings were made. The lower S-62 base coat is white, so a
white decalsheet from BARE METAL FOIL was used, for INKTJET printing.
 ......
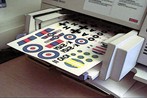
These are the markings I made with
the text editor:
 ..
..
The blue is very dark, note that
this varied over the years for KLM operated helicopters and aircraft. The
KLM "crown" is also very dark blue.
The home printed decals got at least 5 coats of Johnson Future/Kleer/Pledge clear acrylic varnish applied with the airbrush. So each marking decal should be cut out separately and applied to the model.
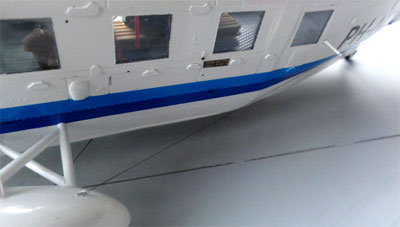
But first, the blue striping was applied
to the tailsection. With masking tape this was done and the airbrush. Colours
used were for the Gunze Sangyo H15 Dark blue acrylic
and for the lighter blue Gunze Sangyo H25
acrylic. Thinning is needed with the special Gunze Sangyo acrylic thinner.
The white circle on the tail with
KLM was also done with round cut masking tape.
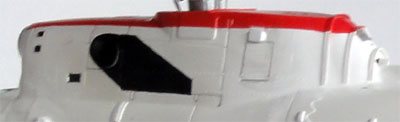
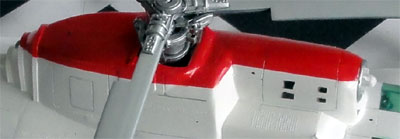
The main rotor top fairing is red
as well as the horizontal stabilizer. Revell aqua 36131 Feuerrot
red
was used.

Some white re-touch work is still
needed here. This will blend each home printed decal into the surrounding
area.
 .......
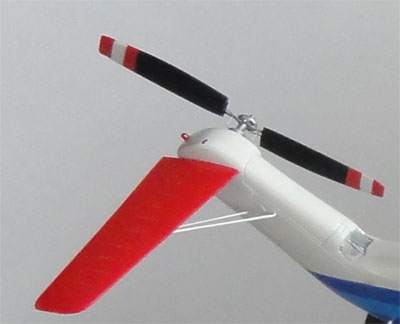
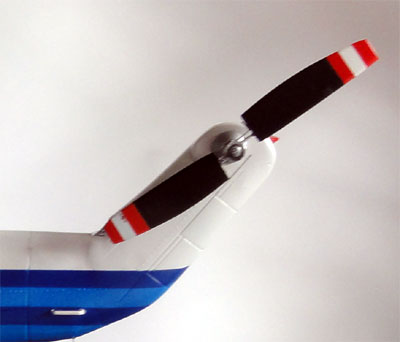
The tailrotor blades are black with
red-white-red tips and a metal central hub.The horizontal stabilizer was
set in place, after being airbrushed red. Its metal struts were than painted
white. Some small holes were drilled to get a strong joint.
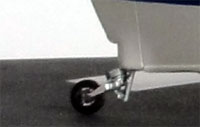
The tail wheel was made with some
spare parts from the spares box.
The main rotor blades are gull grey Fed.Std FS36440 (for which Gunze Sangyo H325 was used) on upper surfaces and black lower surfaces. The tips are yellow.
The main rotor hub was made with bits
and pieces of the New Ray hub, but it should be 3-bladed. The attachments
were re-enforced with bended metal etch bits. The main rotor is not fixed
in place. It fits into a bit of round tube at the rotor fairing floor.
 ..
.. ..
.. ..
..
There is a winch above the cabin
door. This was made from scrap with bits and pieces of metal strut as well
and a "hook".
...
The black smoke panel was airbrushed
and some vents and grills set in place painted black.
Inside the passenger cabin it was
decided to make the model in "bare transport mode" with seats removed.
From some card and rod a wooden pallet was made with an "equipment piece
on it that needed quick transport to a rig". The piece was tied with tiebands.
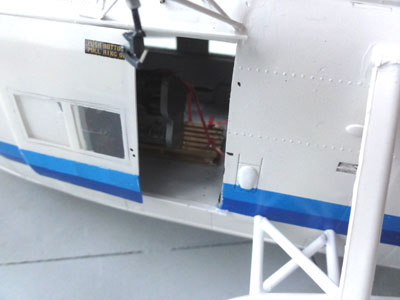
The windscreen fits OK, but the port
cockpit sliding window was set open for a change.
 .....
..... ...
...
The upper windows got a coat of transparant
green with the airbrush using TAMIYA X-25 Clear
Green thinned 50% with Tamiya X-20A thinner.
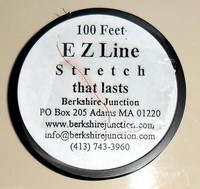
Finally, the S-62 has, as many helicopters,
antenna wires. Some antenna struts were set in drilled opened holes and
fitted. With superglue, stretched wires were set using EZ-line;
this is a flexible wire. (alternatively use thin fishing wire and paint
black).
 ....
.... 
Also some small blade antennas were
set in place.
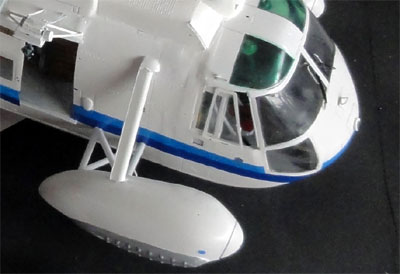
Here
the raised rivets made with the Micro-Mark decals are well seen on the
lower boat hull.
Wheels were set in place. The struts
are metallic and white. Some small anti-collision lights in red and green
were made from scrap transparant plastic and set in place.
 ....
....
This completed this 1/32 scale S-62 model of KLM NOORDZEE HELICOPTERS
![]()
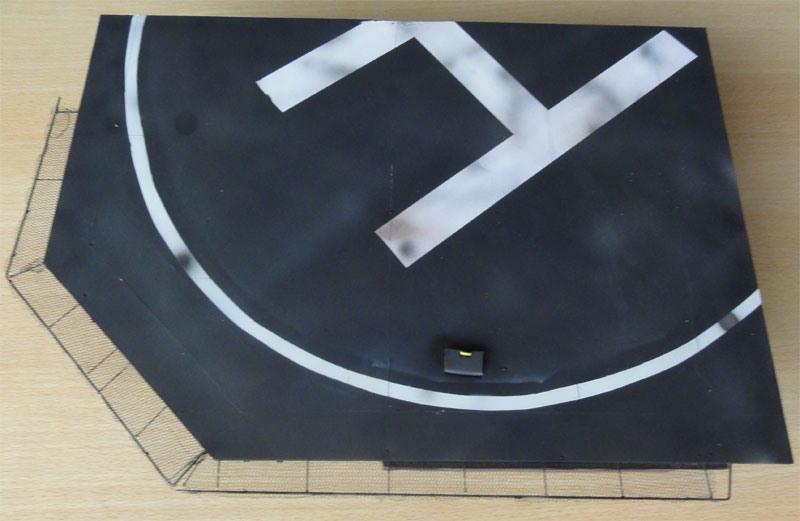
The S-62 of KLM was used a lot for
offshore transport work to oil rigs in the North Sea. So for display purposes,
it would be nice to make "rig" helicopter platform.
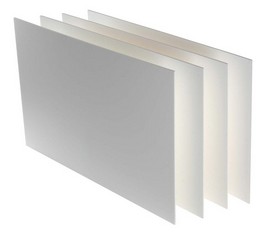
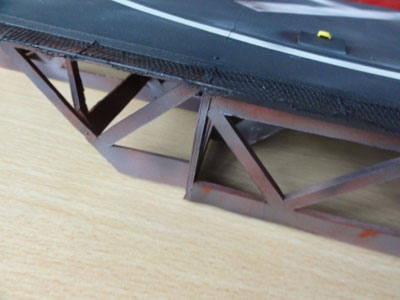
Using CARTON PLUME foamboard from
CANSON , that can be easily cut and assembled, a rig platform was made.
It was airbrushed in various colours with acrylics and with a large "H"
marking on top using masking tape. Some "weathering" was done as well.
This board is really recommended to make any structure for us modellers.
Architectural models are made of it.
On to final [ S-62 PAGE 3.... ]
![]()

(c) Copyright Meindert "designer"/ All rights reserved. Your comments are welcomed by webmaster
Created this page
November 18, 2014