[ page 7 ]
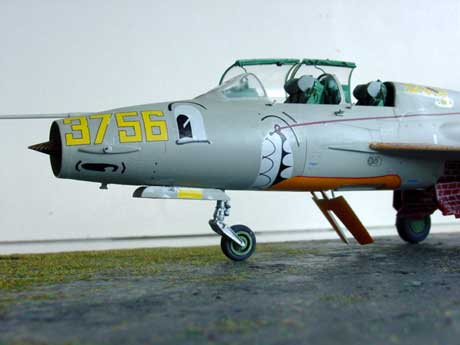
MiG-21 UM...
The two seater kit got extra detailing in the cockpit area which will be done at a later stage.
It was decided that the scheme as
given in the Trumpeter kit of the Czech Demo MiG-21 UM aircraft would
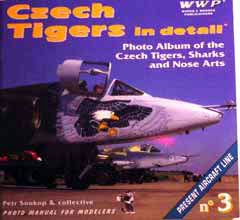
be very nice and would give a special model. A book was obtained called
"Czech Tigers in detail" of the WWP
series
of Petr Soukop that has more pictures on various demo planes, including
the one of the plane numbered "3756" as it first appeared in April 1995;
this jet gave many demo's at air shows (see my photo on previous page).
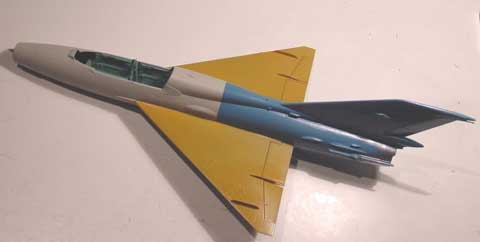
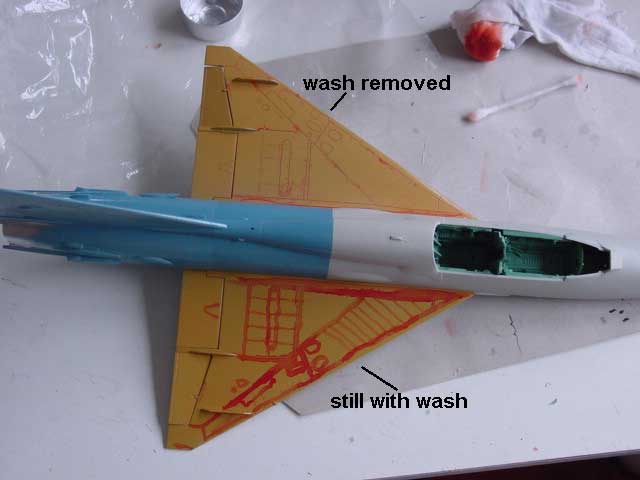
For the blue rear fuselage a mix was used of 80% Heller 9019 blue and 20% white;
The gray areas were given a coat of Humbrol 129 enamel (about FS36440).
From the pictures in the book it was
seen that the upper wing and stabilizer coloring is heavily weathered;
it has a wooden brown look with an uneven darker red/brown detailing the
various panel lines. Also, the brick pattern as seen on wheel doors and
bays and leading edges of the wing pylons are dark red with white brick
lines.
First the brown, gray and blue colors
were applied.
In order to weather the upper brown
colored flying surfaces the following trick was used:
1. apply 3 coats of
acrylic
Johnson Clear varnish over these areas, let dry 2 hours.
2. with a brush, apply ample enamel
(oil based) paint stripes of the red/brown mix at the various panellines
of top of the varnish; let dry 24 hours
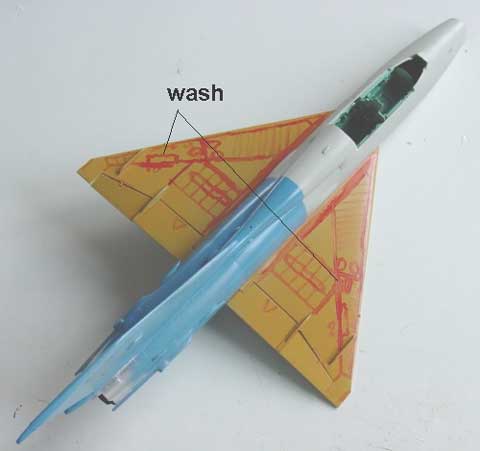
3. with a cloth damped in enamel
paint thinner, remove the red/brown painted wash stripes as desired in
various locations, it may be uneven. This is the weathering effect. Remove
in a forward/backward direction of the airflow.
please
note that also the upper surfaces of the horizontal stabilizers got a similar
treatment (not seen on these pictures)
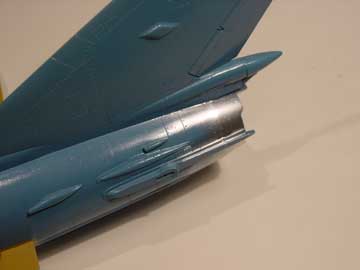
The rear area at the exhaust was given
a slightly weathered metal sheen coat with an air brush to simulate the
burned off paint at the end of the engine exhaust as seen in real pictures.
Next steps are final finishing of
the cockpit, undercarriages and other details.
The forward part of the ventral fin
should be green as usual on many MiGs and the wooden nerve pattern will
be applied with the decals as in kit.
Page 1
Page 2
Page 3
Page 4
Page 5
Page 6
Page 7
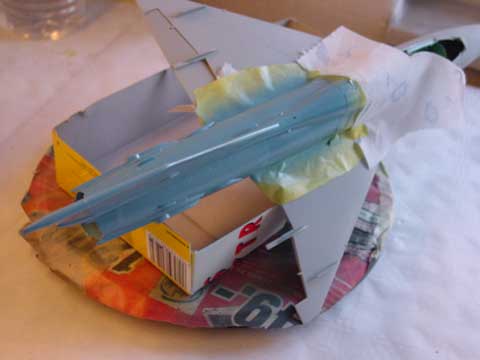
The various models that were sprayed with paint were protected through clear plastic bags and the cockpit area cut out for access purposes. Seen is the two seater MiG-21 UM....
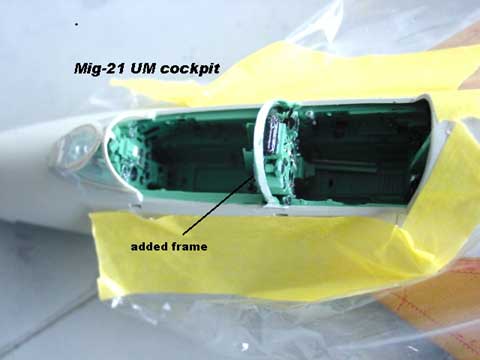
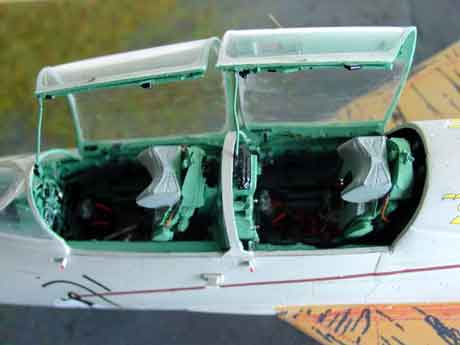
Now, lets turn to the cockpit areas. For the two seater UM a frame is missing in the Trumpeter kit and needs to be added. Between the frame a transparent screen is present , note that this screen does not fully cover the half circle but only part of it.
 the
gunsight area
the
gunsight area
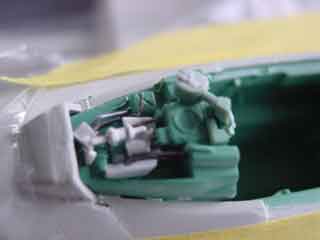
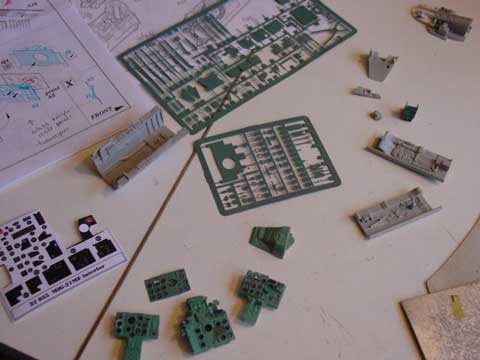
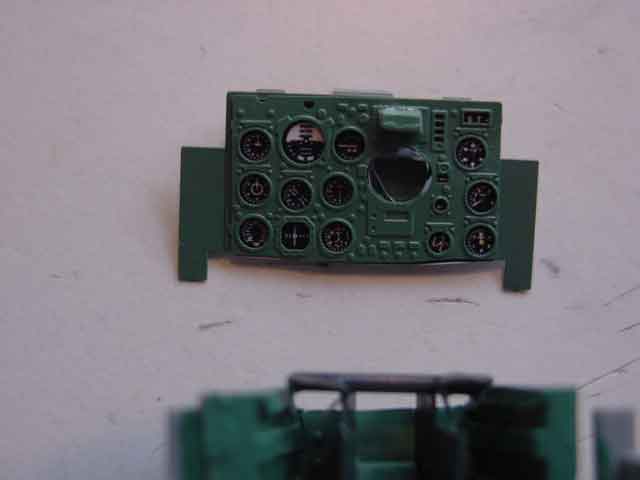
Various cockpit parts are available
through the many kits here under construction, and in addition an Eduard
cockpit set (number # 32-055 (for the MF) was obtained. This
set provides some additional details of cockpit instrument panels and the
clocks and dials. However, through combining the various parts, you can
make a whole bunch of good detailed cockpits. In certain areas, a converted
Trumpeter part is better than a "flat" Eduard etched part, but sometimes
the other way around is true.
Also, by using a combination of decals
films as provided by Trumpeter, the Eduard color instrument prints and
pieces of scrap, card en sprue, nice results are obtained.
It is difficult to explain here exactly what to do and how it was done, but through the studying pictures, the Eduard instructions and using common sense good results can be obtained.
What can be said is that:
- the fit of the seats in the tubs
does not enable the Eduard leg restraints (numbers 5/6) to be used
- the Eduard metal seat straps and
belts were not used, tape is better.
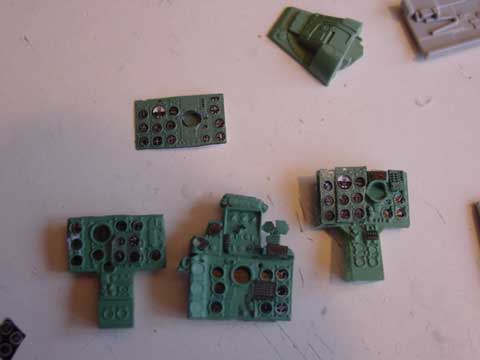
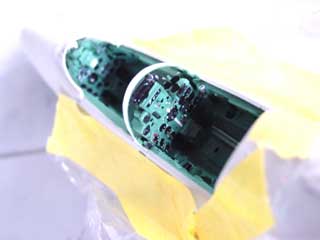
After preparation, all parts were
give spray of russian cockpit interior green Extracolor
X629
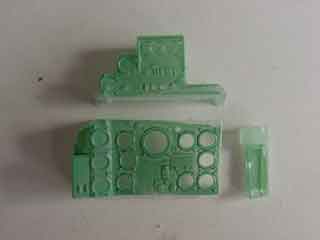 UM
panel, cut in pieces
UM
panel, cut in pieces
The MiG-21-MF panel, to be installed later in the MF kit
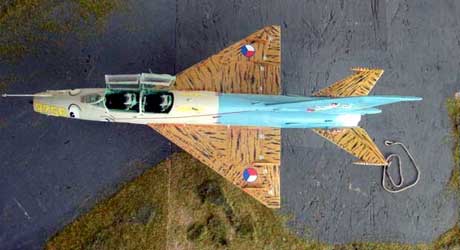
The MiG-21 UM was now further decal led using the kit's decals. (Note : I replaced the incorrect Trumpeter Czech roundel markings with spare ones from the Revell kits).
First, the overall model got a gloss coat of Johnson Future/PLEDGE / Clear. The decals themselves can be applied in the conventional way. The decals of the "bricks" on a red background were not used, but the provided white patterns decals only, the red background being painted.
Also, some aluminum "strap"
markings were added from decals from the spare decals box; they are missing
on the provided Trumpeter kit decals.
After recalling, the overall model
got a coat of semi gloss varnish (Clear/Future mixed with 15% Tamiya Flat
Base)

The cockpit seats, some seatbelt
and straps added and set into the cockpit.
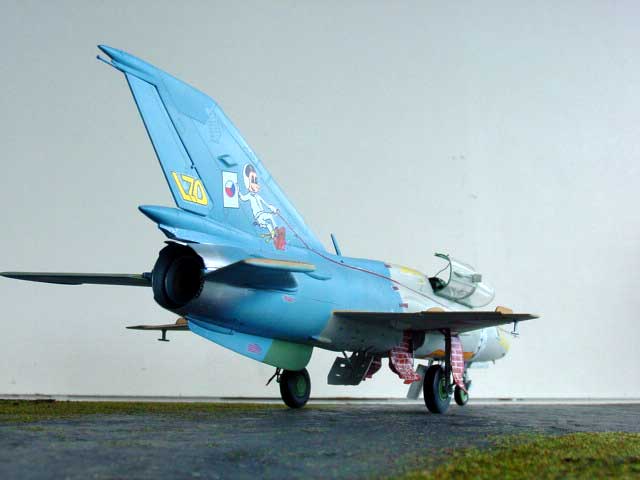
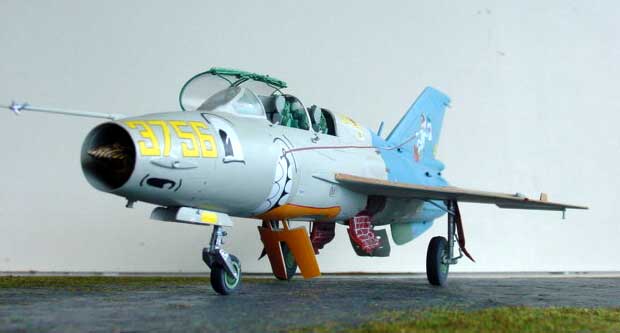
The Czech
markings MiG-21 UM model is now finished and has a very special scheme....
Now.. still a Trumpeter MiG-21MF kit to be made. But for now we leave the MiGs.....
Check out also my MiG-21 pages in 1/72 scale
Back to 1/32 scale Models.......

(c) Copyright Meindert "designer"/ All rights reserved. Your comments are welcomed by webmaster
Created this page May 18, 2003