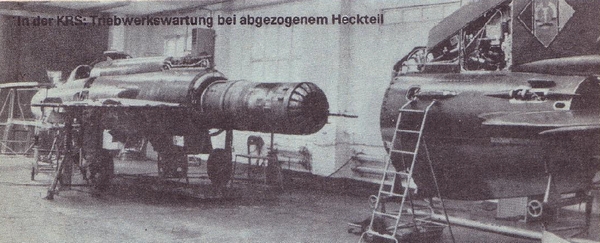
[ page 2 ]
MiG-21 model in 1/32 scale
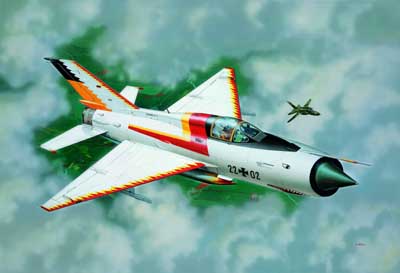
The re-issued Revell kit #04719 has
also been distributed in several new boxes with new decals. Here seen
as the MiG-21 SPS/MF with spectacular demo scheme of the "German" Luftwaffe.
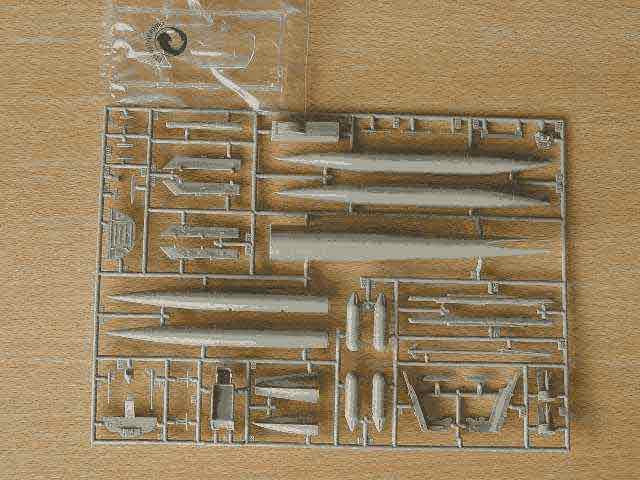
This kit has the same
parts as the re-issued kit 04771
with Kroatian
decals. It has the same basic old parts as older kits but also the single
new set of sprue with new fuselage fairing (for the MF) and a better seat.
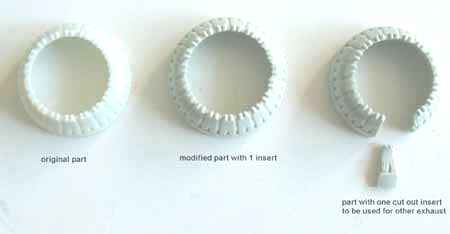
overview of
extra upgrade parts in later Revell kits
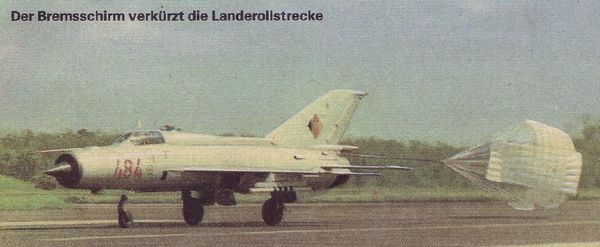
The real MiG-21 SPS version seem to have "blown" aft trailing edge flaps. I do not know how they are externally different, but it seems to me that a blowing duct is fitted aft of the wing spar in front of the flaps. Some sort of covering plate will probably be fitted between to cover the lower gap. However, no special SPS parts are provided in the kit, but this is no big issue to me.
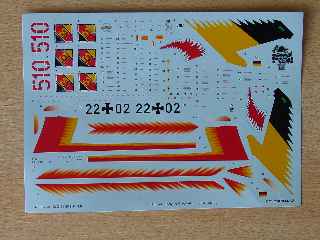
You get on the other hand very good
CartoGraph
decals to finish the kit as:
1- SPS demo aircraft the "new" "German"
Bundes Luftwaffe JG-1 squadron with yellow, white and orange decals for
the whole scheme; you get a complete set!
2- East German DDR Air Force JG-1
MF with camo scheme as it flew in 1991
 ...
... 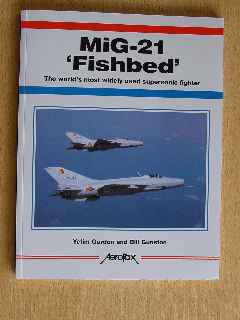
I will probably give this new kit a similar treatment as the MiG-21 MF started already (see previous pages). The reason for that is that it gives me another kit to finish in a very nice color scheme, the AEROFAX book inspiring me to make another kit!
Page 1
Page 2
Page 3
Page 4
Page 5
Page 6
Page 7
Another old Revell kit was also converted. This third kit was received as a gift from a friend and this was assembled in a couple of hours straight from the box as is, in order to show the differences between the conversions and improvements made. The third kit was receive also kit decals shown above as supplied for the demo kit.
All kit got their required putty filling,
sanding and the usual preparations before getting their first base coats,
for which mat paint Revell 75 light grey is often a very good coat.
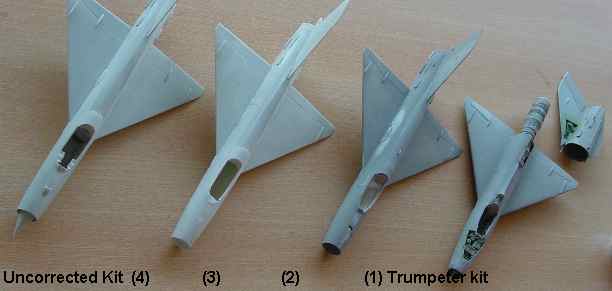
a real mig
alley.... on the left the uncorrected
Revell kit, next the two corrected Revell kits and on the right the MiG-21 F13 kit
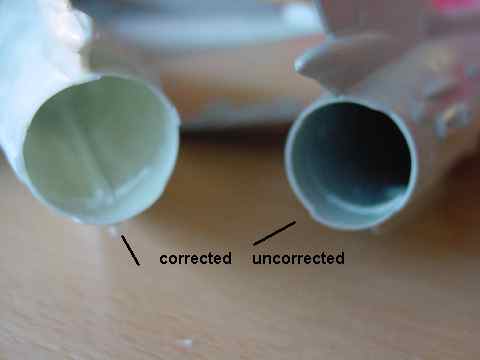
The differences again shown between
the uncorrected and corrected Revell exhaust area and...
... the wing main undercarriage bay
area and....
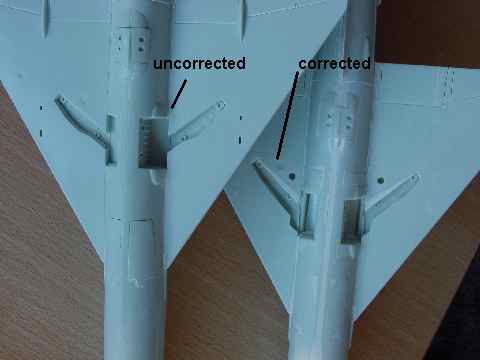
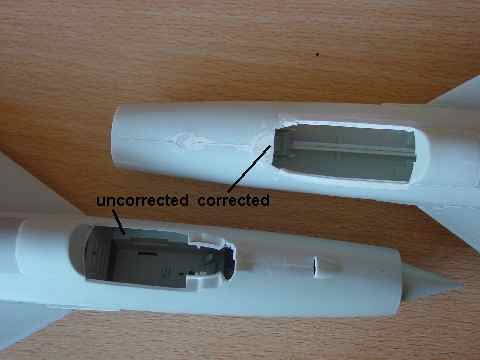
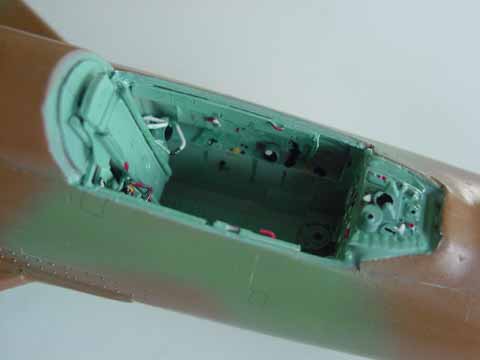
... cockpit area. The widened fuselage
is really a big difference.
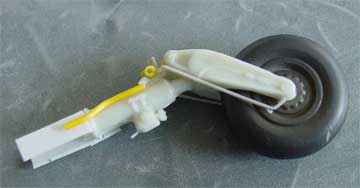
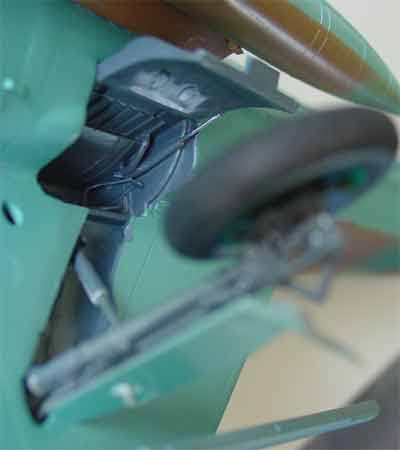
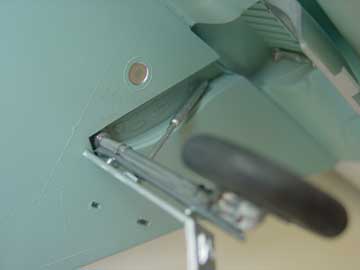
Detailed nose leg, basic 2 parts from kit with added sprue for brake wires etc.
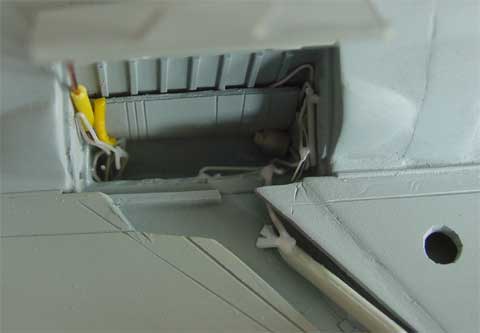
Bay still unpainted...
note details
Also
note the deepened main bay.
It was now time to decide on the rest of the MiG's assembly. The cockpits were not detailed at this stage, but it was opted to go for the paint schemes first. So for final finishing and markings for the three Revell kits, as these were to be completed, first a selection of schemes and paints was needed.
From the reference of AeroFax on the MiG-21, three nice schemes were depicted for the other three kits.
MiG-21 MF,
East
German AF (DDR), was a nice model to have in the collection.
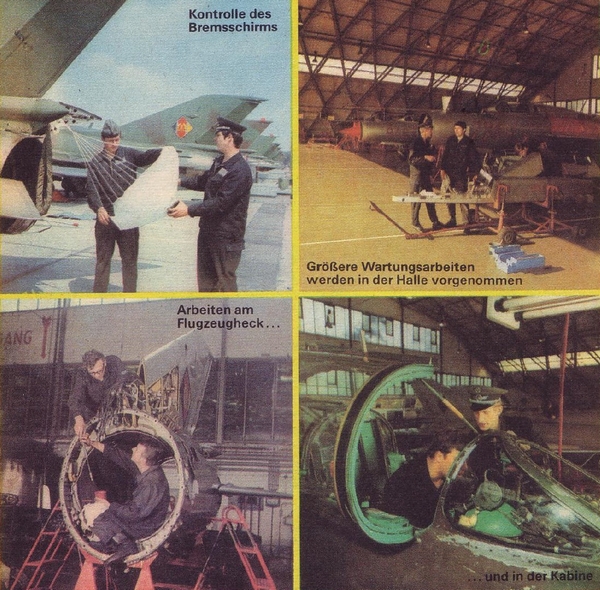
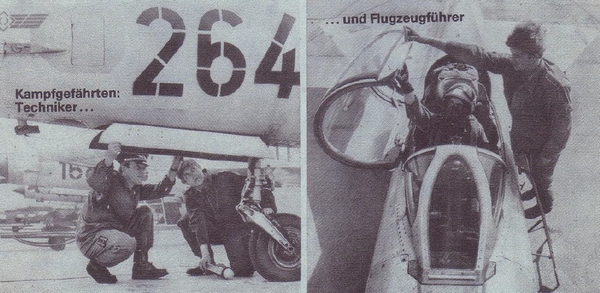
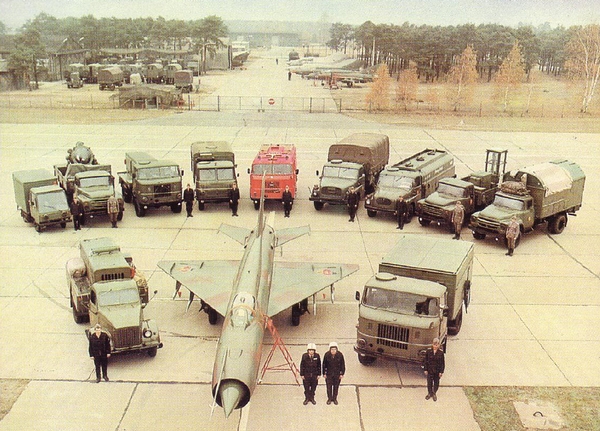
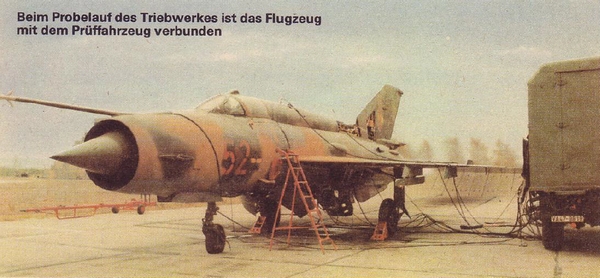
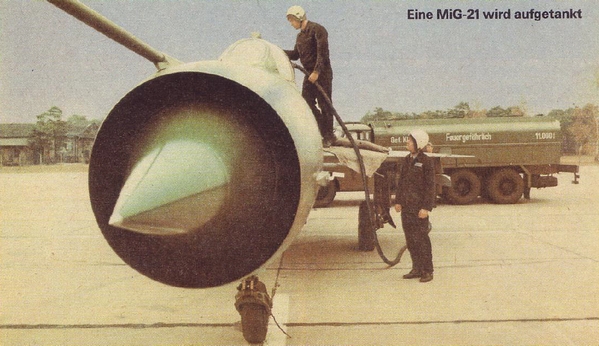
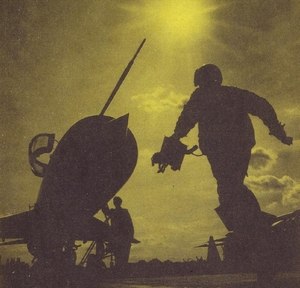
My modelling
friend Guus showed my very old DDR magazines covering several aircraft
types in use, including the MiG-21. With a lot of propaganda and quite
some misleading information, these provide an insight in how people were
supposed to think.....

This 1/32 MiG-21MF
model got a camo scheme using the [Revell kit, corrected]
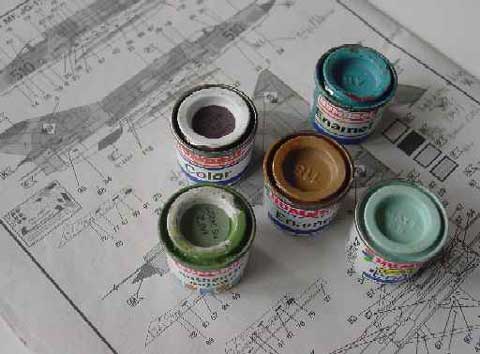
Colors were
hard to establish but as there are very many schemes and variations the
following enamel colors were used:
- Humbrol 118
(about FS 20219/ 30450) brown/khaki
- Humbrol
70 (about FS 20111) Dark brown (very small part at the spine)
- Humbrol IAF
green (about FS 24138) green
- 50% Humbrol
65+ 50% Revell no.48 "blues" for the undersides and pylons (very blueish
finish)
UPDATE NOTE:
many years later I use acrylics, like those of AKAN and Gunze Sangyo:
check out my later MiG-21 1/72 scale
pages....
The doors were
also sprayed separately:
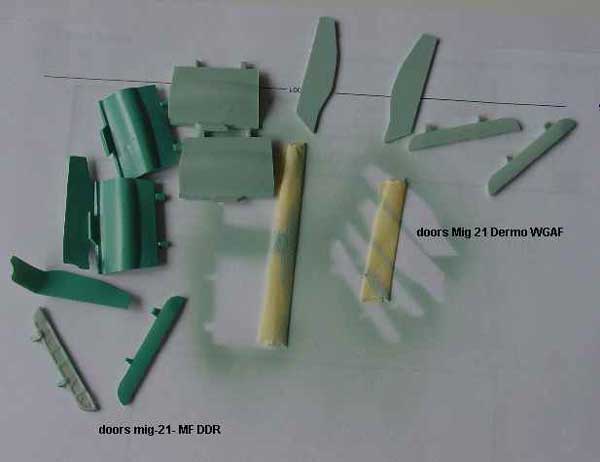
Scheme is as shown in the Revell instructions, scheme step 39; these seem to be accurate looking at pictures.
Main undercarriage
bays and undercarriage legs were given a dark grey paint. Decals will come
from a mix of the supplied Revell kit (no 4763) and spare decals. 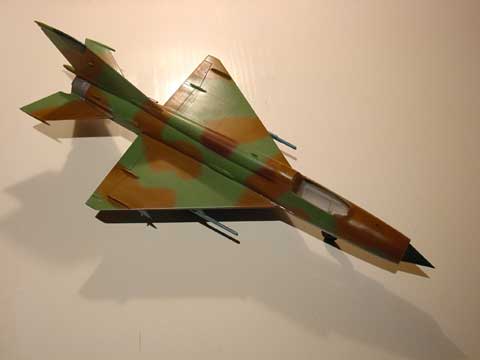
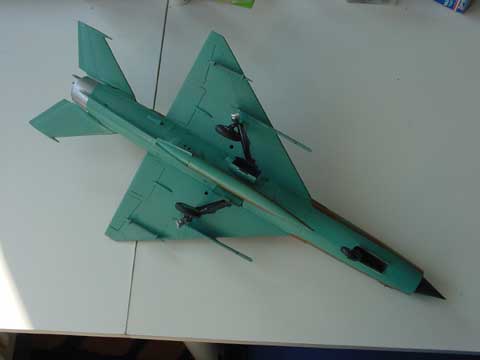
DDR
scheme of kit [2]
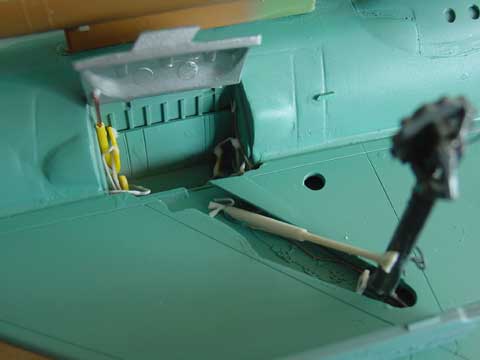
the main gear
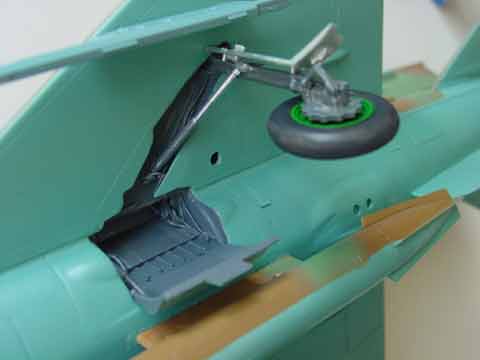
with
detailed main bay and wheel leg in dark grey
and another corrected kit for:
MiG-21 MF
India Air Force with yellow High visibility markings.
See Page 105
of the AeroFax book;
Colours used:
- Humbrol 127
enamel light grey overall
- Humbrol
69 enamel yellow, that was airbrushed after masking.
Main undercarriage
bays and undercarriage legs were given an aluminium coat.
Markings will
be home made with roundels being adapted from spare decals
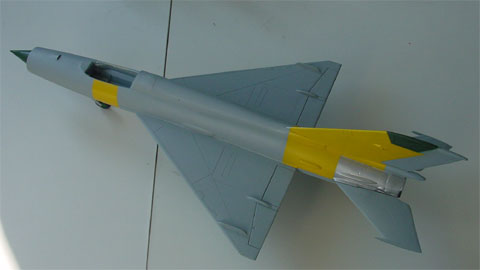
India AF
 ..
..
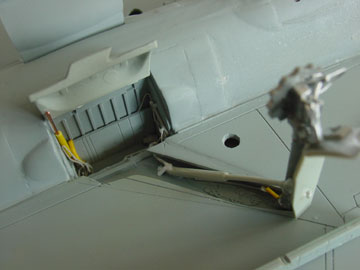
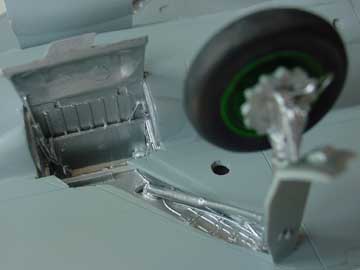
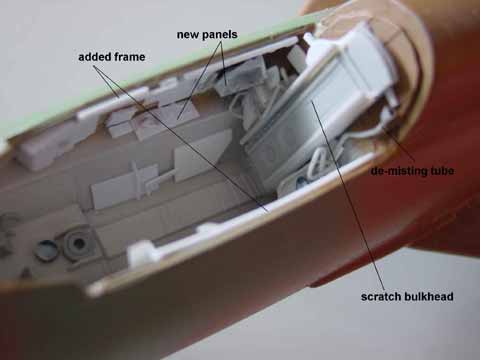
main
bay of kit [3] ; note added plumbing and wiring and detailed
nose leg of kit [3], the basic leg from the two kit parts but detailed

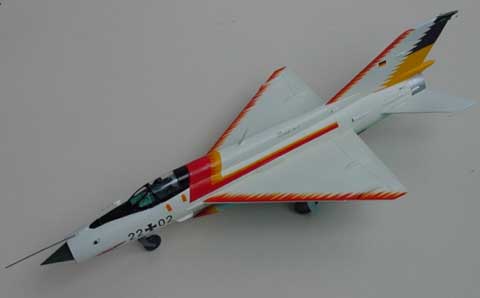
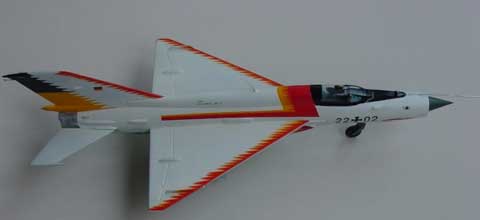
[4] MiG-21 PFM WGAF Demo 22+02 [Revell kit, NOT corrected referred to as kit no.4]
See page 110 of Aerofax book and as Revell instructions of kit no. 4719
- White base coat to start with (gloss overall)
- Humbrol 65 enamel, very light blue underside of wing and fuselage
Main bays were given the light blue colour and the undercarriage legs were given a dark grey coat.
NOTE: This last kit was made straight out of the box and the special colorful demo decals are supplied with the kit.
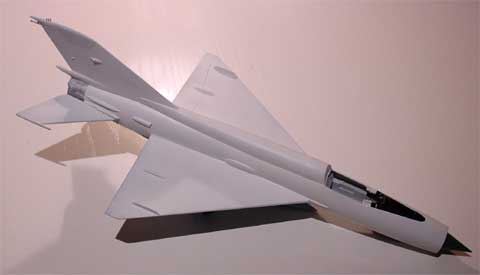
demo MiG (unmodified from kit)

 main bay (without details of kit [4] )
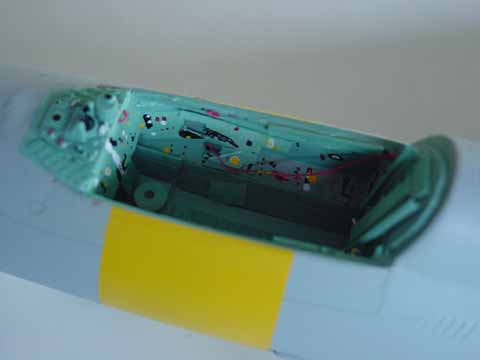
After main colours applied, next, the cockpit detailing of the 1/32 Revell kitswere tackled.
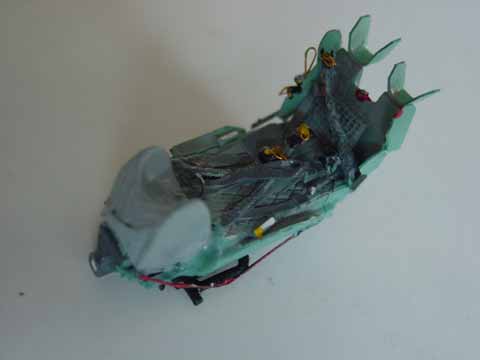
The cockpit with details from pieces of card, stretched sprue and strip
The cockpit with the seat (temporarily) in place..
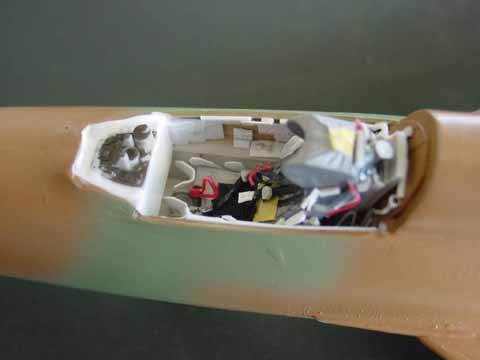
First the seat and cockpit got a basic
coat with the typical russian "blue-ish/green" color. This was mixed
looking at pictures (although it seems ExtraColor has a ready made paint).
Next, with paints and pieces of sprue
etc further details added looking at pictures of the real thing. The main
instrument panel is to follow later on... The two cockpits and seats of
the modified Revell MiGs were given a similar treatment.
 Indian MiG
The cockpit windscreen front section
fairings were made and the gaps were closed with thin metal sheet made
from a wine bottle capsule. Otherwise, it was difficult to get a good fit.
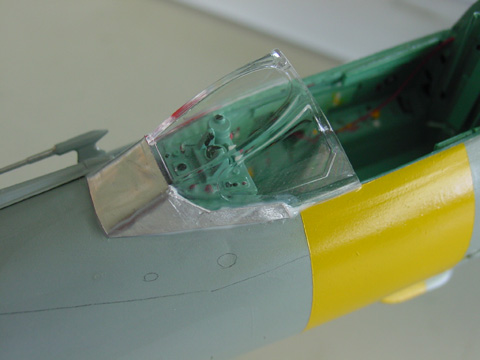
Indian MiG-21 converted with
windscreen to be painted later.
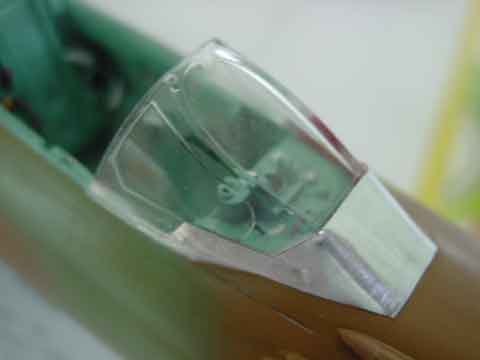
The DDR MiG
windscreen, still unpainted
![]()
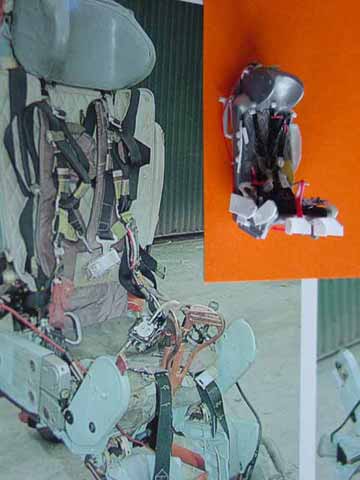
The seat was detailed of the more "modern MiGs" based on a couple of pictures from the Verlinden Lock-On no. 21 Book on the MiG-21MF. The seat is the KM-1M type. (note that the MiG21 F-13 has a different older style seat that is correctly very nicely included in the Trumpeter F-13 kit ).
The basic kit parts can in fact be used as a basis with details added from card and small pieces of leather (of a belt) for the cushions. Note the 2 leg"straps".
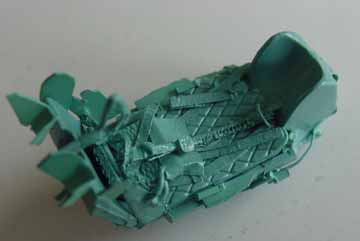
The plastic seat... (straps made from
tape)...
 .
. 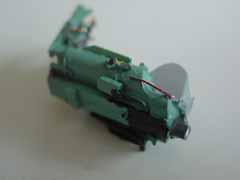
..and the seat detailed...
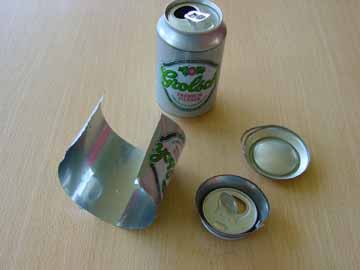
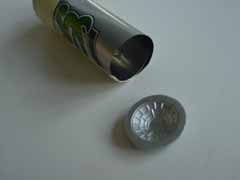
The inner exhaust tubes will be made from winded thin metal sheet out of a... beer can! It can be cut with scissors and is not sharp when cut. Also, bending is much easier than plastic card and it keeps it shape with some tape.
 ....
....
The uncorrected kit was finished
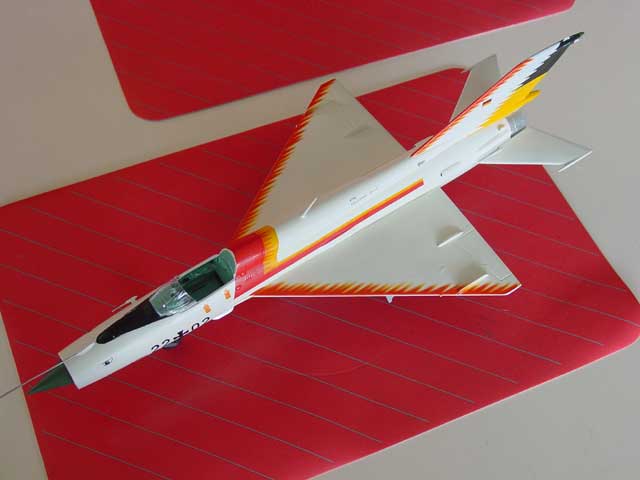
Luftwaffe
Demo scheme
Also, all kits were given burned metal exhaust cone areas, the green wheel hubs (for which Humbrol 2 enamel was used) and mat green radar cones (for which Humbrol Hu 30 was used)
Masking was done with tape from Tamiya and paper towels for the larger areas. Total airbrush time was two days with overall about 8 hours for all three kits and all basic colors.
On to next MiG-21 Page [3] ....
.....

(c) Copyright Meindert "designer"/ All rights reserved. Your comments are welcomed by webmaster
Created this page February 11, 2002