[ page 2 ]
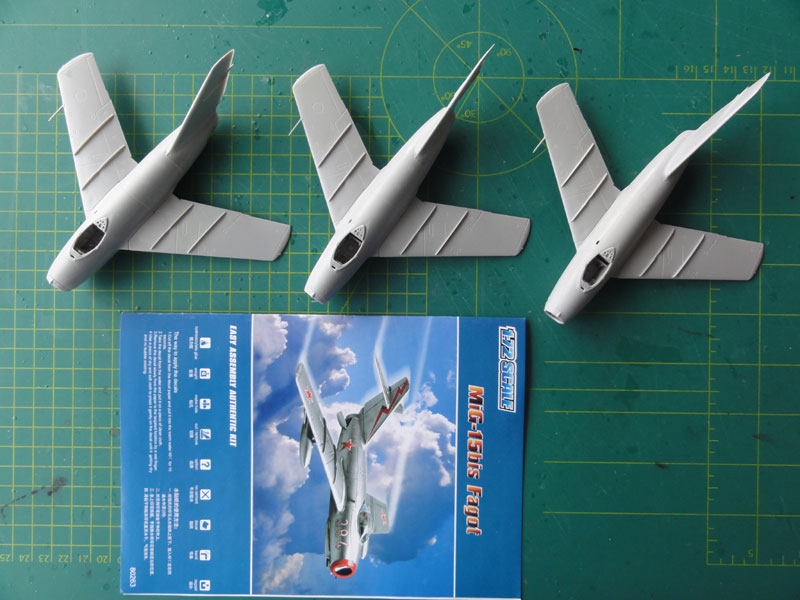
1/72 scale kits of the MiG-15 (NATO "fagot")
...continued from page 1....
Hobbyboss issued in 2008 and 2009 two different kits in 1/72 scale of the MiG-15 which are very good value indeed.
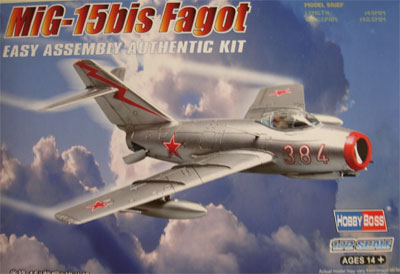
MiG-15bis (kit no 80263).
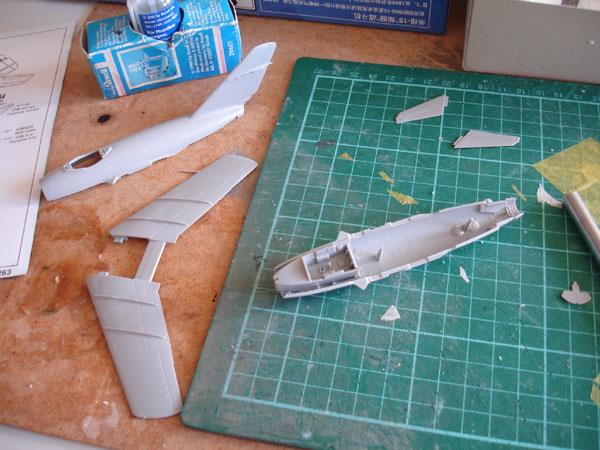
This kit has about 50 parts and can be quickly assembled. (It can also be bought allready assembled). The fuselage is split horizontally and the single piece wing is merged in between. It is surprisingly detailed with nice surface details and nice gear bays. Also an inlet funnel is there. The cockpit tub looks nice with an adequate seat. The clear canopy is one piece.
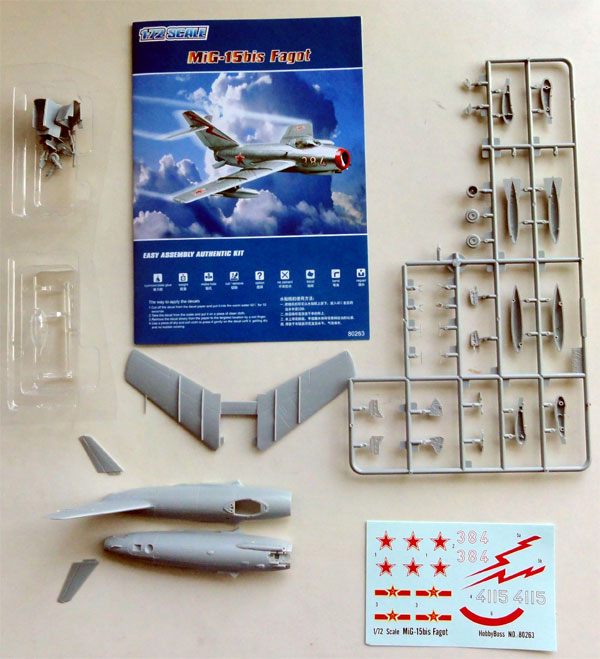
Decals are a bit simple for 2 metallic MiG-15's: a Soviet VVS and Chinese PLA aircraft from the Korea war.
Colour instructions have some errors: the cockpit tube interior should be medium grey with black instruments and switch panels.
Other suggestions:
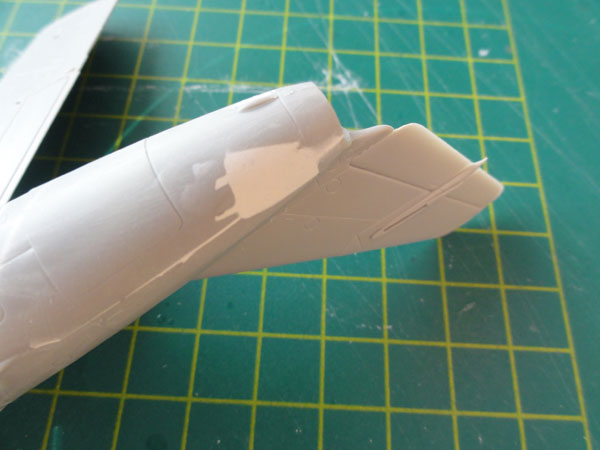
- The fit at the rear of the fuselage requires filler and sanding.
- Add a lot of nose weight to prevent tail sitting.
- The exhaust A15 is undeep, cut open and add a pipe.
- The rear air brakes do not fit when set closed. Fill with putty and sand flat is better here.
- The fuel tanks braces A22 are nice, but the rear braces are missing, make from plastic strip.
- The canon barrel parts are a bit strange, use rod and strip here.
- The antenna A25 is a bit too long (about 2 mm).
- Add also wire antenna running from the starboard cockpit side to the tail from thin fishing wire. (for all MiG-15 kits).
- Add 2
(probable altimeter) antennes on the lower wing tip and in front of the
gear bay and the radio blade antenna on the fuselage spine.
- If the canopy is desired opened up, cut it in half with a razor saw.
- The canopy fits OK but close any tiny gaps with white glue and paint when dried.
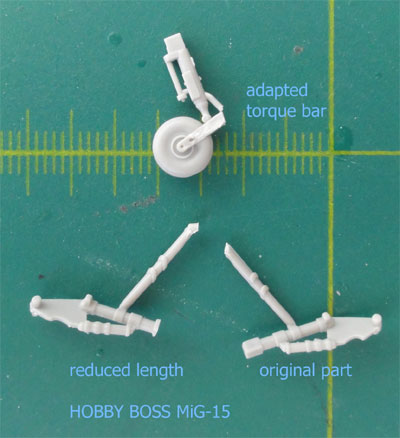
- The nose gear leg part A23 is a bit thick with a single wheel and the torque bar is a bit too large. Separating the nose wheel and making a fork and torque bar would improve the look.
- The main undercarriage legs (parts A29 and A30) are a bit too long; simply remove 2 mm plastic at their base:
 .
.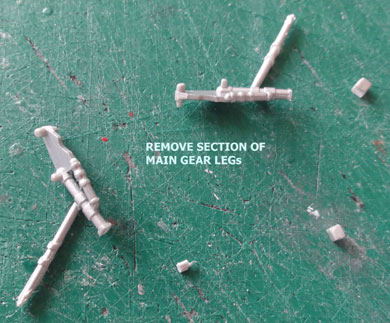
The reduced main gear legs lengths will result in a "good sit" of the model.
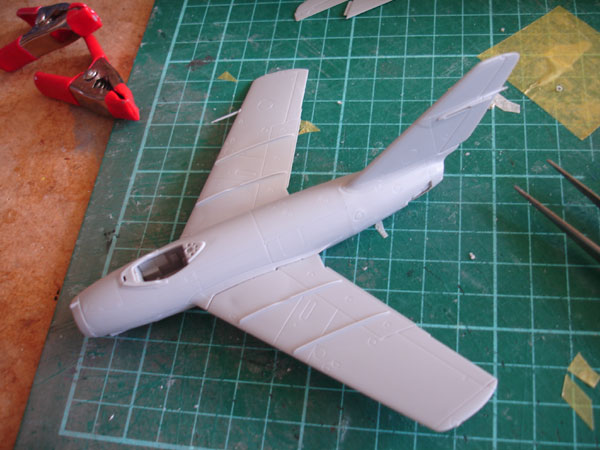
Remove a sliver of plastic at the wing leading edge root to get a perfect wing fit. The rest of the assembly is straight forward taking the suggestions above into account.
At least 5 Hobbyboss models will be made!
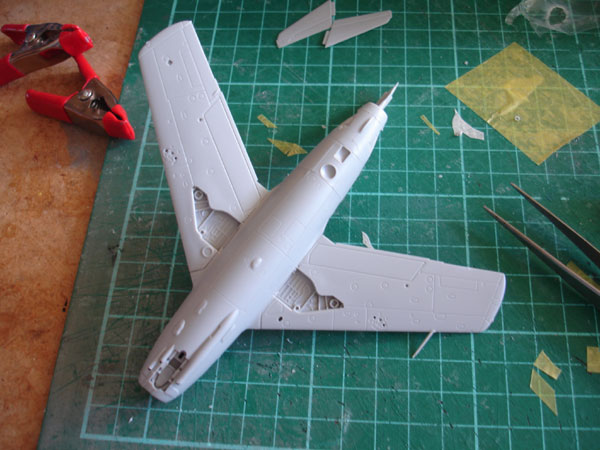
Here the "bis" details are seen with the rectangular doppler (?) recess at the lower rear fuselage. The landing light is also correct as for the "bis" it was repositioned to the lower left wing and on the fuselage spine an antenna is placed as well as the 2 (probable altimeter) antennas on the lower wing.
Add a little white glue in tiny gaps such as the nose gear bay to close gaps.
The rear air brakes were closed, the parts A12 and A13 sanded flat and thin on the inside to fit better and filler applied.
The different models are finished below...
NOTES FOR A METALLIC SCHEME
The overall scheme of many MiG-15's is a natural metal finish, which is a sort of "alodine" which gives the natural metal some different variations.
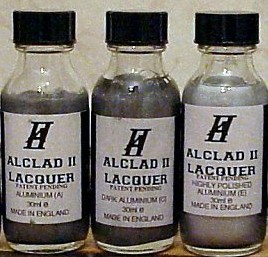
The ALCLAD II system gives good results, using metallic paints. An airbrush is required however. .... After the model has been basically assembled, apply a lower base black coat. It should be gloss. This can be achieved also a airbrushing gloss layers, e.g. from Johnson Future / Pledge or a straight gloss black paint.
ALCLAD II has different lacquer paints like High Gloss Aluminium, Airframe aluminium ALC-119 and so on. (the later ALCLAD series have other ALC nos. etc). For the MiG-15 I used ALC-119.
Different paints can be choosen for a model as many natural metal aircraft showed different sheens during their operational career. Often different schenes are seen on the same aircraft at different panels and so on.
A special trick to get a couple different sheenes without a lot of work is:
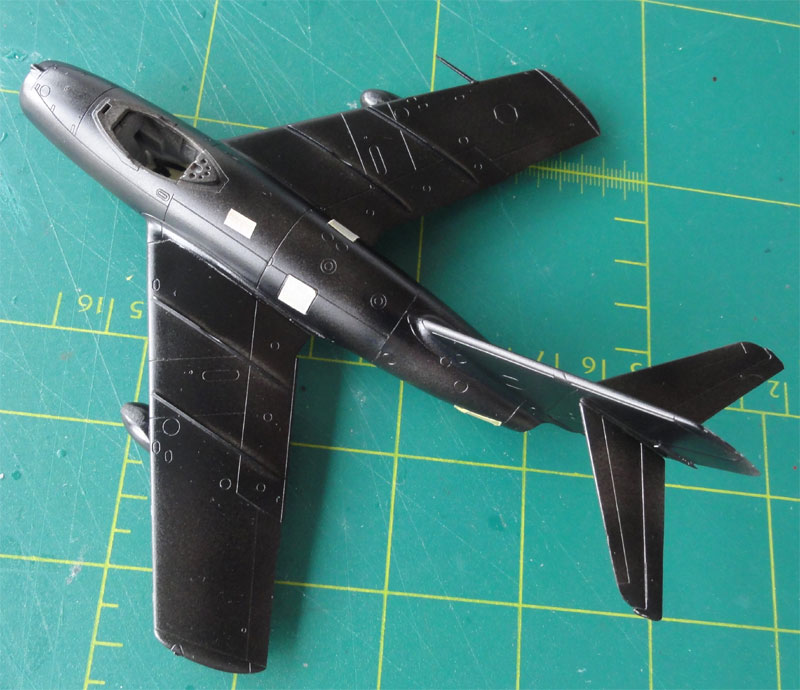
(0) apply the gloss black base coat.
(1) mask off a couple of panels with tape BEFORE applying a first coat of ALCLAD. (see photo below)
(2) then apply a couple of metal coats over the model with the airbrush.
(3) than directly remove the masking tape at each panel
(4) next apply the same ALCLAD coat but not too much.
This will reduce the paint covering at the panels, resulting in a different metal panel sheen. Let dry. This trick is far easier than masking between steps when using different paints of Alclad.
A couple of models in the process of getting metallic finishes....
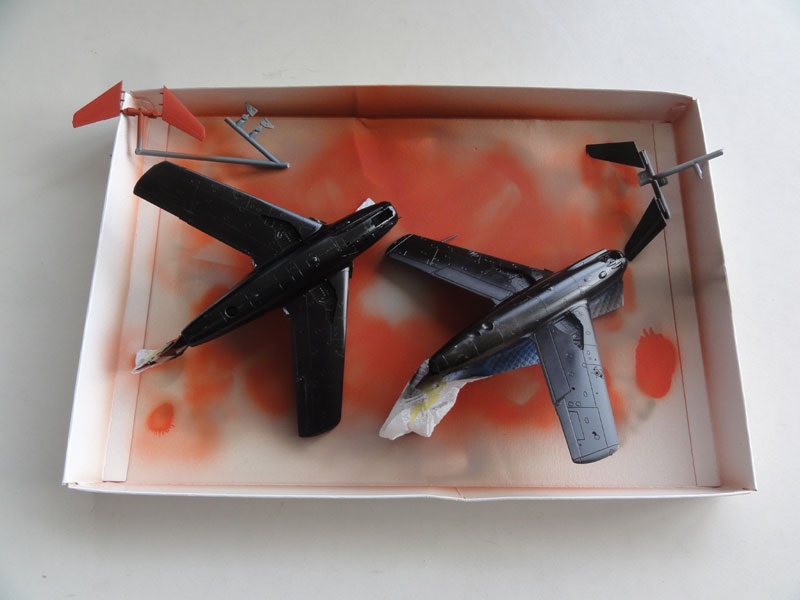
After applying coats of ALCLAD, polish carefully.
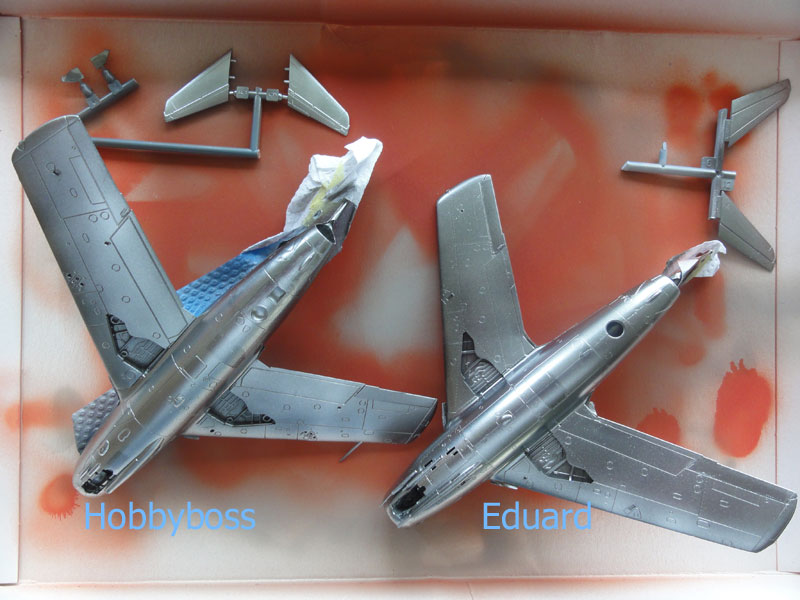
Here also an Eduard MiG-15 (kit will be described later...) is processed with ALCLAD. A few panels with a different sheen are seen using the trick described above.
It is also obvious here looking at details that the Hobbyboss kit is very good value.
The cockpit interior was painted. Most MiG-15's had a mid grey cockpit interior. The seat armour plate is metallic and the headrest, seat cushions leather black. Seat straps usually olive and/or medium brown. The instrument panel was mainly black or very dark grey with black boxes on the sides. The areas below the canopy are also mid grey and at the windscreen anti glare black.
About decalling: for each model no big gloss over coats were needed. Just a bit of Johnson Future/Pledge was applied below each decal with a brush to prevent decal "silvering". Mostly the finish is metallic and glossy and only a few decals are needed on each MiG-15 model.
OK, a number of single seater MiG-15bis models will be made first.
Page 2
Page 3
Page 4
Page 5
Page 6
Page 7
....
Intelligence page
 ....
....
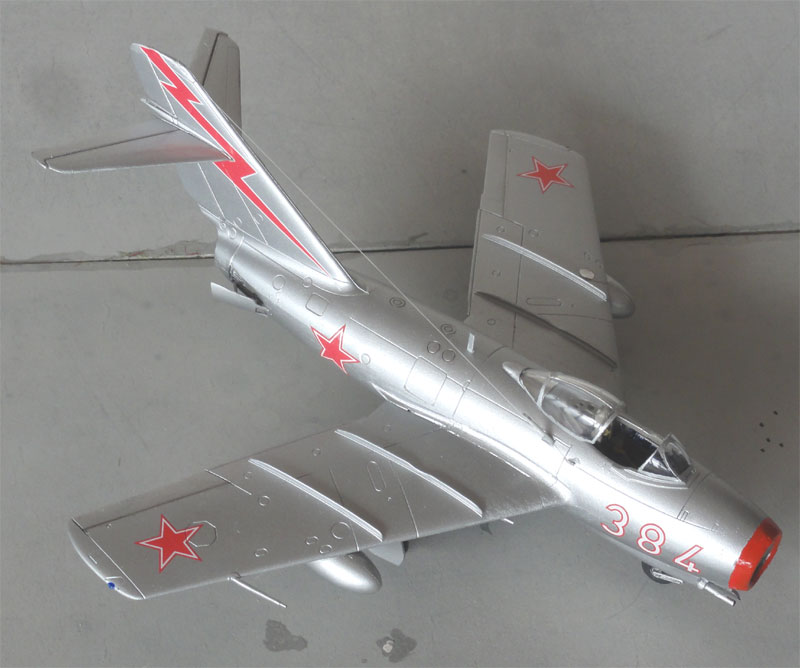
MiG-15bis Soviet V-VS
The Soviet Union was until the nineteen nineties still a unified country, by far the biggest land mass in the world. After the second world war, soon the MiG-15 bis aircraft was used for Air Defense by the V-VS "Voenno-Vozdushnye Sily".
This Hobbyboss kit is a straight forward kit made a few years ago in a dull metal scheme simply using Revell Aqua silver "90" acrylic paint and simply the Hobbyboss kit decals. On the instructions it is stated that this Soviet MiG was based in China during the Korean war June 1951.
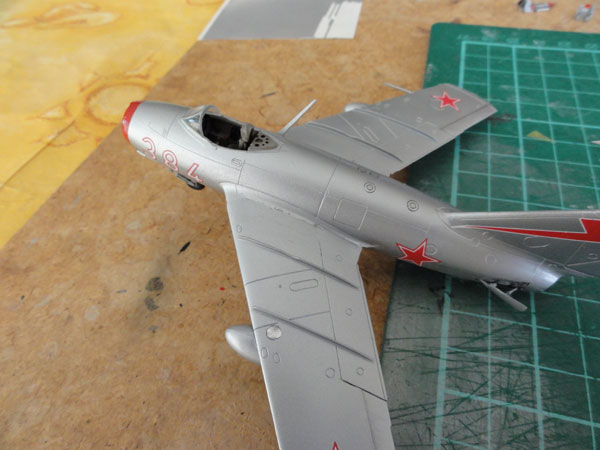
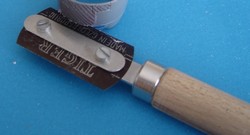
The one piece canopy was cut in 2 with a TIGER razor saw to set the aft section open.
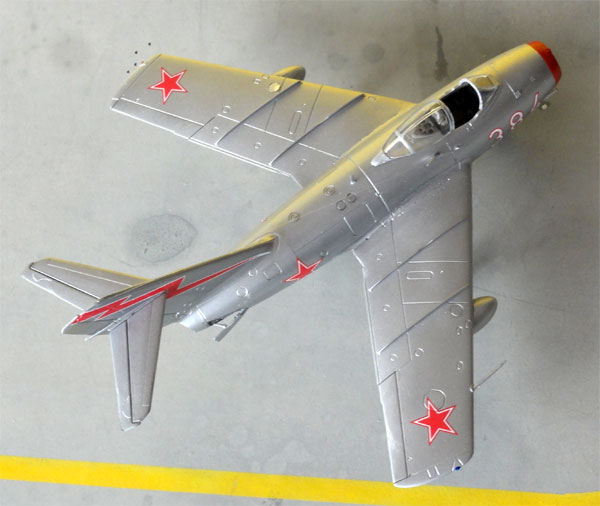
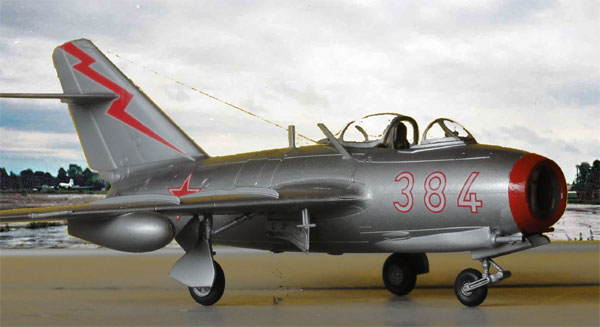
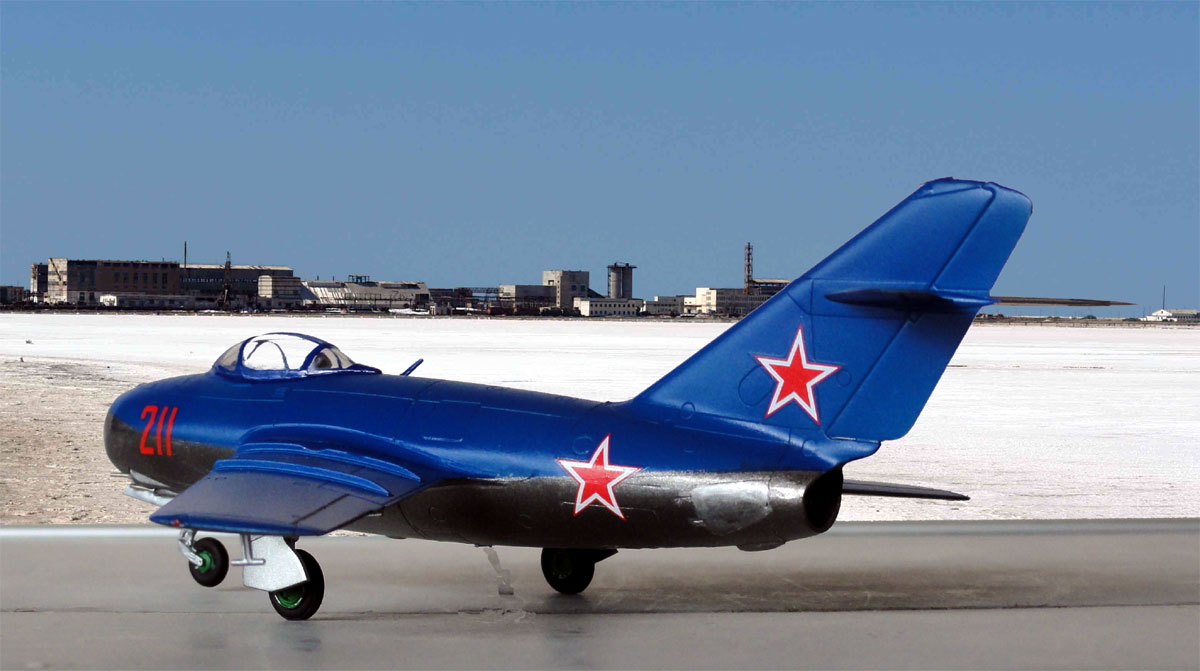
MiG-15bis
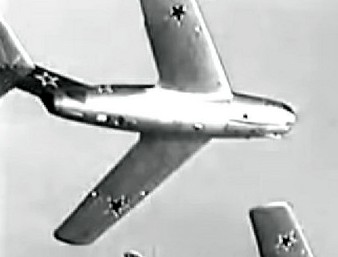
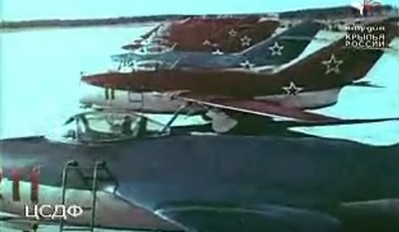
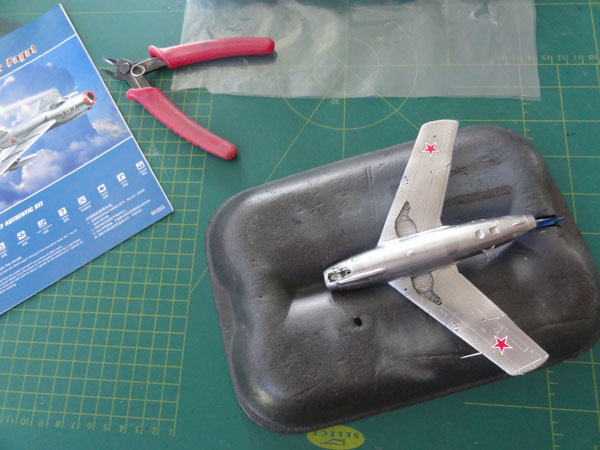
This model was made as BLUE 211 in a Soviet V-VS demonstration scheme as seen at Tushino Air Show in the beginning fifties. Stalin was on the balcony.... but I could not find colour photos of a blue scheme to verify it. Until I saw the opening shot of a YouTube film ( https://www.youtube.com/watch?v=mXVluBxhE0w ) and the scheme was clearly seen! In fact, many demonstration MiG-15 aircraft are seen in the film, with many variations in the schemes and nose number styles.
First, the upper Blue colour was applied with the airbrush.
 .
.
The blue colour was unclear but I used Gunze Sangyo blue #15 acrylic.
The model was masked and than got the lower metal lower finish using the Alclad II system and using some special tricks.
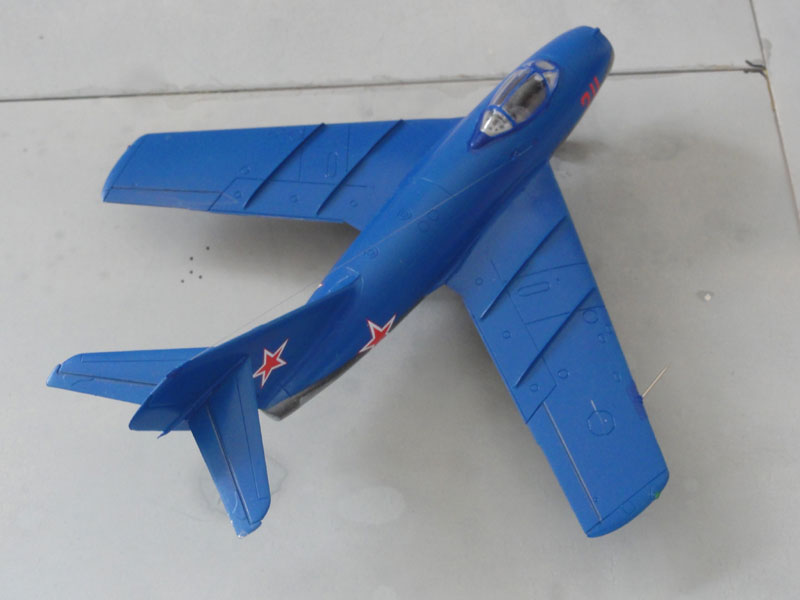
NOTE: I later found out BLUE 211 should probably have been an older generation MiG-15 (not a "bis" seen here from below...). So I picked the wrong kit but was confused by the very old film coverage.
I suggested the old MiG-15 FAGOT-A by not fitting the radio blade antenna on top of the fuselage spine.
and the MiG-15 "Blue demo" 211
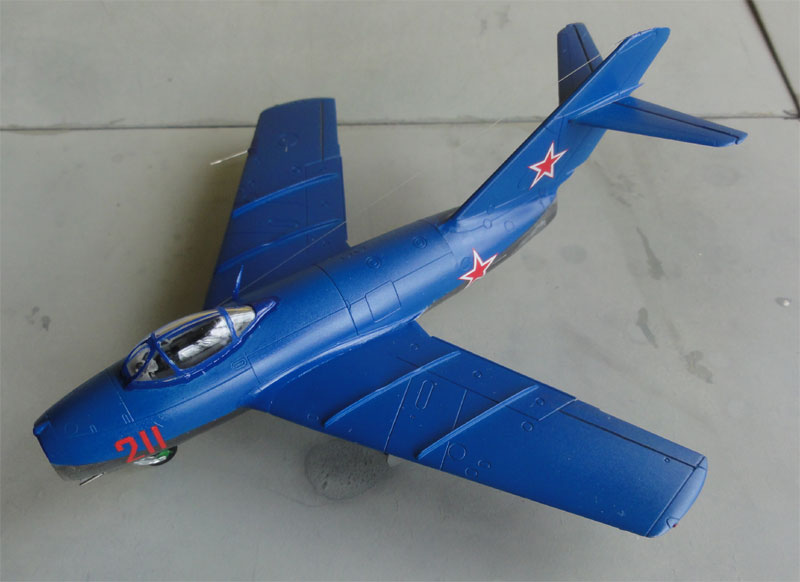
The model was not really weathered as this was a nicely maintained demonstration aircraft.
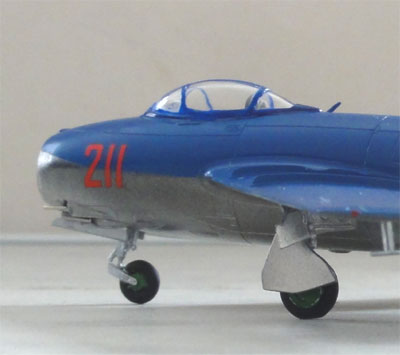

....oops..... had to use a metal wire to prevent tail sitting.... next time use plenty of ballast in the nose...
(also, a "Red" Soviet demo MiG-15 will be made later on)
back to MiG-15 page 1...
Back to 1/72 Models.......

(c) Copyright Meindert "designer"/ All rights reserved. Your comments are welcomed by webmaster
September 14, 2015