HPH 1/32
[ page 1 ]

building the 1/32 HPH L-29 Delfin
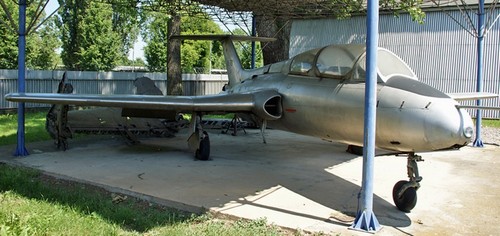
L-29 photographed by me at Kbely, Prague museum
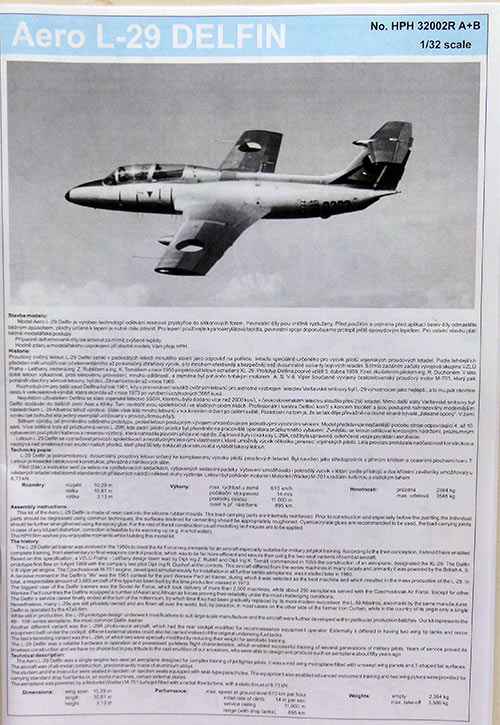
The Aero L-29 Delfin was developed as a military trainer aircraft by the Czechoslovak company Aero Vodochody. The L-29 prototype first flew August 1959. The student would sit in front ejection seat and the instructor in the rear ejection seat. It was single jet engined and a straight forward overall configuration with a conventional wing with Fowler flaps. Airbrakes were fitted and it could be fitted with two pylons. Its maximum speed was about 650 km/hr.
The L-29 would become an excellent important jet trainer for all Warsaw Pact countries with production starting in 1963. The L-29 was used by dozens of air forces with over 3,600 aircraft manufactured. Some were also armed for attack roles in local conflicts with rocket pods fitted below the wing. A photo camera fairing could be set aft of the nose wheel bay.
READ MORE ABOUT THE REAL L-29 ON MY PAGE HERE....
Several 1/72 scale models were made previously, look here for those .....
real L-29
page 1
page 2
page 3
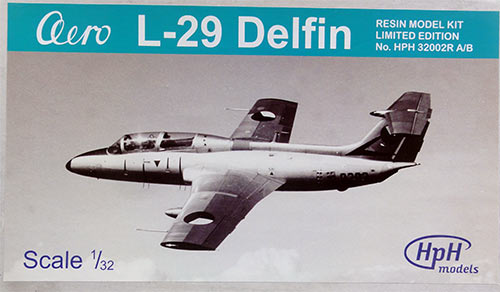
In 2010 HPH released a great 1/32 scale kit of the Aero L-29 Delfin.
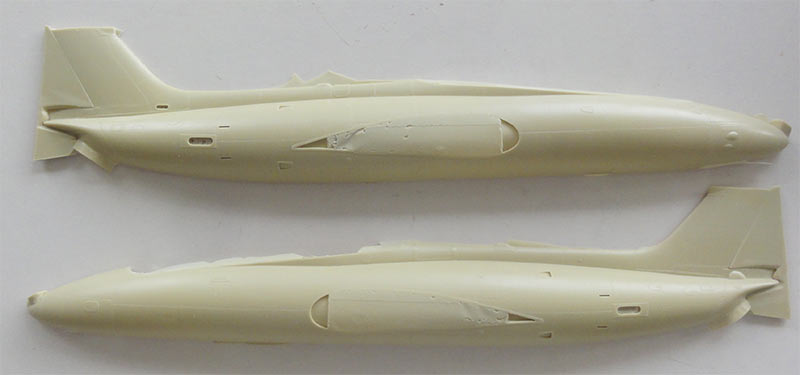
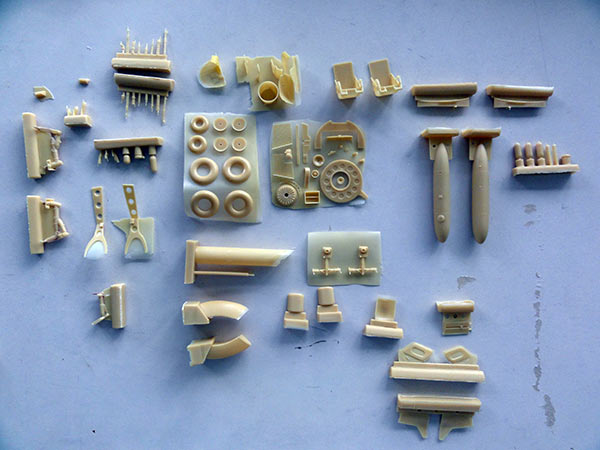
The parts come in a strong box which is really cramped. There are about 150 resin parts, some are quite big and others very tiny. The big fuselage halves are protected in bubbles and most of the smaller parts are still in their mould backing films. (NOTE: an HPH kit was also released as a single Acrobat seater).
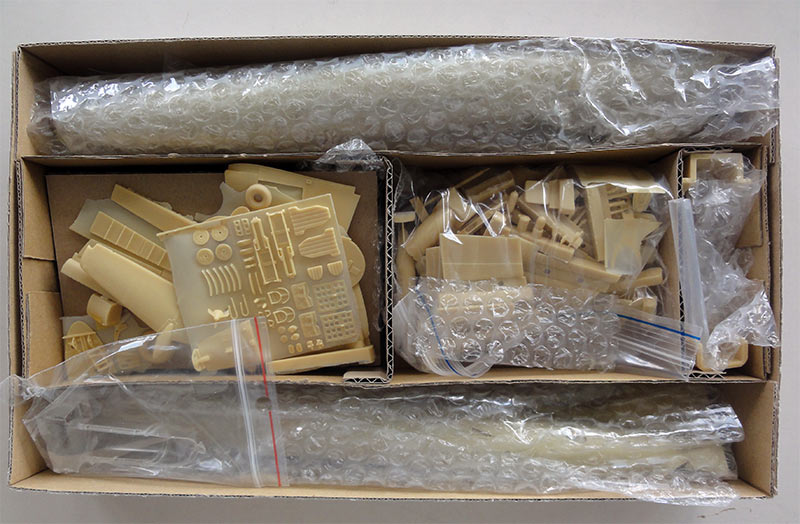
Also 4 etched metal frets are in the kit with even both sides' printed colours such as for the instrument panels and seat straps and much more. A good masking set for the canopies is also provided.
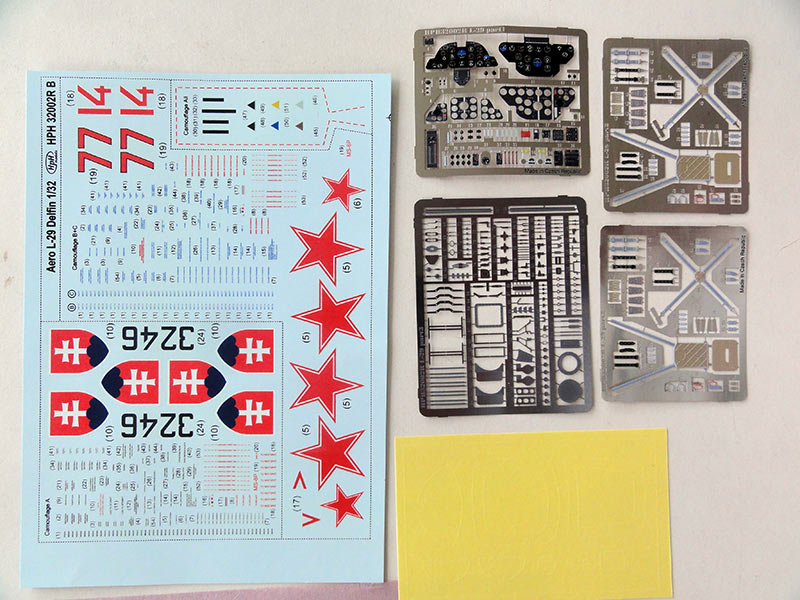
The decals look fine for 3 schemes:
(A) Slovak Air Force in a camouflage scheme (20020
(B) Soviet L-29 VVS pilot school (1966) in bare metal;
(C) Russian VVS pilot school (1994 - 1996) in bare metal scheme.
Stencil data is also provided.
(when you want different air force schemes, it is not an easy task to find other decals in other 1/32 kits).
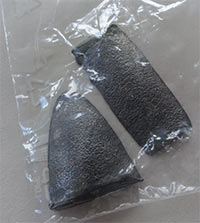
There are even a few nose metal weights provided and the only things "missing" are the various wires for detailing the hydraulics in gear bays as suggested by HPH. But any wire is easily found in home depot and hobby stores.
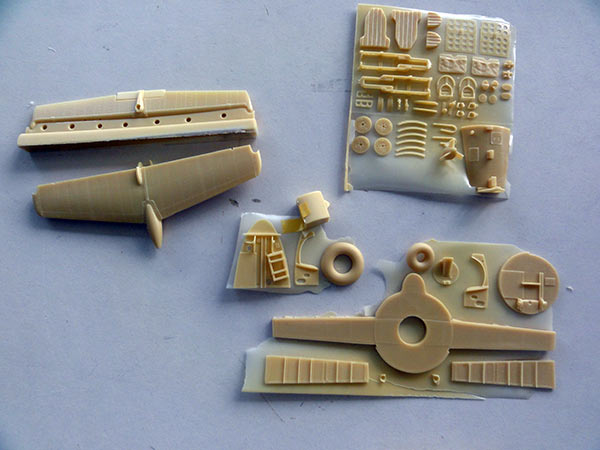
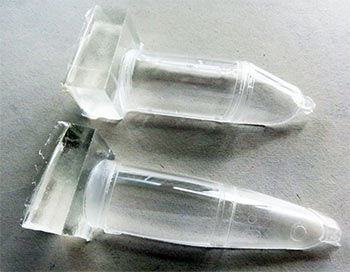
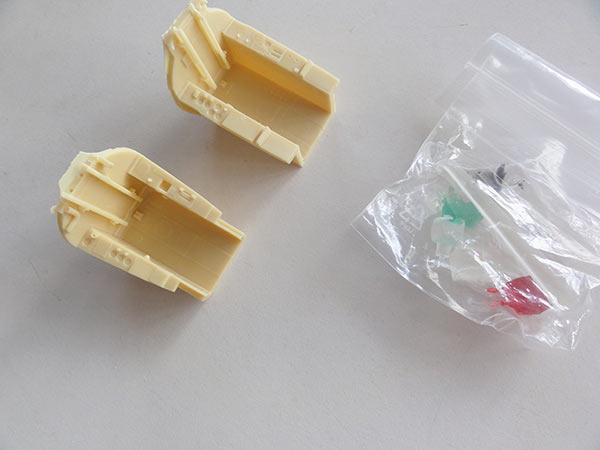
The clear parts are casted in clear resin so thankfully NOT vacuform and look good (more about those later on). You even get smaller tinted clear parts.
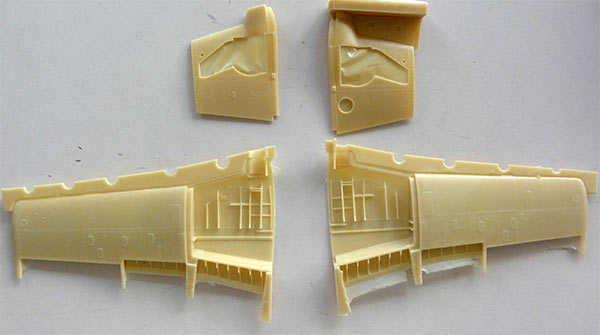
The cockpit has 2 separate tubs with moulded details.
The HPH instructions are fine with clear drawings with colour detail indications. You also get drawings with the various details that may be added from scrap.

There is also a really needed parts' outline diagram as the resin parts are not numbered.

I found in my stash also a CD ROM with L-29 photos and a scheme how the various metal panels for a bare metal scheme look with the different "hues". (I can not recall if it was provided with the kit or that I downloaded these from the HPH website). Look a my real L-29 detail page here for more information.....
The part' surfaces are covered with engraved panel lines and rivets. A real L-29 aircraft, you may have noticed that Aero aircraft in those days (as well as many East Block aircraft) were manufactured rather crude but performed their roles very well.

Assembly can be done as per instructions but sometimes it is better to not follow exactly the suggested HPH order to add all the details at a certain stage. Some suggestions will be given in my modelling report here.
Start with giving the resin parts a bath with soap to remove any grease.


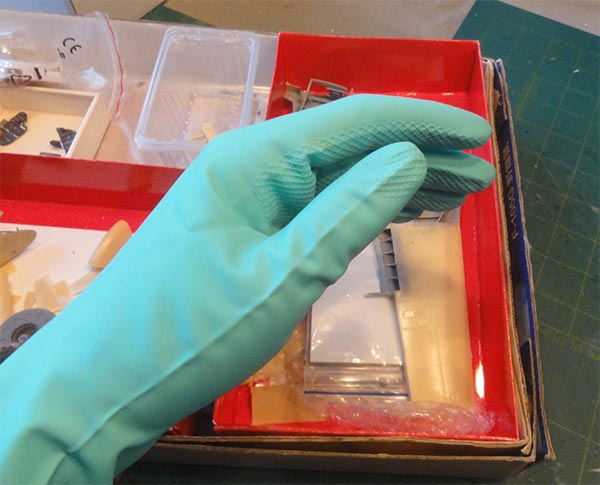
IMPORTANT SAFETY NOTE:
It is ESSENTIAL when handling RESIN parts to wear nitrile gloves and a face mask. Resin may cause allergic reactions. When cutting and sanding is needed, do this "wet". For larger cutting work, do this in a white plastic tub with water and under water! Again, this is really important.
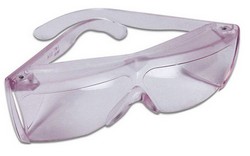
For glueing, super glue for the smaller parts and 2-component epoxy glue for the bigger parts is needed. Protect your eyes when using these kinds of glue!
It is essential to use many small containers/ boxes on the work bench to order to organize and not to loose the parts. It is also good to plan the built in several stages and only to separate a small part from its backing film when needed.
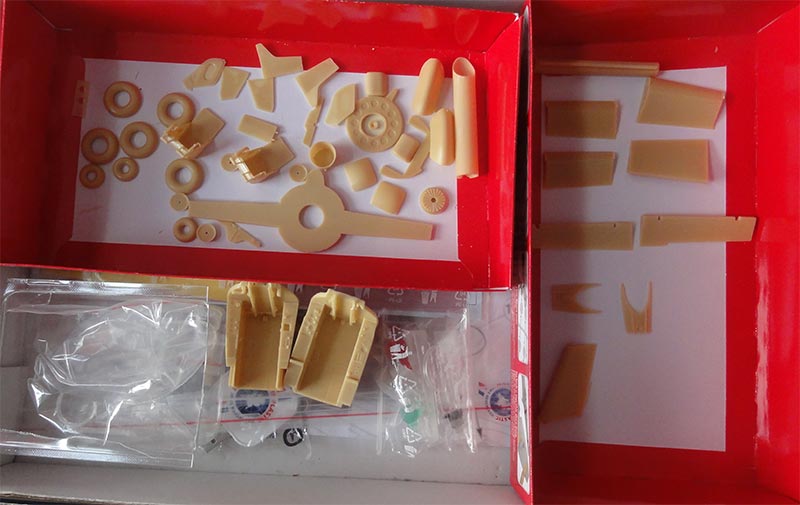
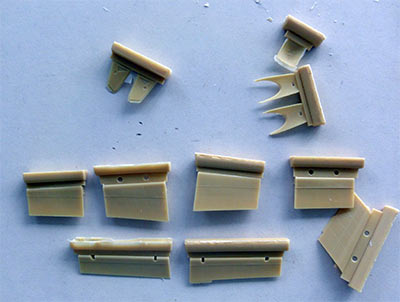
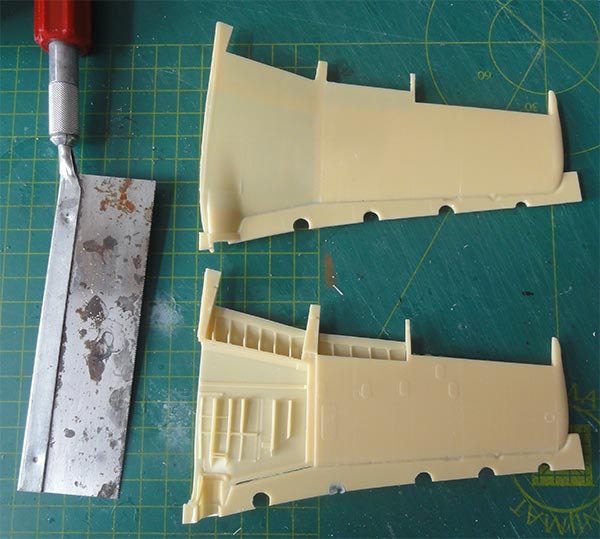
I started with preparing the bigger parts.
The resin pouring blocks are cut off with a razor saw and x-acto knife, see safety notes above!
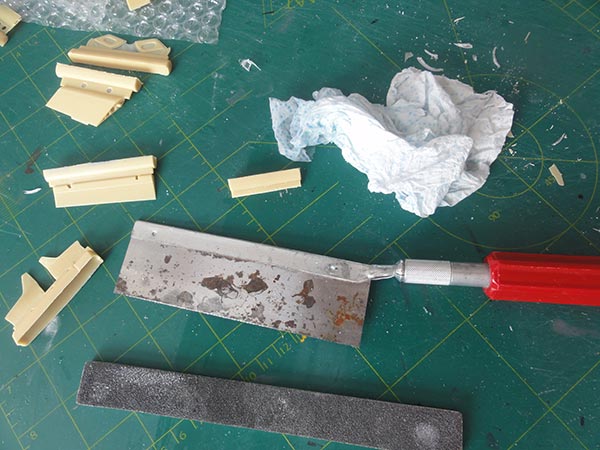
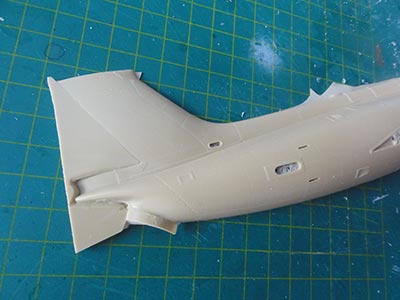
The main fuselage halves are OK but there remains a joint but this can be puttied/ filled later on.
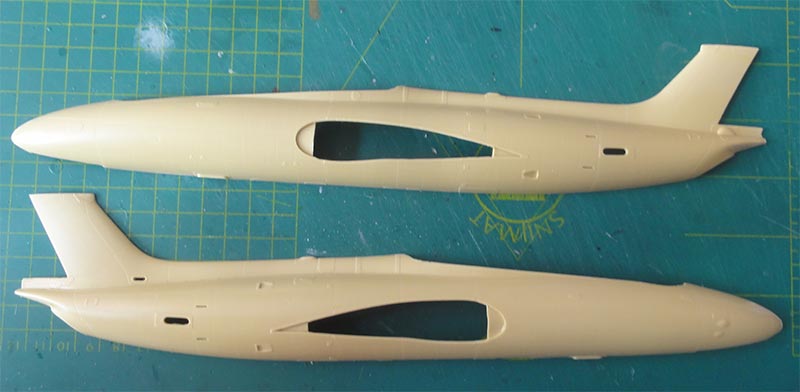
and the result...
Be careful when cutting the clear bits! They break easily!
![clear]](l29-34.jpg)
STEPs A-B
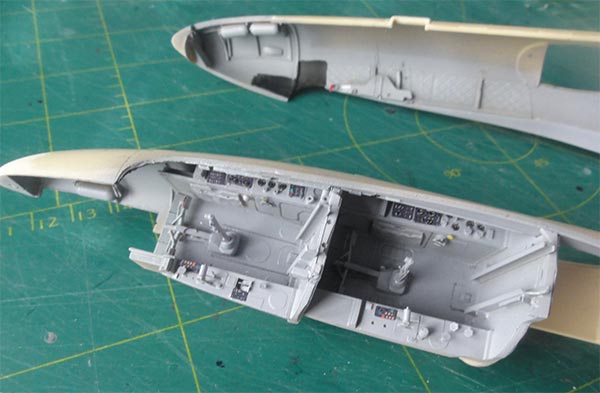
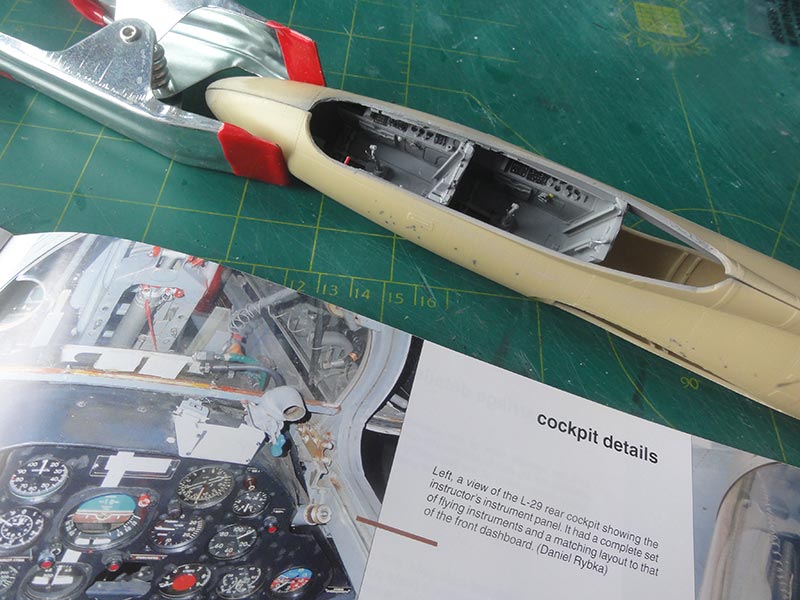
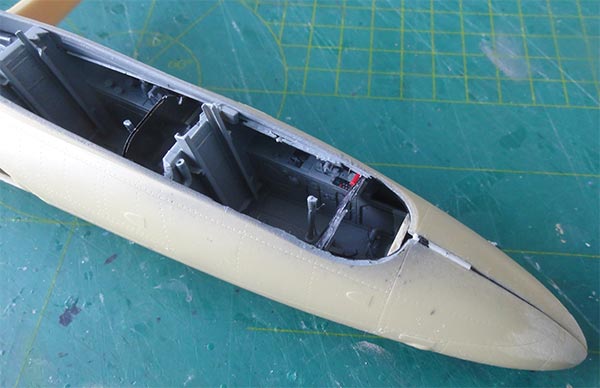
The cockpit details are very good in the kit! This is really a joy to assemble, also with the very nice ejection seats. Some colours were airbrushed before hand before adding the smaller (coloured etched metal) parts.
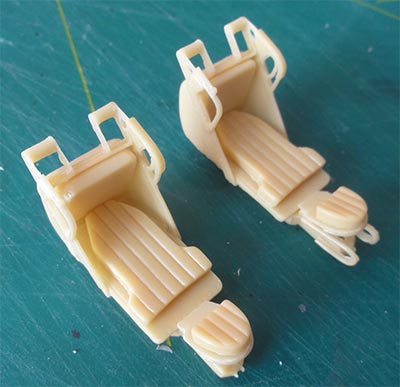
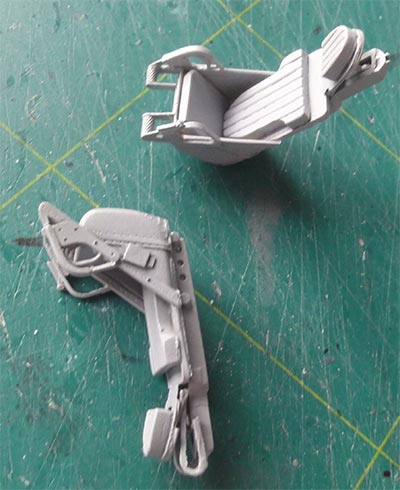
This needs planning. Most pre-airbrushing was done in blue-grey indicated as "colour c" for which I used FS36375 (with Gunze Sangyo H308).
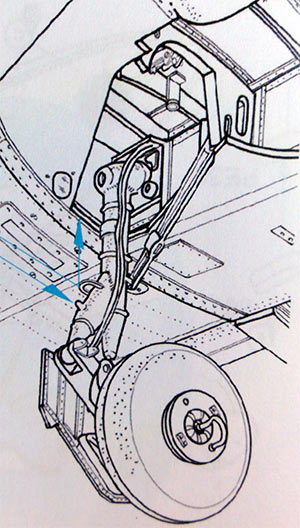
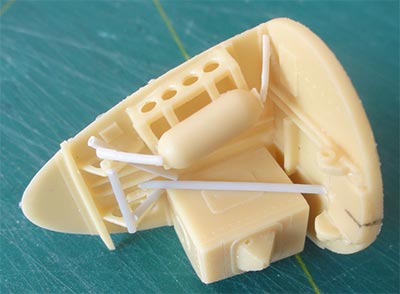
The nose bay is also well detailed, more detail to be added later on... some plastic rod was used as well. Here with a grey base coat.
 .
.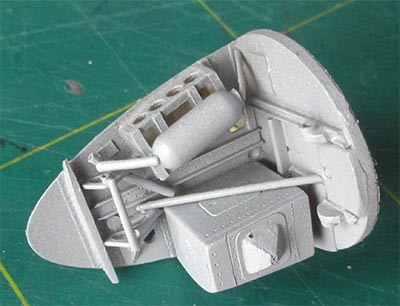
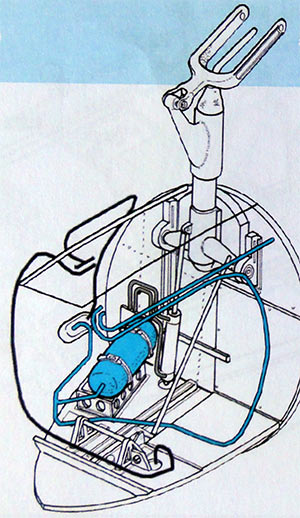
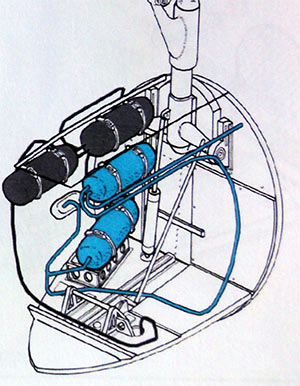
How the nose gear leg is to installed to be discovered later on...
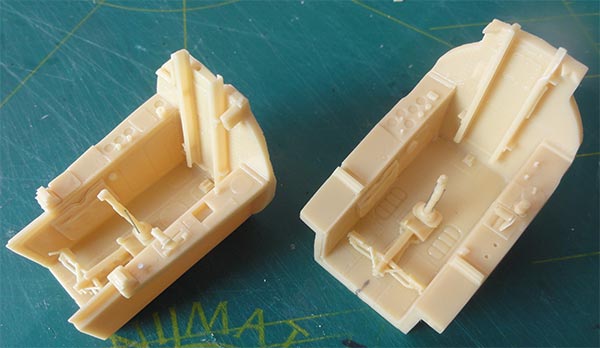
The side walls were detailed as well after getting the grey airbrushed. The vertical stringers #93 were made a bit shorter.
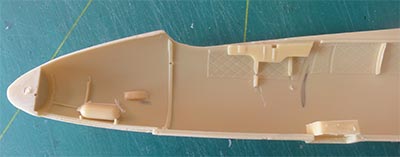
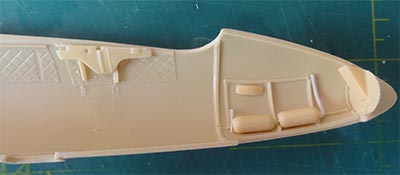
I did not use part #75 for installing the tubs.
You get coloured etched metal instrument panels that need some sandwich assemblies. I set in between clear thin sheet for the instrument glasses (in stead of Kristal Kleer).
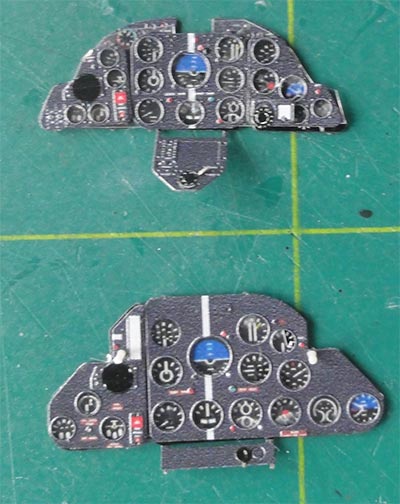
... seen installed here. (later on I found out that these are better installed later on to protect them).
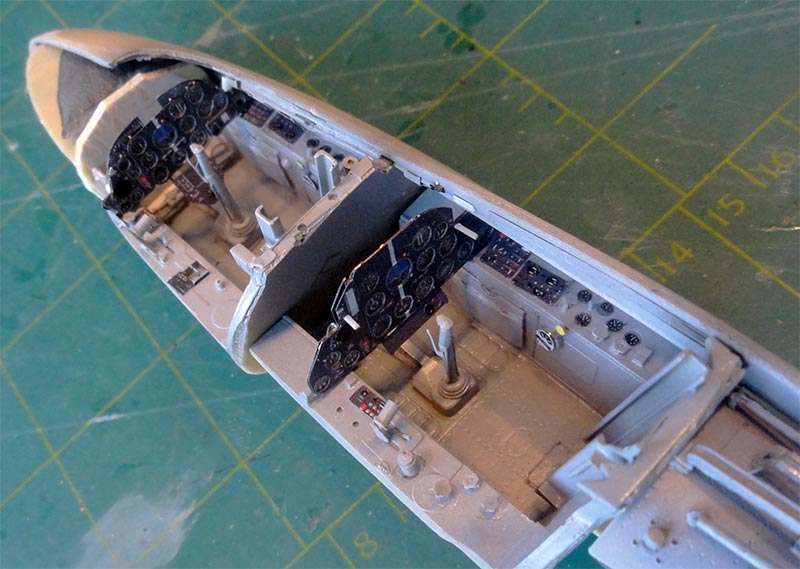
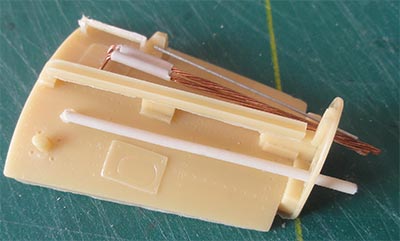
The rear deck with added wire details.
 .
.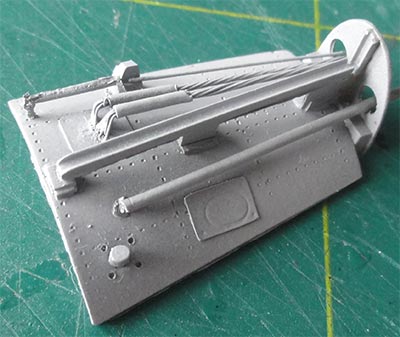
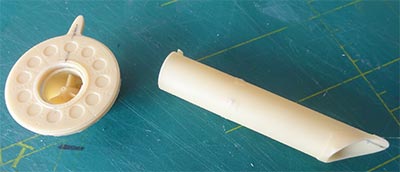
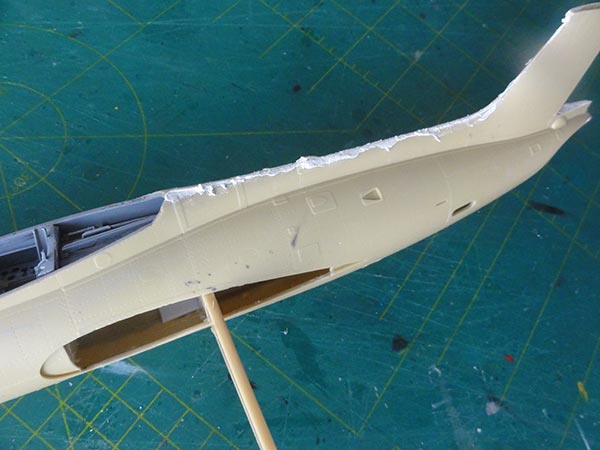
The fuselage can be closed after preparing the rear bulkhead, tail pipe and the spar. It is important not to glue the jet pipe at this stage.
Considerable putty and sanding is needed and clamps while drying.
On the nose a small bit was inserted as it did not fully close.
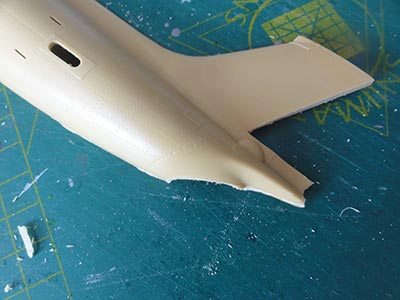
I damaged the spar #53 during clipping as it is a bit too long...
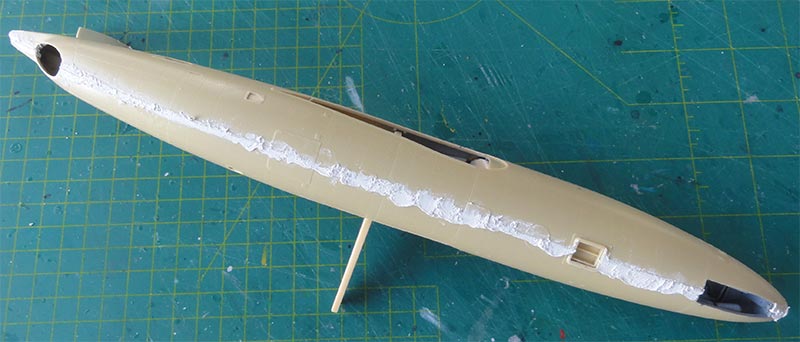
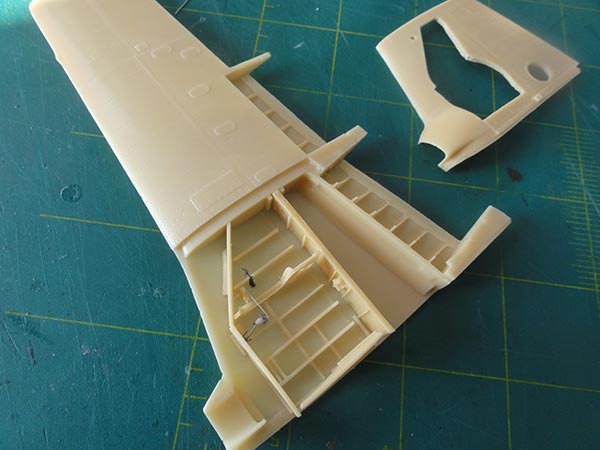
Note the rather large gaps in the fuselage sides at the wing joints. This was probably done that way by the kit maker to give you access to strengthen up the later structure from the inside.
On to next [ Page 2.... ]
.
(c) Copyright Meindert "designer"/ All rights reserved. Your comments are welcomed by webmaster
this page created March 12, 2021