[ Hasegawa conversion ]
Sepecat Jaguar models in 1/72 scale
page 4
... back to Jaguar page 3....
[6] Jaguar Prototype
It would be nice also to have a prototype
model of the Jaguar.
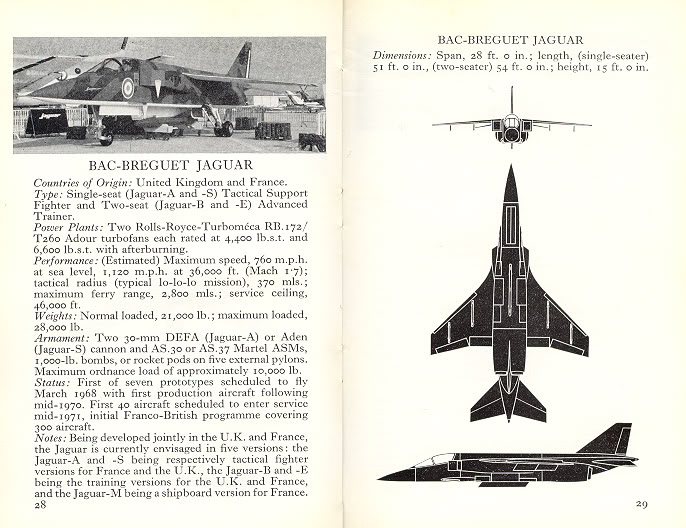
an old "Observers book of aircraft" info page
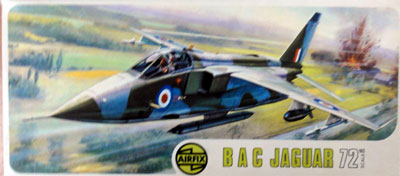
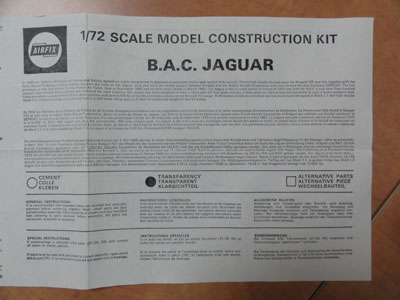
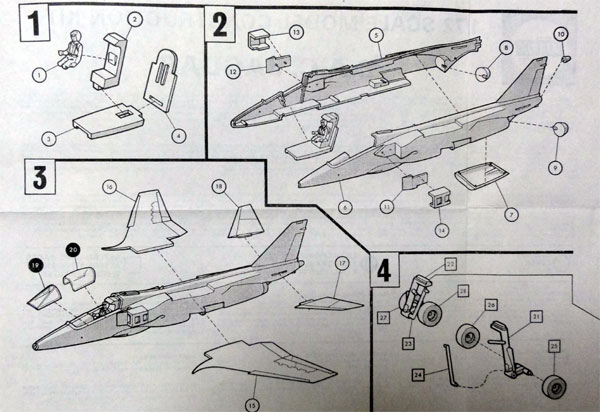
My friend Bas had made a very old initial Airfix prototype
1/72 model of the Jaguar (kit no unspecified) but this was a very basic
rudimentary kit as seen here.....
 .
.
 ......
![]()
 .
.
.
But this old basic Airfix model was not used!
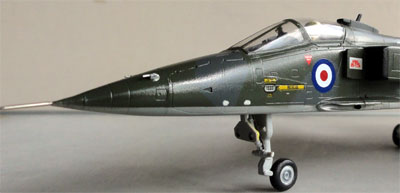
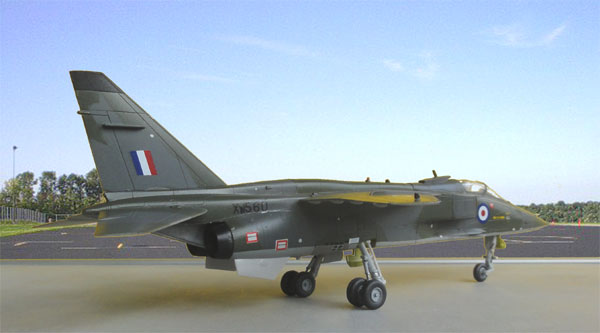
As... I had another Hasegawa kit, so elected to convert that much better 1/72 scale kit one into an early British Jaguar prototype coded "XW560". This was the first British assembled prototype aircraft that flew first 12 October 1969 at Warton. It was used for gunnery trails. Unfortunately there was a ground fire August 1972 that destroyed it.
A number of Hasegawa models were already made, general suggestions are seen on page 3.
The various prototypes and pre-production Jaguars differed a bit between them but generally differences were:
(1) a bit flatter upper fuselage spine
I believe (though not sure about as compared to later Jaguars).
(2) shorter less high vertical tail.
(3) splitter plates at intakes.
(4) different nose wheel doors configuration
(with one small door visible and 2 closed doors).
(5) rear air brakes with fewer (often
2) rows with perforation holes.
(6) ventral fins: during the first
prototype flight also NO ventral fins were present but very soon they were
also installed at the prototypes.
(7) other antennas, vanes and pitot
tubes.
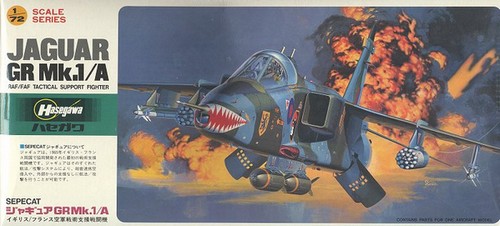
So an additional
Hasegawa Gr.mk 1 / A 1/72 scale kit for a single seater
was assembled and converted as a prototype, see remarks below corresponding
with kit instruction STEPs.
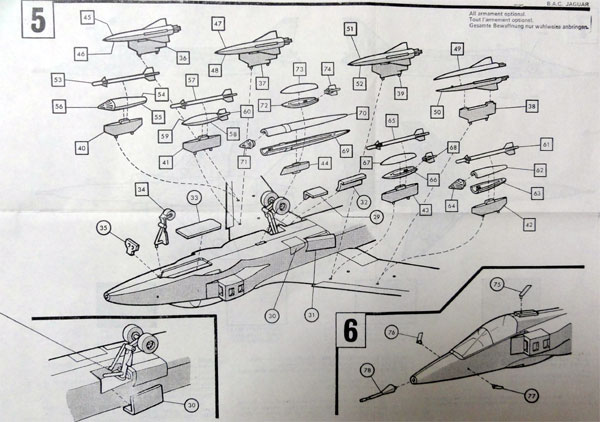
STEP 1
The canopy will be set closed on
this model with a pilot in place, so for an aircraft with "engines running".
Cockpit interior detailling was kept basic. Colours are medium grey with
dark/black instrument panels. The seat was painted dark grey/black with
olive green seat packs.
STEP 2
The "French A pointy" nose parts
C8 + C9 were used, but the lower fairing on that nose removed and sanded
round. The front of the large pitot part C12 was cut off and sanded to
become pointier.
STEP 3
The intakes have splitter plates,
These were made from plastic card based on photos, a simple job. Set the
intakes in place and note that the side spring loaded intake doors are
normally closed. Do not yet install the jet exhausts, leave for later.
STEP 4
From vertical tail part A8 the upper
area slightly above the rudder was removed from the razor saw. (Note that
no RWR antenna stubs are on the prototypes). Do not install the tail yet
and also not yet the horizontal tailplanes.
Normally, most parked Jaguars show the slats drooped and flaps down. This is not possible in any kit. Airbrakes droop down as well. But this model will be made with "pilot in the cockpit and engines running". The wing part B1 was simply installed but I cut off the very thick wing tip upper and lower antennas.
Join the foward section and aft fuselage. When dried, the upper fuselage spine was sanded a tiny bit flatter as on the prototypes.
STEP 5
The nose wheel door part B15 was
cut in two. The lower portion was set closed in the bay in conjunctiojn
with part B16.
STEP 6
The airbrakes were set closed for
a running engines aircraft. Note that the number of holes varied first
between prototypes in the airbrakes. The ventral fins were set in place
as very quickly prototypes had them installed. Do not yet install the undercarriage
and doors, first put the basic paint coats on the model.
NEXT STEPS
The prototype model is kept "clean"
so no stores nor pylons are fitted. (but that's a choice).
The prototype model got a little filler here and there particularly at the intakes to close gaps. But the model fit is OK and sanding needed is modest.
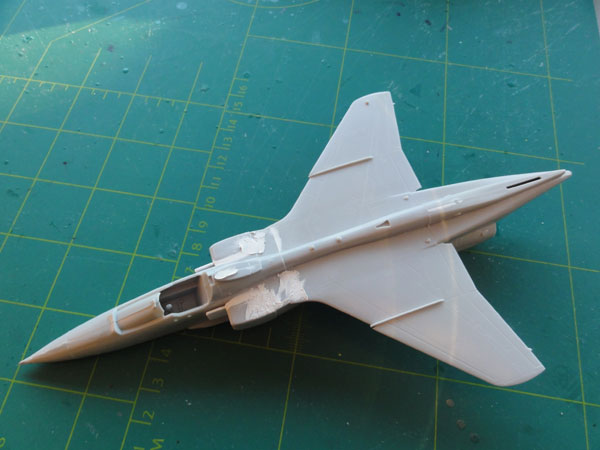
and after sanding....
The card splitter plates are seen
set in place as well. Simply glue on the inner edge of each intake. Also
the lower gaps for the pylons were filled as the model will be kept "in
clean configuration".
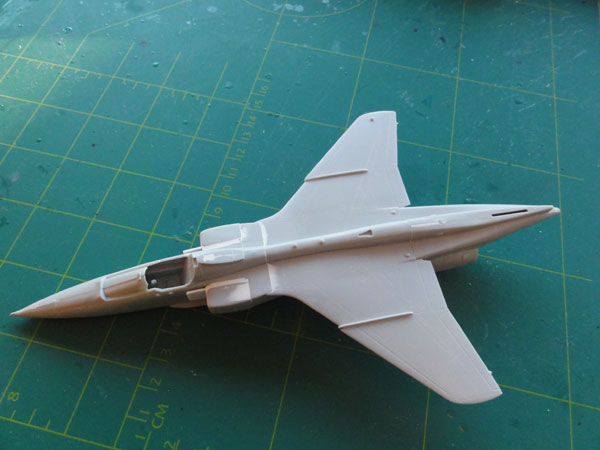
The smaller vertical tail was also now installed. And as always, the sides of ailerons, rudder and flaps were "sawed-in / cutt-in" with a TIGER razor saw to suggest the seperate moveable surfaces.
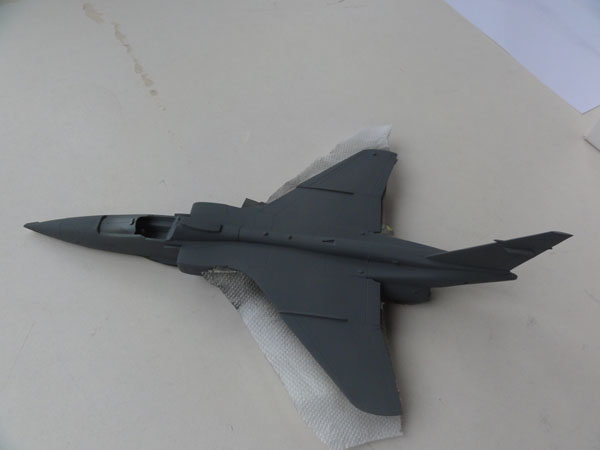
Next a base grey coat was airbrushed on to check for any errors. Any seen errors were corrected.
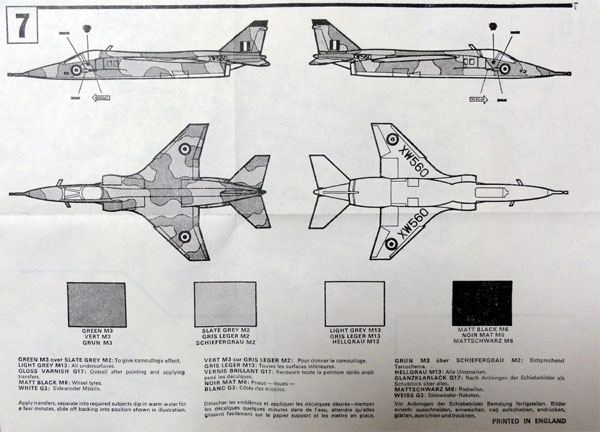
Time for painting and the scheme.
The basic Royal Air Force Jaguar prototypes colours I believe were
not different as from later production RAF Jaguars.
For the colours these acrylics were
used:
BSC 641 green upper camouflage: Gunze
Sangyo 330 ;
638 dark sea grey camouflage : Gunze
Sangyo 331 ;
627 light grey for the lower surfaces:
Gunze Sangyo 332 .
The French prototypes had "dull aluminium" lower surfaces but I think for the British aircraft light grey was applied; this was applied first with the airbrush at the lower areas.
Mask the lower surfaces and than apply
the grey followed by the green.
 .
.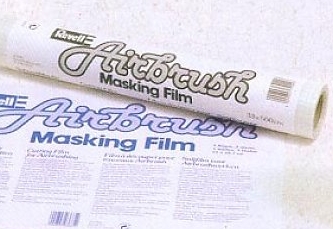
Masking was also done using low tack
"masking" film from Revell.
 ....
....
The gear bays and insides of undercarriage
doors were brush painted "zinc chromate yellow" using White Ensign ACUS23
enamel.
Various leading edges of intakes,
wing, tail surfaces and vertical tail are dull black. also, the anti-collision
light on the wing tips were painted, all with a fine brush.

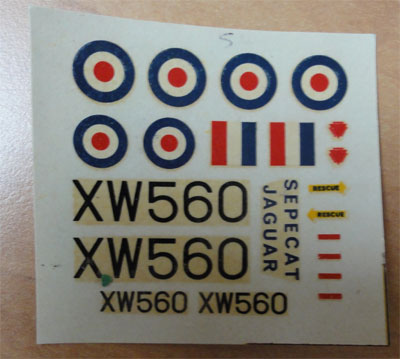
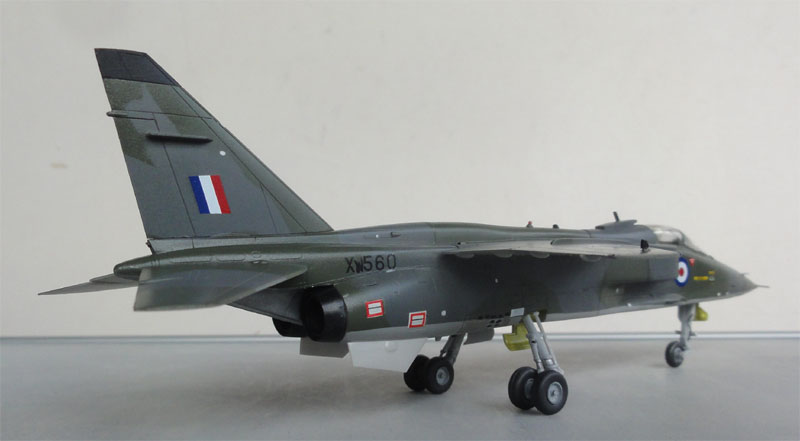
The old style RAF "type D" roundels
and fin flash as seen on RAF prototypes were retrieved from the XTRADECAL
set X041-72.
The smaller warning stencils came
from the Hasegawa decal sheet. Probably, various moving surfaces NO STEP
markings were also on the prototype. This are missing at the Hasegawa decalsheet
so retrieved from the spares box. The prototype aircraft number code "XW560"
was made from various bits of spare decal numbers.
After the decals were set in place,
the model was completed with tailplanes, ensuring a 5 degree dihedral of
the tailplanes as on all Jaguars. Next, exhausts and undercarriage fitted.
On the undercarriage legs a few hydraulics tubes were set in place made
from thin wire. The small nose probes and pitots were set in place and
also a thin nose pitot made from a metal needle. The smaller antennas were
set in place that were made from thin card. On the heat exchange fairing
aft of the canopy only one single antenna was present.
A pilot figure was found in the spares
box and set in the cockpit. The canopy was set closed. It fits OK but the
tiny gaps were closed with white glue applied with a toothpick. When dried,
painted in the appropriate surrounding camouflage colours. The airbrake
set closed with "suggested" painted perforation rows (2 on the prototypes)
black.
The model got a final varnish clear coat using Johnson Future/ Pledge mixed with 5% Tamiya matting "X-21 flat base" with the airbrush. This gives a nice semi-gloss sheen and protects the decals from drying out for the future.
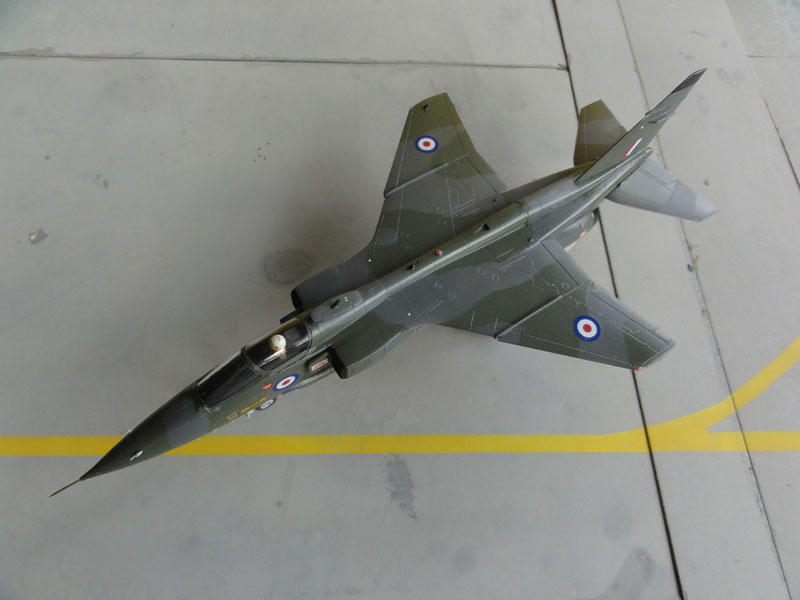
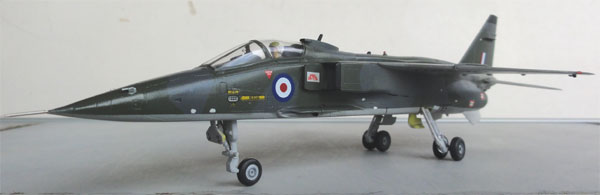
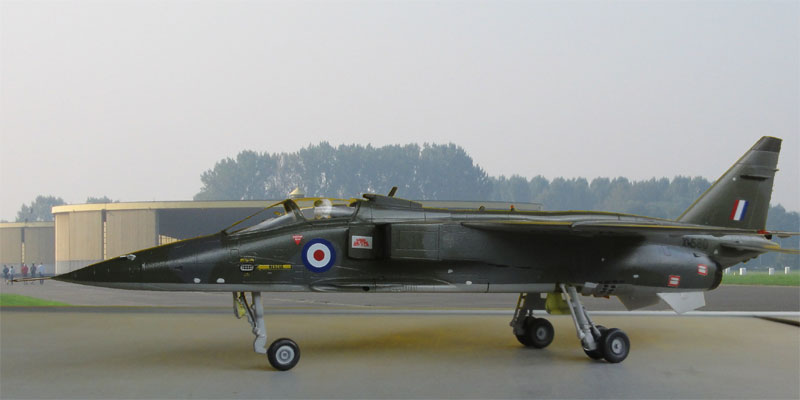
The Jaguar prototype "XW560" during testing in 1978 is now completed!
 ..
..
Page 1
Page 2
Page 3
Page 4
Page 5
Page 6
Back to 1/72 models

(c) Copyright Meindert "designer"/ All rights reserved. Your comments are welcomed by webmaster
Created this page
November 11, 2015