[ Page 3 ]
1/32 scale Hawker Siddeley/BAe Hawk jet trainers: REVELL
... continued from page 2 .....
The Hawk model(s) were ready in their
basic shapes.
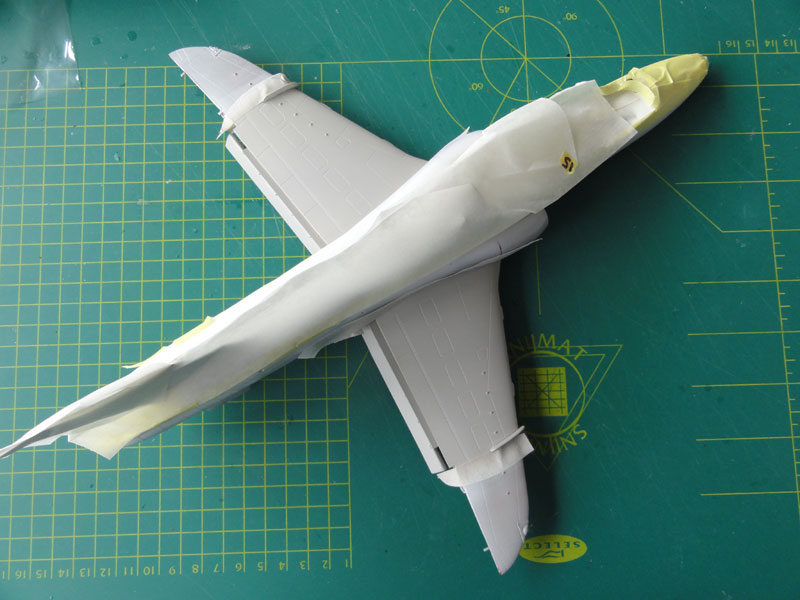
They were given each grey coat of
primer. Particularly the red plastic is now really covered. Correct any
gaps and flaws with putty and sand when dried.
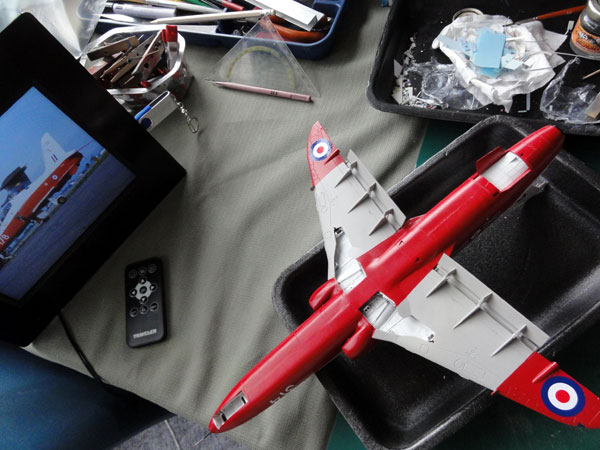
Next it was decided to apply the Hawk
colours at this stage, before fitting any other detail parts like the undercarriage
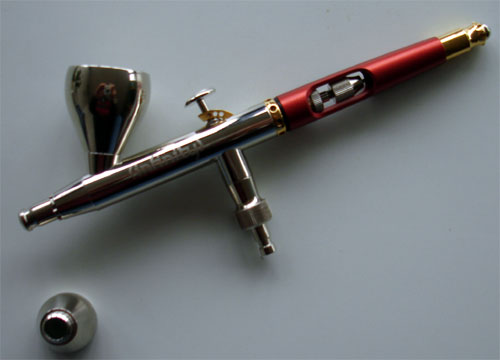
and canopy. The Harder
Steinbeck Infinity airbrush is used for all airbrushing work.....
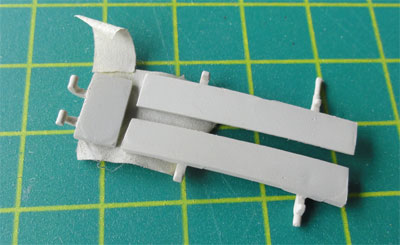
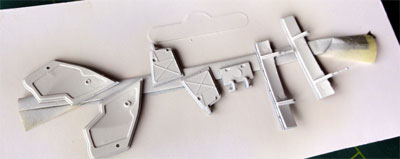
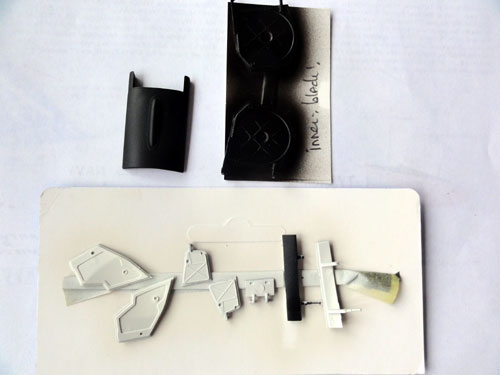
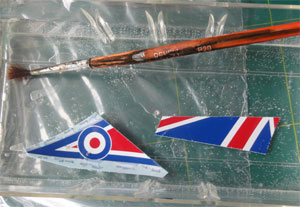
The other parts like the tailplanes,
undercarriage doors, canopy frames that would require also the colours
were also prepared and set aside. These would be airbrushed as well in
"one go" with the main model assembly.
 .
.
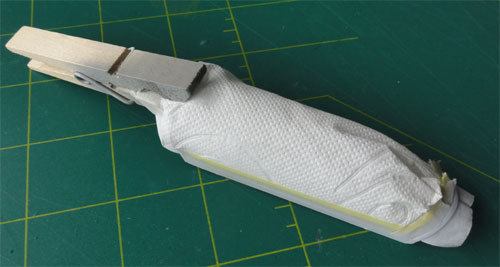
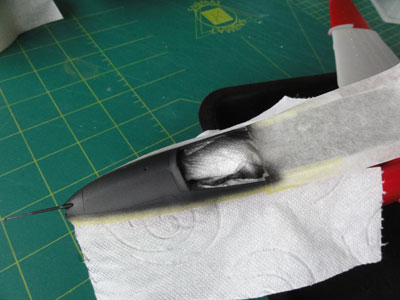
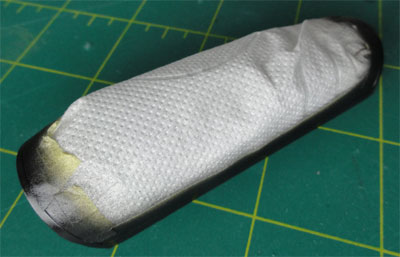
These parts were masked as required,
using low tack tape and tissue paper.....
![]()
COLOUR SCHEMES
Many commercial decal sheets can be purchased for the 1/32 Hawk. Xtradecal of Hannants UK has a lot of choices. A couple of decal sheets were bought.
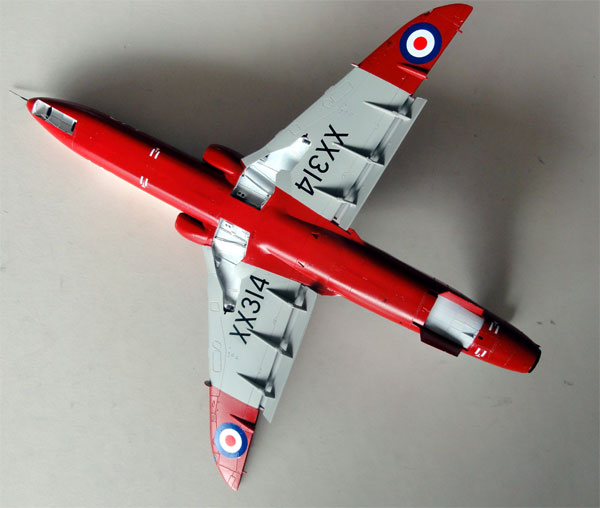
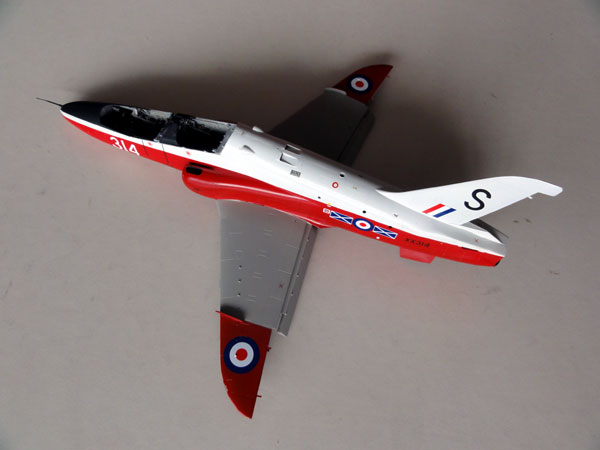
The first model would be finished
in a RED-WHITE RAF scheme, typical for HAWK training aircraft seen in the
UK. The model is for a Hawk T.1 of RAF Central
flying School at RAF Valley, 1990. Decals are on Xtradecal
set X32-027.
(this is a very nice sheet with no
less than 7 schemes)
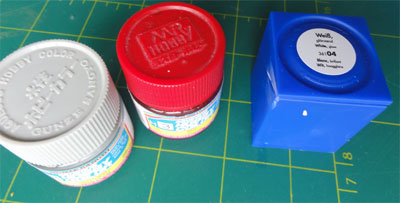
Colours used were:
Revell Aqua RED #330 and Revell
Aqua WHITE #03 for the mat base coats. These were applied with the airbrush,
paint requiring thinning with the special Revell Aqua Thinner. (Water
is less reccommended here for thinning).
Next followed the gloss coats, using
GUNZE
SANGYO #H5 RED and Revell Aqua gloss WHITE #04 . Take care to
use the special thinners for each brand, so for GUNZE the special Mr.HOBBY
acrylic thinner.
For the mid wing section, GUNZE SANGYO
#H332 acrylic was used (BSC 627 grey)
(please note that if desired enamel
paints are also widely available, e.g. from Xtracolour).
Start with white, followed by the
grey and finally the red.

The masking and airbrushing took
considerable time, but the result is fine. Note that the cockpit is not
yet fully detailed, this will be done later to avoid damage to the interior.
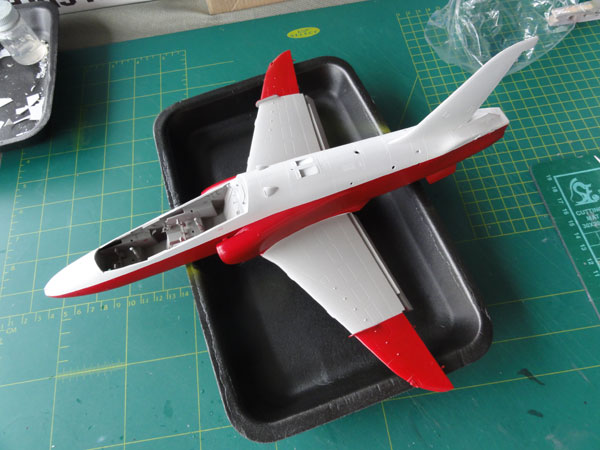
The mat black anti glare shield was
also not forgotten... The pitot tube was set on, to be black as well.
After drying, masks were removed.
Any overspray was removed and the gear bays and air brake bay (again) got
a white coat.
Next, the (glossy) model was ready
to receive the decals. Just use the plain method, soak a couple of decals
in water a couple of minutes. and slide onto the model.
The decals went on fine. To have the
decals follow the curve at the rear fuselage, DACO Decal Softening
fluid was used, particularly at the rear fuselage.
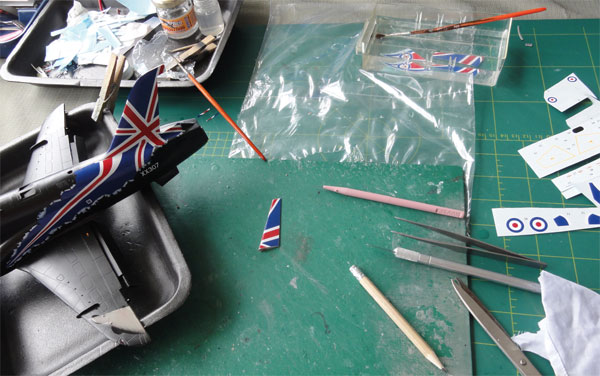
The model was ready to get all the detail parts and to be finished.
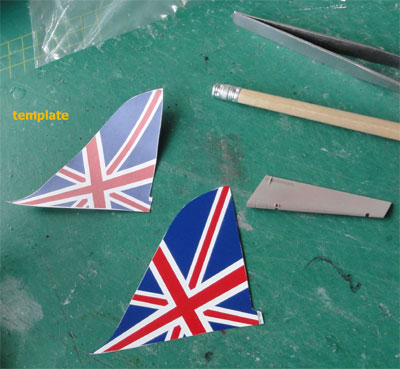
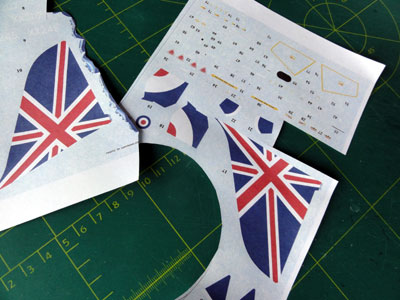
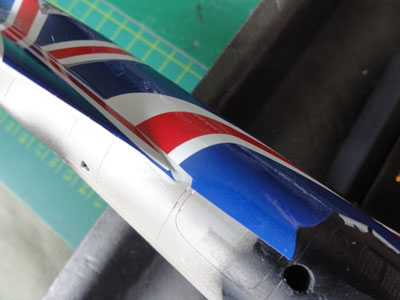
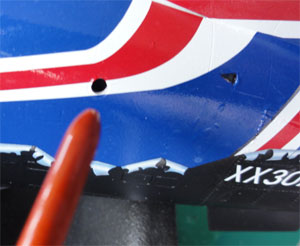
The second model would get a bright black finish with a large Union Jack flag on the tailfin and fuselage, using XTRADECALS sheet X32-034, of RAF Hawk T.1A of 208 squadron at RAF Valley, 2009. It is a display aircraft, commerating "90 years of RAF Benevolent fund".
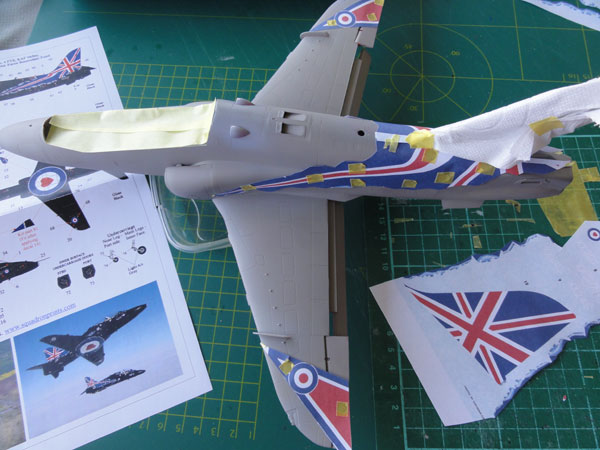
In order to have the Union Jack decals
looking good, it was decided to keep their underlying surfaces light. A
paper copy was made of the decals sheets and the paper decal patterns cut
out of the larger decals. This would help masking the model. Note that
it is only a rough guide, no need to be very precise here....
 .
.
Holes were made in the paper sheet
and there tape applied to have it stick. The cockpit area was covered with
tape as well.
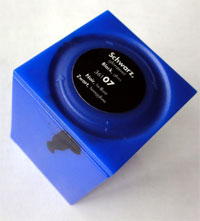
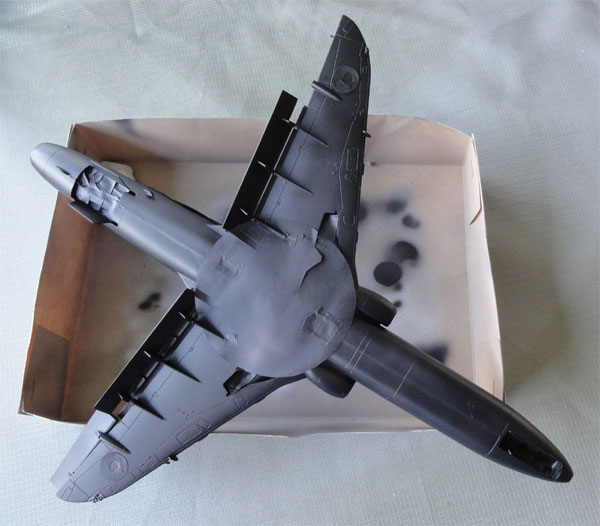
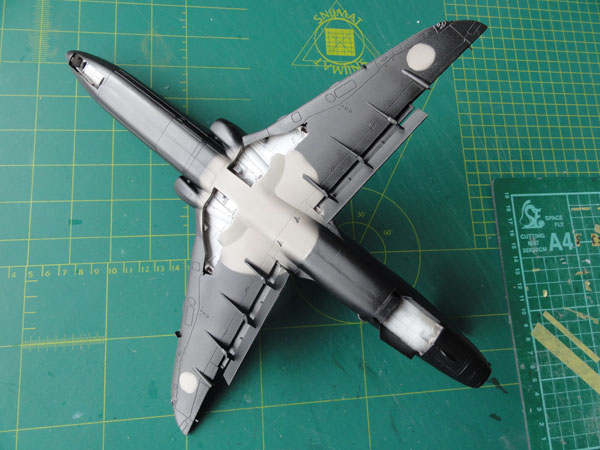
Now, the model was ready to receive
the first couple of coats of mat black. This was airbrushed, using
Revell
Aqua BLACK 08, followed by coat of gloss BLACK Aqua 07.
(please note that if desired black
enamel paints are also widely available).

The other parts, like the black canopy
frame and the taiplanes were not forgotten.
After drying, masks were removed.
Any overspray was removed and the bays (again) got a white coat with the
paint brush.
The model was ready to receive the
decals..
The XTRADECALS decals went on fine.
Rudder and ailerons were decalled separately, us the paper mask to have
a exact trim.
 .
.
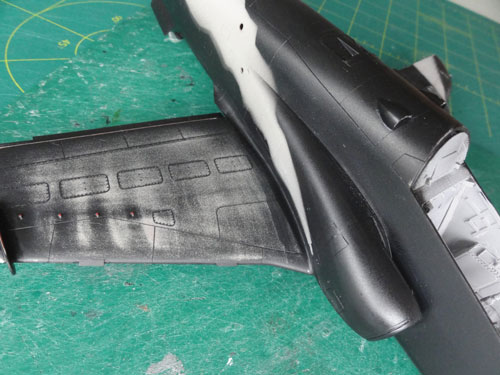
To have the decals follow the curve
at the rear fuselage, DACO Decal Softening fluid was used. Particularly
it will help to get the serial number look good over the added raised rivets
at the rear fuselage.
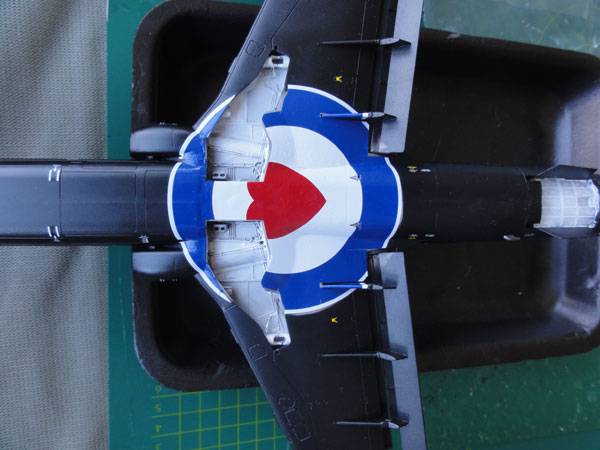
To have a good coverage for the decals
on the wing vortices, with a sharp razorscalp cuts were made in the decals.
I started with the big decals.
I was quite happy with the result.
Even the big lower "love roundel" has quite a good fit. It was not necessary
to use decals # 21,22.
Next, the smaller decals and stencilling was applied again from the XTRADECAL sheet, but with the exception of the red-white warning triangles decals #32. These were replaced with the REVELL DECALS.
The XTRADECALS do not fit 100% , but
it is not bad.
I carefully kept any decal left overs
although there are only a few of them. These were used to close any tiny
remaining gaps, such as on the spine and other places. This will prevent
any slight colour differences, that will otherwise been seen.
When the decals were dry, any other
tiny gaps were painted, e.g. some white and red with a very fine brush.
Do not overpaint and over do it. The rear fuselage openings and tiny air
intake scoops were cut and popped open as well.
So, also this model is ready as well
to receive the detail parts to be finished.
On to next Hawk [ Page
4... ]
Back to 1/32 Models.......

(c) Copyright Meindert "designer"/ All rights reserved. Your comments are welcomed by webmaster
Created this page
June 30 , 2013