Royal Aircraft Factory FE.2b "Early"
[ page 2 ]
FE.2b "Early" model kit in 1/32 scale of WingNut Wings
Modelling report
series
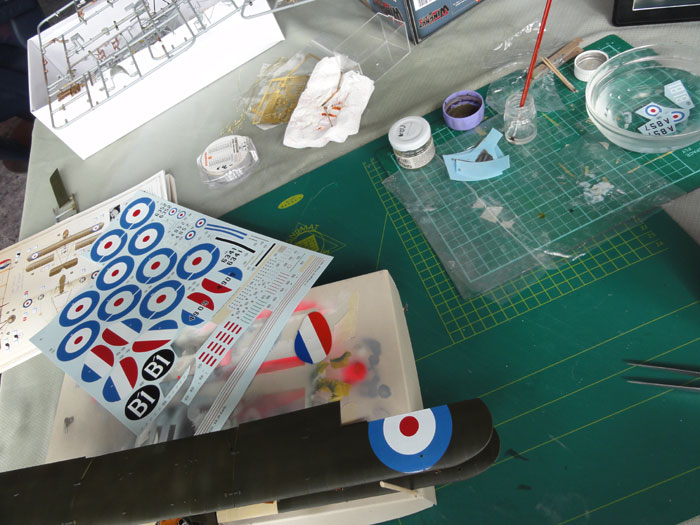
Decals and markings!
Yes, first the DECALS need
to be applied! The WingNut Wings decals are excellent.
Decal now, otherwise rigging is not
possible!
So before proceeding further, check
the paint work of wings and nacelle/fuselage. Touch up/ add paint as needed.
First, the model got a gloss varnish coat first to accept the few decals
before adding the excellent kit decals. Using a decal softener like DACO
medium is recommended.
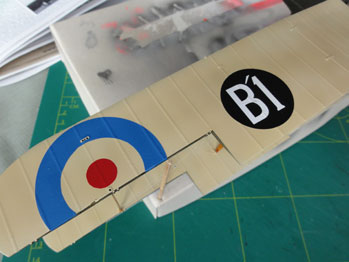
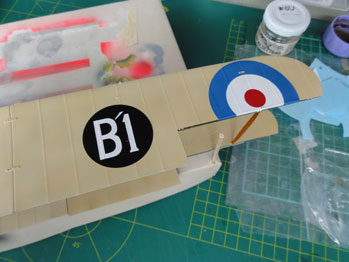
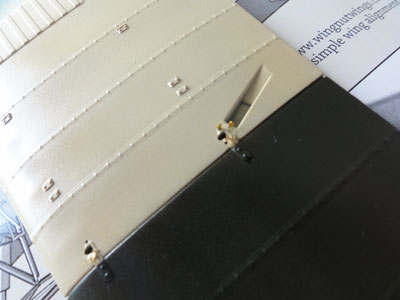
The RAF roundel- and number decals
were added. "E" scheme for RFC 22 squadron has colourful roundels and the
real plane even a roundel without the "white" colour on the lower wing!
Nice touch!
Let decals dry 24 hours.
 ..
..
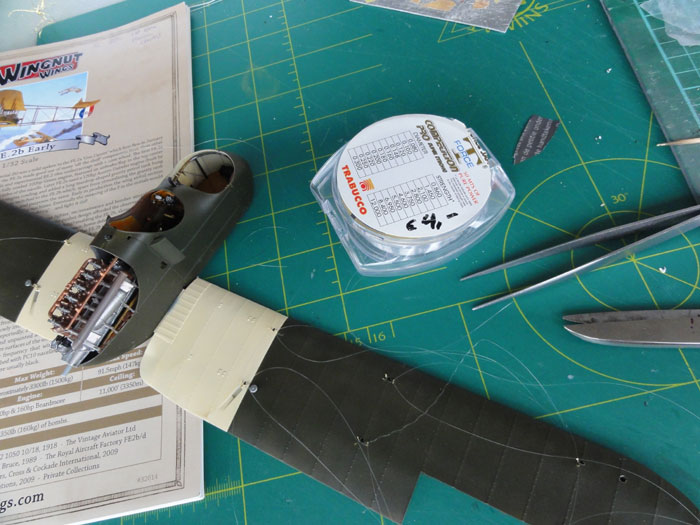
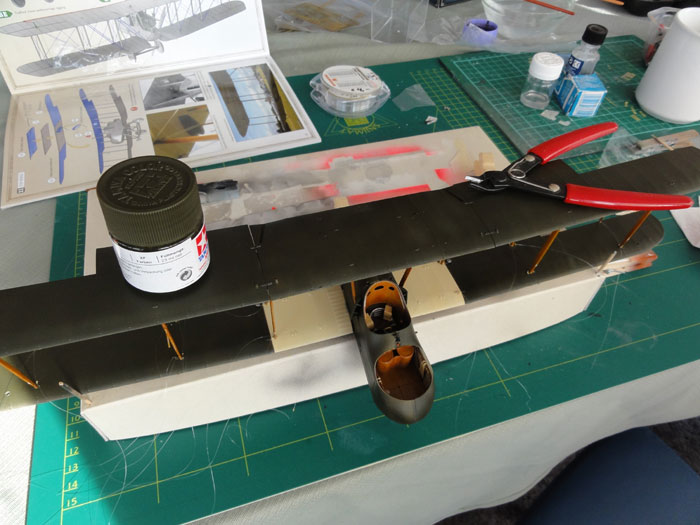
Rigging
Now, it is time for rigging the main
wings!
I used thin fishing
wire, this will add strength to this model (contrary when using
flex wire of stretched sprue).
The FE.2b has various types of wiring:
- plain wires of various thicknesses.
(the red and green wires on the insttructions page 20)
- "streamlined RAF wires" with a
profile (the blue wire on the instructions); It was decided NOT to apply
these as there are far too much of them. *( RB PRODUCTIONS has these wires
in etched metal).
In stead, the streamlined wires were
given a different metal colour through the paint brush after rigging.
First, rig the all wires as in the sketch on page 20 with 0.1 mm fishing wire. Rig between the corners of the struts. Some wires are even "doubled", with 2 parallel wires running.
If you want to add torsioning sets, get those from Bob’s Buckles. It was decided here not to use these but to suggest the torsioning bars.
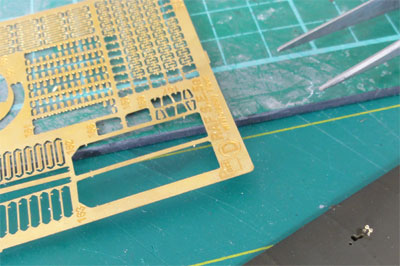
I had a spare EDUARD ETCHED METAL
set (for a RODEN SE-5). This Eduard set has various metal plates and locks
that are added at some places now.
 ...
...
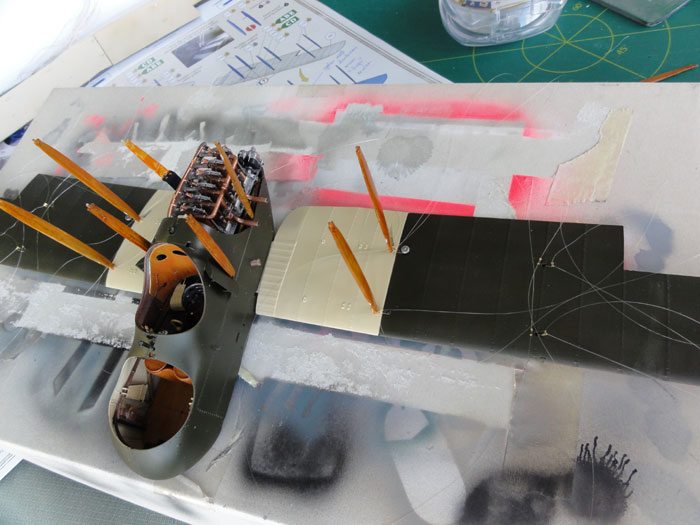
This aircraft is a real birdcage!
Check how a long wire should be, crossing
over from one corner to the other. Use ample fishing wire length. Start
on the inside near the fuselage and work your way outwards.
The main rigging wires are now there,
they were NOT painted.
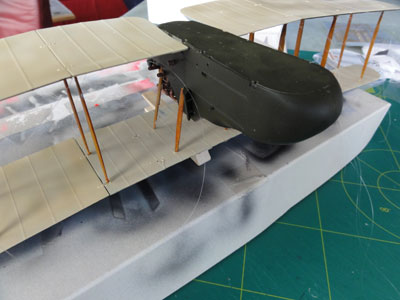
STEPs 10 - 11 :
Now comes the important step of wing
assembly. Do NOT yet deal with the rear struts of the tail. First do the
main wings, with step 11. Assembly the upper wing. The joints between the
upper wing sections should be strengthened. Let dry for 24 hours.
![]()
Turn than to fixing it to the lower
wing assembly.
Surprisingly, the struts are all
of correct length and give no alignment problems! As the gear is NOT yet
fitted, a simple jig can be used made from any stuff you have. The nacelle
and lower wing will simply sit on the table shelf.
Do not mix the struts numbers up,
so carefully order them on your table. Start with the inboard struts, working
towards outboard.
Ensure that any thick paint is scraped
of at the joints for a good fit into the corresponding holes.
Fit the upper wing.
LET THE WINGs dry now for at least
24 hours, making sure they are symmetrical and aligned. Add a little ballast
on the top wing to ensure the glue touches the struts.
![]()
Now continue with the rigging.
Fix the fishing wire with SUPERGLUE
on one side/corner applied with a toothpick, next rig, and under tension
of the weight of a cloath peg fix in the other corner. Once fixed, cut
the wire at the correct length in the corner with a very sharp scalpel
blade.
 ...
...
Tweezers and a good eye are needed.
Along with loads of patience. Wiring with fishing wires took 2 sessions
of 4 hours. While doing the wiring work, PLEASE fix your model on a cardboard
box set on your table!! I dropped my model on the floor... Ugh!!! So please
prevent dropping it and stabilize it on a cardboard box.
When all dried, now add extra rig
details as desired. I had tiny etched metal parts for metal corner and
strips for the wire fittings from EDUARD (spare set for the RODEN SE-5).
These metal etched details were now simple added by glueing them with superglue
onto a wire and in a corner.
The torsioning bars were made from
pieces of thick metal wire and glued on a wire on on end as seen on photographs.
Connecting rods between "double" wires were also now added.
Paint the parts metal. The
so called streamlined wires were suggested by giving them a different metal
colour through the paint brush after rigging.
OK, now the wiring is there on the main wings, skip Step 12 propeller.
To next [ page 3.... ]
![]()
Back to 1/32 scale Models.......

(c) Copyright Meindert "designer"/ All rights reserved. Your comments are welcomed by webmaster
Created this page
October 4, 2013