Short Seamew
FAA models in 1/72 scale kit review and modelling report
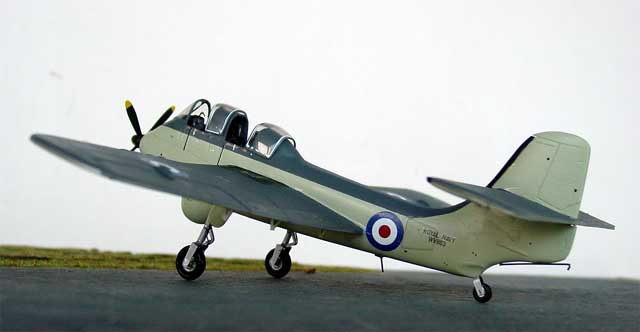
Short Seamew , "submarine hunter".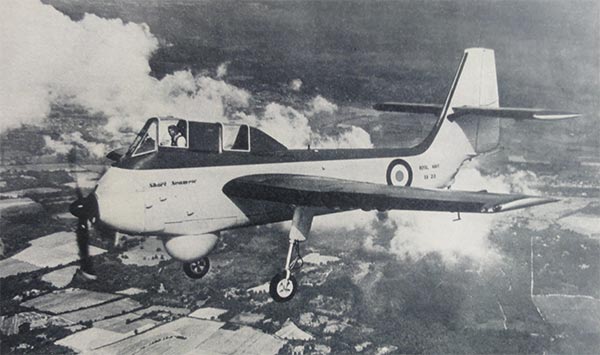
This 1/72 kit from
Contrail is a vacuform model needing sanding out all major parts
and some scratch building. (There also seems to be a resin Magna Model
of this type). 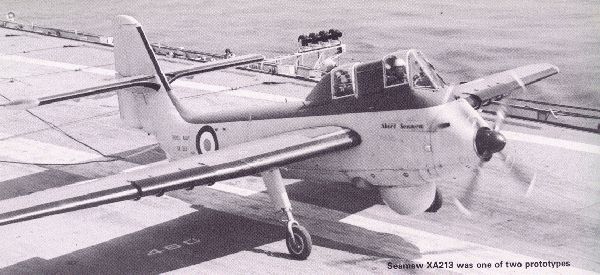
Brief history
The Short Seamew
was developed as a supposedly cheap anti-submarine aircraft and was designed
to operate from land or from small aircraft carriers. It was envisaged
to be used by Britain's Coastal Command and Fleet Air Arm. In all three
prototypes were ordered in 1952, and the first one flew in August 1953.
The Fleet Air Arm would have ordered the AS1 version, and the RAF would
have ordered the MR2 version. Note that the AS1 version has thinner wheels
than the MR2 version.
(The AS1 will be modeled.)
Power was provided by a single Armstrong Siddeley Mamba turboprop. Performance was not good but it was designed for long duration patrol flights and there were handling difficulties.
The RAF canceled
their order after only five aircraft were delivered. Also, later on the
Fleet Air Arm canceled it after only seven aircraft were delivered. It
was stated that it was because of the very large defense cuts that happened
in Britain in the mid 1950s but probably the plane did not perform well
enough.
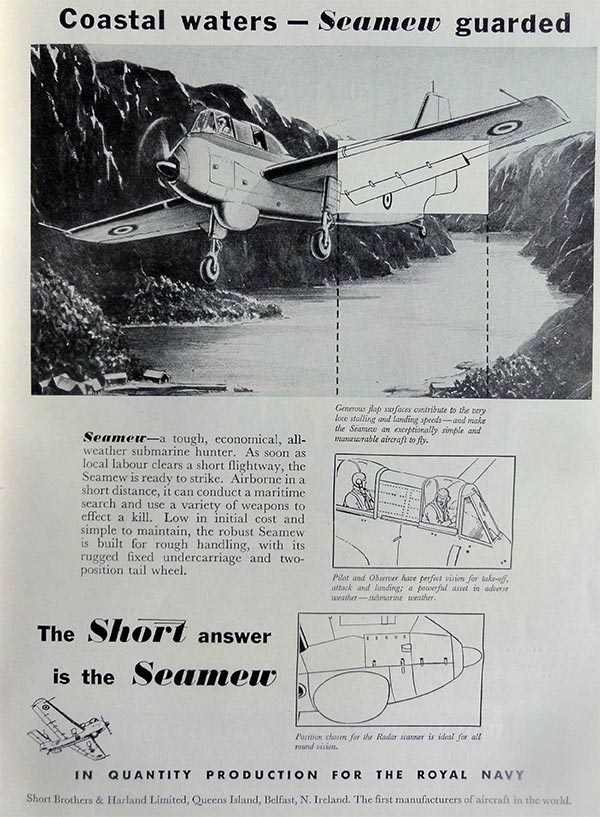
Advert Flight 1954
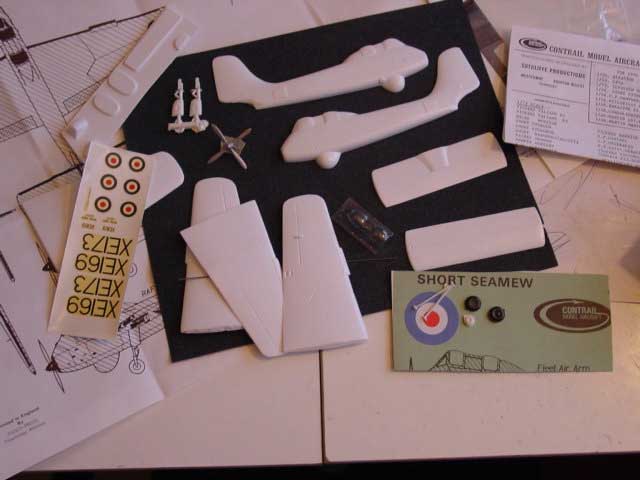
Contrail 1/72 kit
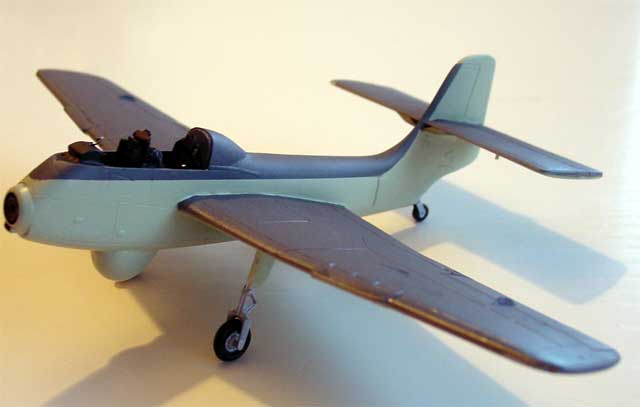
The AS1 kit has mainly basic vacuformed parts, but a nice model can be made with some effort. You also get some roughly injection moulded parts for the undercarriage and a metal prop. Also a basic set of decals and a clear thin canopy. The instructions are OK with a scale plan. The decals however are of no use.
The main plastic parts were removed from their backing sheet and sanded as usual for vacuforms. I found the fuselage to narrow, so thick piece of 2mm plastic was wedged in between the two halves to get a wider fuselage. A good reference point is that the engine - prop mating surface needs to be round.
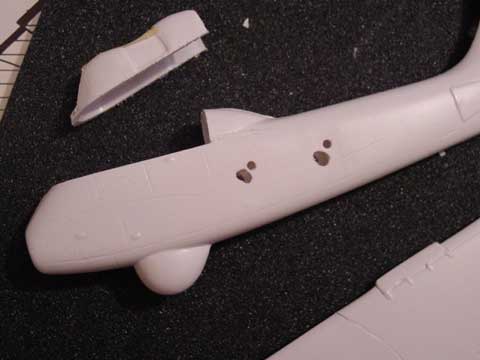
I also removed of course the clear canopy section. The wings were OK, no undercarriage bays are present in the real plane so that is easy. I inserted 2 pieces of rod for strength acting as spars. Some filling was needed but nothing too difficult.
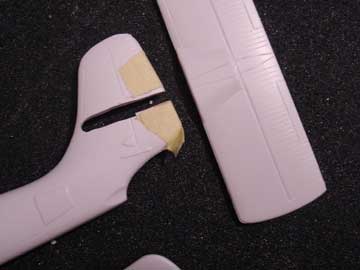
Some attention
is needed at the horizontal stabilizer. It has two intakes are the root,
some carefully cut these out and make sure things are symmetrical.
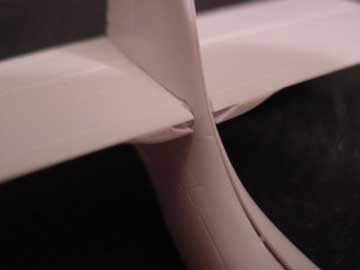
Otherwise the
kit was assembled easily as usual with the good kit instructions.
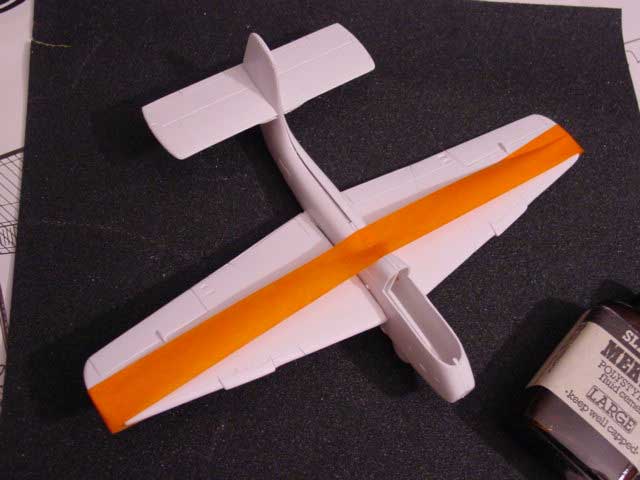
A first coat
a light grey was sprayed on to reveal any flaws and these were corrected
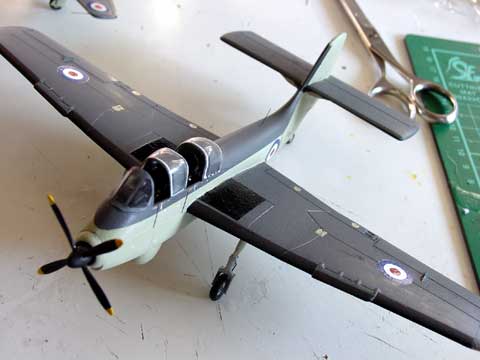
with putty. After that this kit got the colours: a coat of Sky at lower areas and Dark
sea grey upper areas from the Xtracolour enamel range. Some drops of white were
mixed through the sea grey as otherwise it is too dark for this scale.
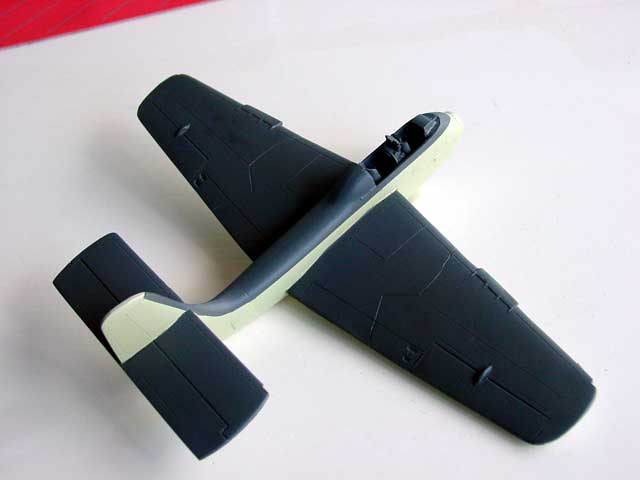
After filling with putty, sanding a light grey paint coat was applied. Any flaws were corrected and the Sky and Dark sea grey coats applied with an airbrush.
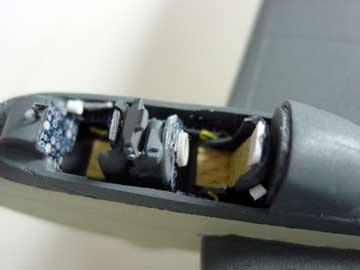
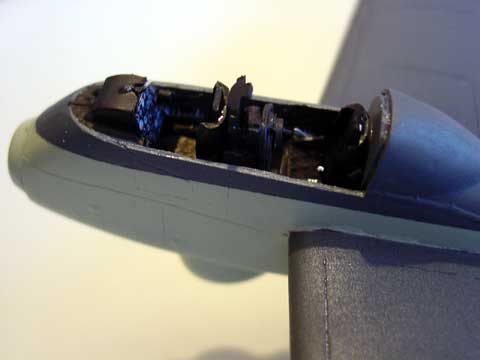
The cockpit detailing was done with card, pieces of scrap and parts from the spare box with the usual stuff like seats, instrument panels and switches. All British aircraft of the period had cramped, dark cockpits with lots of detail. The cockpit instrument panels were made with a decal I made with indicators, switches and instruments.
The supplied glazing was cut in several parts, the different sections will be set opened with additional cockpit finishing still to be done.
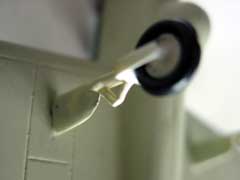
The gear legs were refined with some details and new wheels were obtained from the spare box as the Contrail supplied ones are a bit rough.
kit review modelling report
kit review modelling report
kit review modelling report
kit review modelling report
kit review modelling report
kit review modelling report
kit review modelling report
kit review modelling report
kit review modelling report
kit review modelling report
Decals are provided with this Contrail kit but they were very yellow. I got some decals from my spares box, with the roundels coming from a 1/72 Sea hawk kit and various serials searched from the spare decals. Finding the decals was not hard as the Seamew did not carry a lot of markings.
As I do not have full information on the Sea Mew, I suggested some details here. But the real plane is very bare and does not show a lot of markings at all.
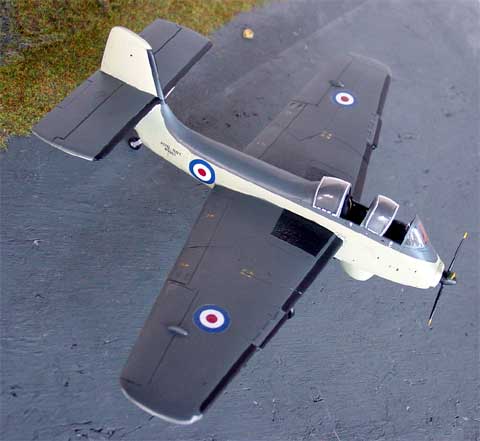
The model of the Short Seamew vacu
was similarly finished as the other FAA models.
The model was decalled after it got
a gloss coat of Johnson Clear varnish. I used also DACO decal setting fluid
in certain areas, the decals conforming very well to the underlying surface.
After ample decals drying time, the
Sea Mew model got another coat of matt Johnson Clear, realized by
mixing into the varnish some Tamiya X21 "flat base" agent.
A semi matt end effect was achieved.
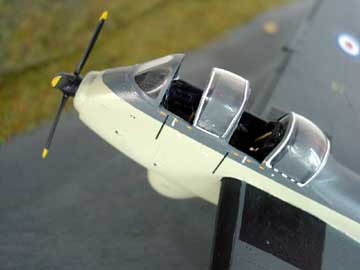
On the sliding canopy windows, some
white striping was applied using whitecut decals to get a more subtle detailling
effects.

Finally, the two canopies were fitted
and the propeller and to its end an arrestor hook from stretched sprue

...
can you imagine being a pilot getting into this cockpit... don't break
your leg!
Back to FAA page
(c) Copyright "designer"/ All rights reserved. Your comments are welcomed by webmaster