Supermarine Attacker
[ page 1 ]
FAA models in 1/72 scale
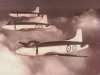
Supermarine Attacker , carrier based fighter bomber.
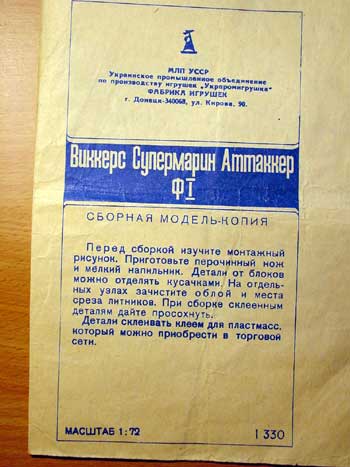
This kit originates from Frog but was copied by Novo. The kit I used here was obtained from the USSR, the origin not being readable in cyrillic. It has kit number I-330 and I think it is the NOVO kit.
Rob told me
that the cyrrillic text probably means: " Fabrika Igrushek" in "Donyetsk"
. DFI purchased many Frog moulds, including the one numbered U-3542
for the Attacker.
Brief history
of the Supermarine Attacker
The Attacker
developed from a Royal Air Force (RAF) fighter jet project, the E10//44.
Supermarine offered a navalised version of the design to the Navy. The
design of the Attacker used the straight-wings of the Supermarine Spiteful.
The Attacker suffered from a number of deficiencies which made it a less
than successful aircraft. Just one such deficiency was that the Attacker
had a tail-wheel undercarriage, rather than a nose-wheel undercarriage,
thus making the Attacker difficult to land on aircraft carriers.
The navalised
prototype first flew in June 1947, three years after the RAF Meteor. The
first production aircraft entered service in 1951 at No. 800 squadron.
It had four Hispano 20mm cannons. It was powered by a single Rolls-Rolls
Nene Mk. 101 turbojet. The Attacker had a speed of about 590 mph
and a range of just under 1200 miles.
The FB.1 was used as a fighter-bomber with rockets below the wing. The FB.2 has a updated engine. Not more than a 100 Attackers would eventually be built for the Fleet Air Arm.
The Attacker had a very brief FAA career taken out of first-line service in 1954. Between 1952-53 about thirty Attackers were sold to the Pakistan Air Force and these were operated until 1960.
The kit
It has only
about 17 parts! But it can be made into a nice model. 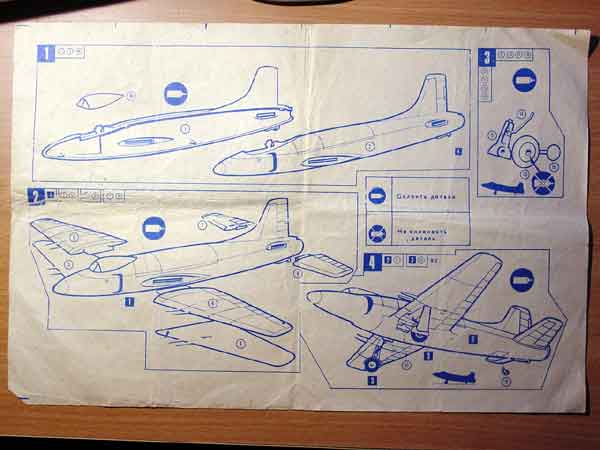
First, I got
a replacement vacuform canopy from AeroClub.
Assembly of
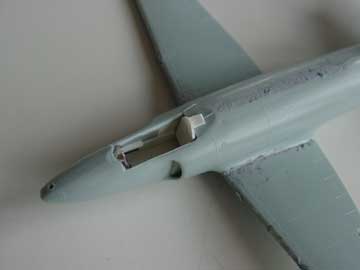
the kit was straight forward with some small corrections. Inside the intake
I added a piece of card to prevent see "through". Some filler is needed
in areas. Cockpit will be detailed with some sprue and card later on. After
assembly, some panellines were engraved and the model sanded smooth.
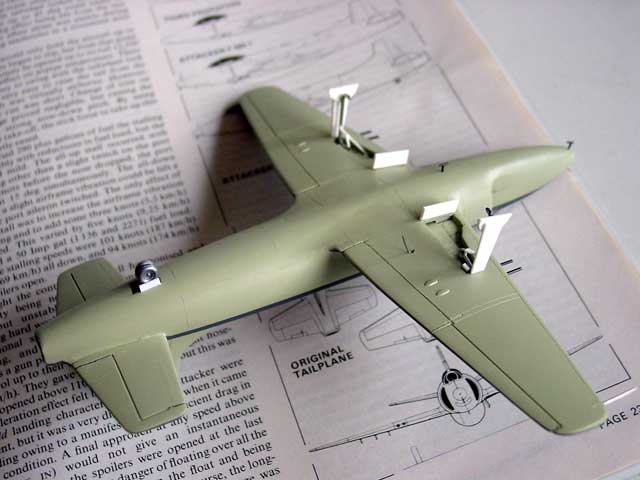
The main wheel wells got some detail
from strip and I did not cut out the inboard doors as these are very small
and hardly seen. The smaller doors will be made of thin card and added
later on.
See note below about the tail plane!
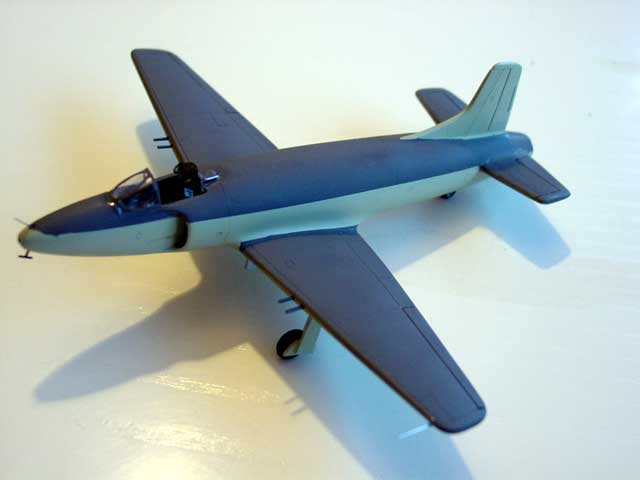
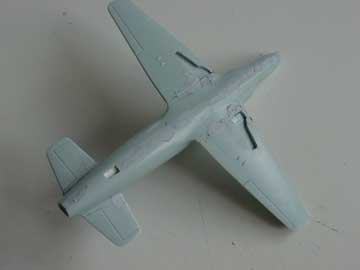
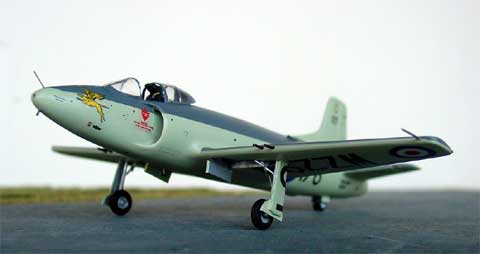
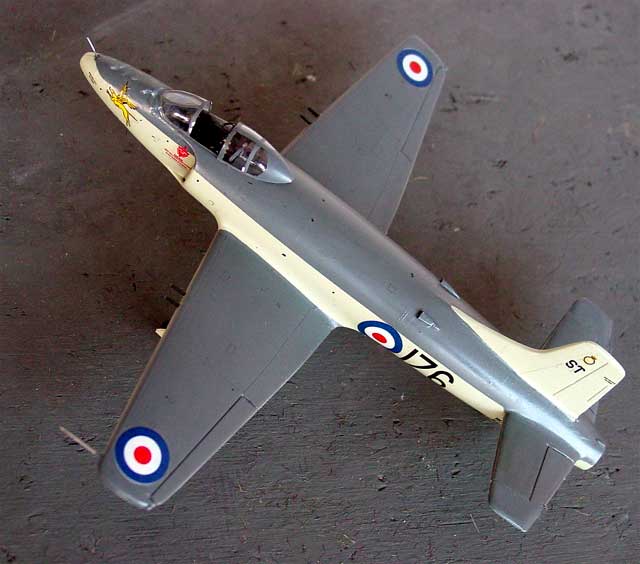
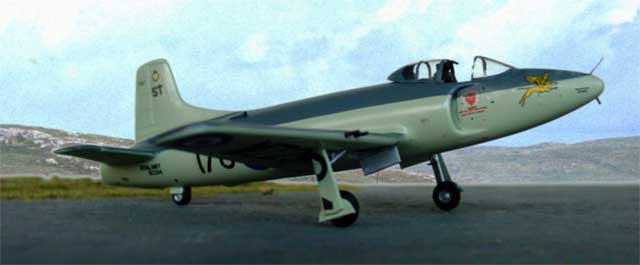
After a light grey checking coat, the Attacker got its Dark Sea Grey and Sky coats with an airbrush. The lower details can be seen here, with new gear doors and the canon barrels added. The aft double wheels were obtained from the spares box. Also not the small antennas and pitot tube.
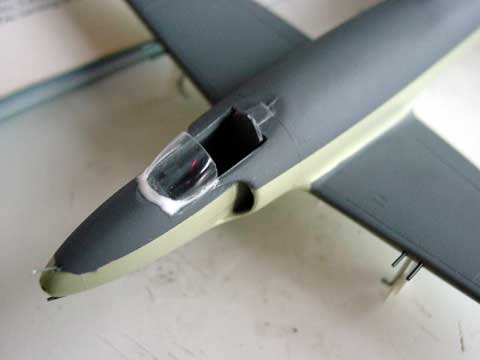
The front windscreen needs some filling and adjustment. White glue is used for that.
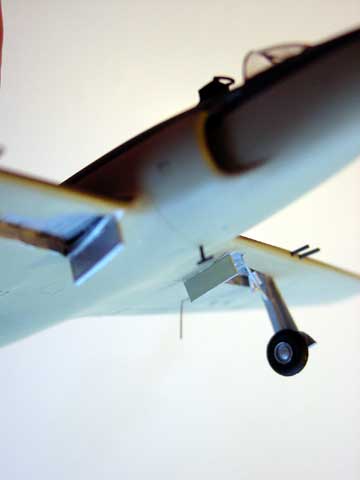
The main gear
legs were made from a metal paper clip for strength and the wheels came
from the spare box.
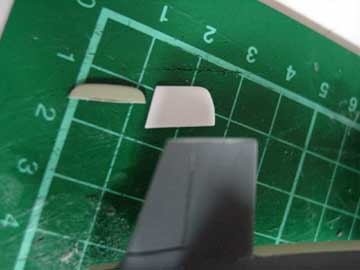
The kit can be improved in several areas, but the most noticeable is especially that the stabilizer tail plane span should be increased by 2x5 mm. I cut off the stabilizer tips and replaced them with thin card sanded in shape.
I will finish painting later on and will add trim tab etc. Tail plane was fitted with small trim tabs and a small light was fitted on top of the exhaust pipe.
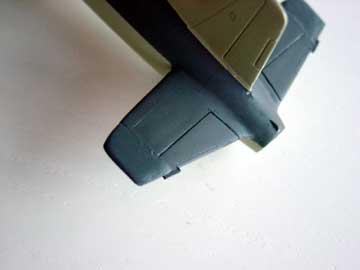
Also, small intake scoops were added made from some card on top of the fuselage. The exhaust pipe got a small tube cut off from and old bomb.
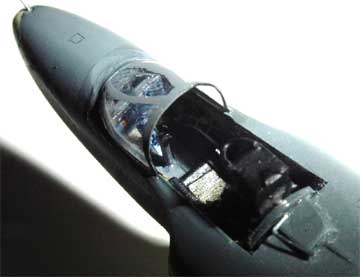 some details in the cockpit.
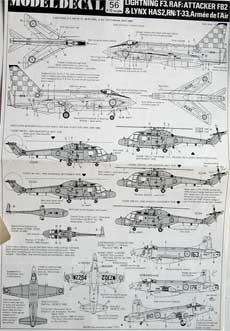
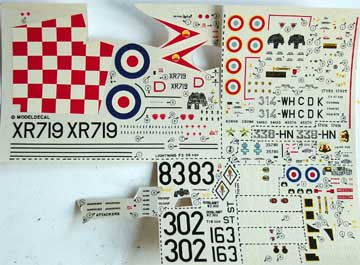
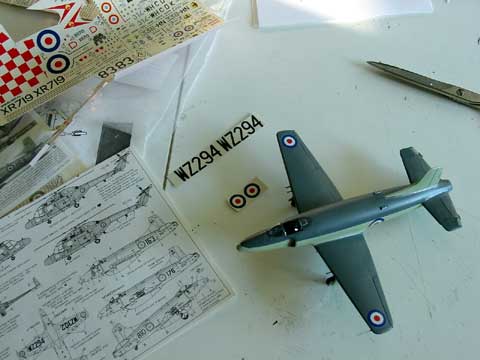
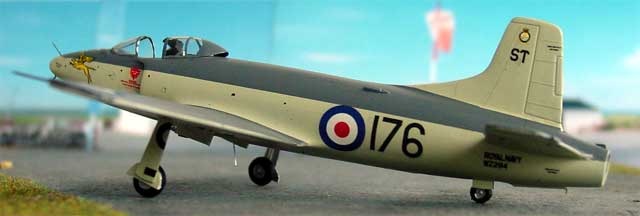
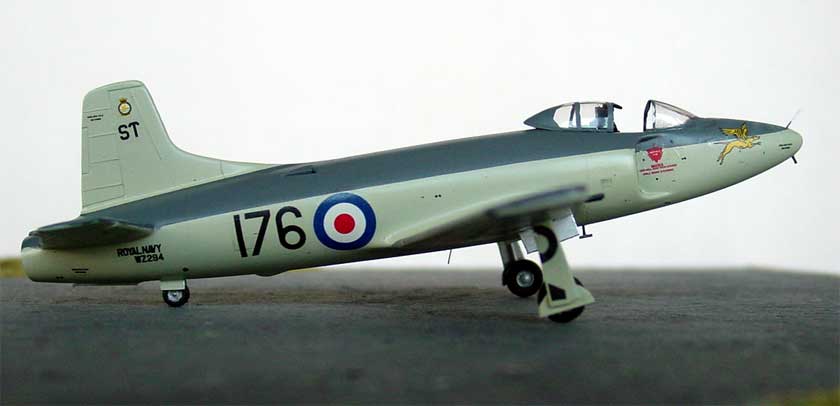
The FAA aircraft depicted was the
Attacker serial WZ294 / code ST of NAS 1831, stationed at RNAS Stretton,
UK in 1955. Modeldecal set 56 provides
the decals of the plane. The decals have their glue coating coming off.
Use plenty of water to get rid of the glue and use newly applied water
dilutable glue in stead.
After ample decals drying time, the
model got another coat of matt Johnson Clear, realized by mixing into
the varnish some Tamiya Matting no. X21 "flat base" agent. A semi matt
end effect was achieved.
The canopy was fitted and some antennas
from sprue and a pitot from a needle.
The model looks rather nice now and
not bad for a very old kit mould.
Back to FAA page
Back to 1/72 models

(c) Copyright Meindert "designer"/ All rights reserved. Your comments are welcomed by webmaster
Created this page January 17, 2005