ITALERI
[ Page 6 ]
F-35A in 1/32 scale: kit review & modelling report of the ITALERI kit
... continued from F-35 page 4....
page 2
page 3
page 4
page 5
page 6
page 7
I decided to continue with this model though I will first test and try a Vallejo paint in the future...
NOTE: In the IPMS NL magazine it was reported that Vallejo paint only really sticks to the undercoat when the special Vallejo primer is used... so not another brand.. But I feel that between acrylic paints when allowed enough drying time, this should not be the case as it would limit paint brand and colours choices considerably!
OK, continueing with the model....
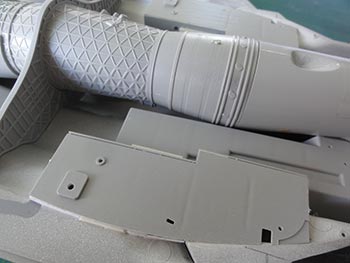
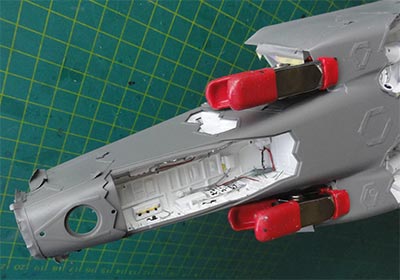
Inside the fuselage, the various already painted bays were installed. Some White Glue was used inside to close any gaps. The engine was installed as well after the intake face and exhaust rings were painted metal.
 ..
..
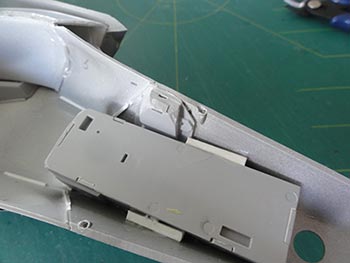
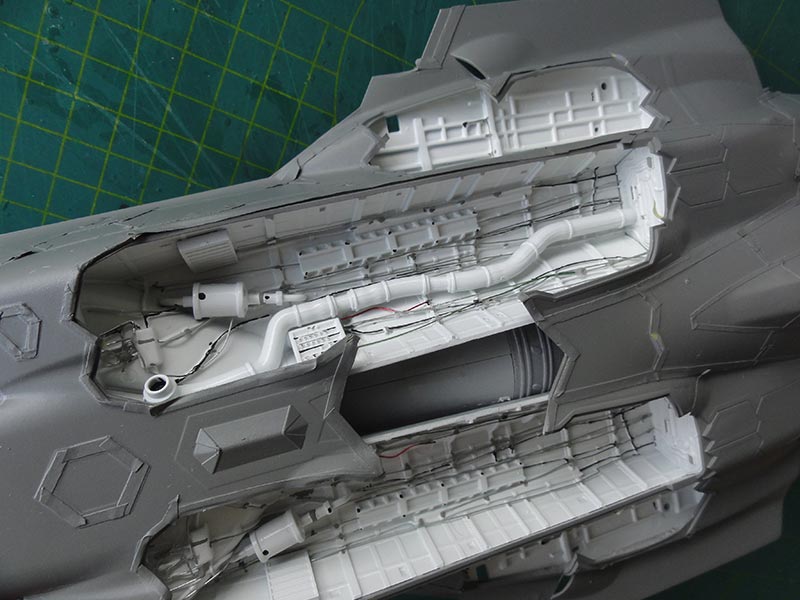
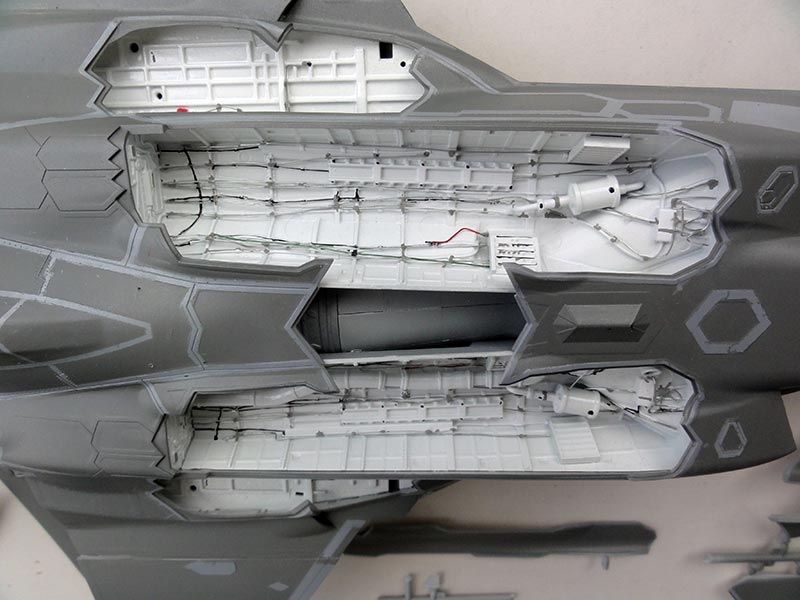
The nose wheel bay fix was strenghtened with additional plastic rod on the insides. The main gear bays were also set in place.
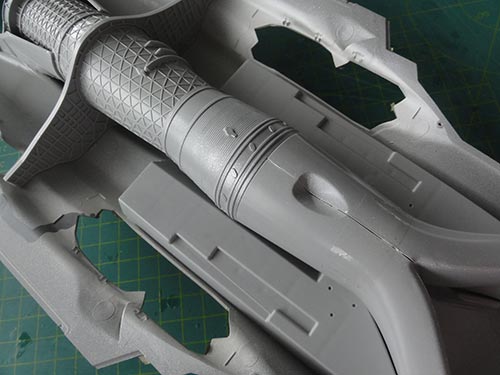
The exhaust pipe was set in place. I will need to remove the injection pin marks on the separate side panels (which are thus better installed earlier).
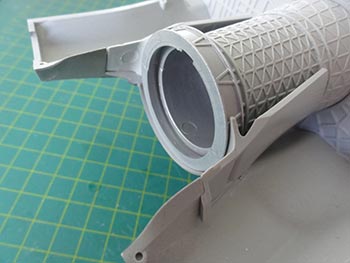
The main air intakes are a bad fit with problems to set the upper fuselage shell in place. I had to considerably shave off the upper intakes areas and had to trim the intake - fuselage joints. It is a real problem area, taking a lot of effort. Still, the intake needs filler to close the remaining gaps.
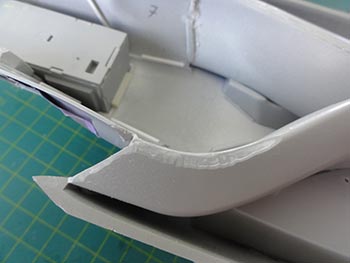 ..
..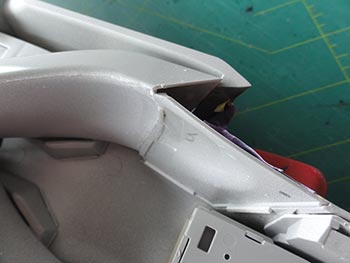
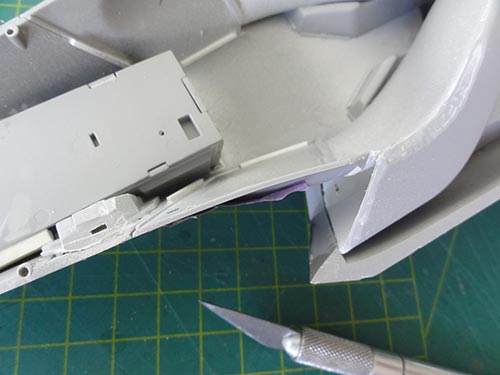
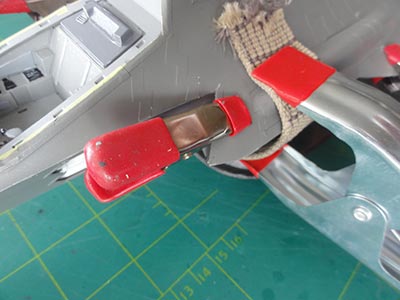
I used clamps to fix the intake ducts.
Also at the forward joint next to the cockpit sides, I had troubles to close the fuselage. Removing the locating pips does not seem to be the problem but I enlarged the locating holes a bit. Again a lot of trimming and filler is again needed.
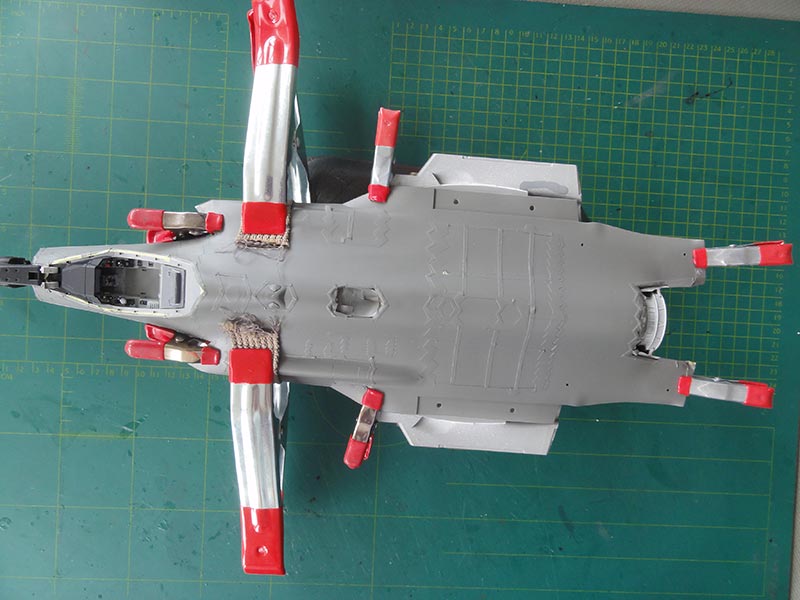
Finally the fuselage could be closed. Clamps were needed and filler will be needed in places.
All was left to dry for 24 hours. (note that the masking tape is still on the main parts as additional airbrushing is needed of the main FS26170 paint mix).
The intake gaps needed some filler and when dried, sanding. Several coats of white intake paint was applied with the brush. Masking for airbrushing is almost impossible. A lot of painting work still needs to be done in this area.
Installing the outboard wing halves proved not difficult but there is a tiny gap and a step at the left wing halve - fuselage joint. This needed filler and sanding and here again the VALLEJO paint dissolved a bit causing tiny air bubbles... Trouble again. I tried to avoid putting to much water on the model while sanding but this is not the way paint should behave... I also got another few problems above the gun fairing with the paint...

The sanded areas and joints again got the basic FS26170 paint airbrushed:
mix of 90% FS26170 Vallejo 71.280 + 10% aluminium Vallejo 71.062.
This had to be done to avoid colour differences. I decided also to put on some decals on the joints to hide a bit more the oneven surfaces.
TIP: I would thus recommend to join the wing halves with the fuselage before any painting at your model! Although masking the "zig zag" panels is much more an effort than.
The sanded areas and the wing-fuselage junction and various smaller areas were given another go with the FS26170 Vallejo mix using the airbrush. I decided to stick to this paint and try to get a reasonable coat.
The result was not perfect, but I decided to continue to make this kit :-((
The lower wing joint shows also a gap, this was filled with White Glue and painted when dried the FS26170 mix.
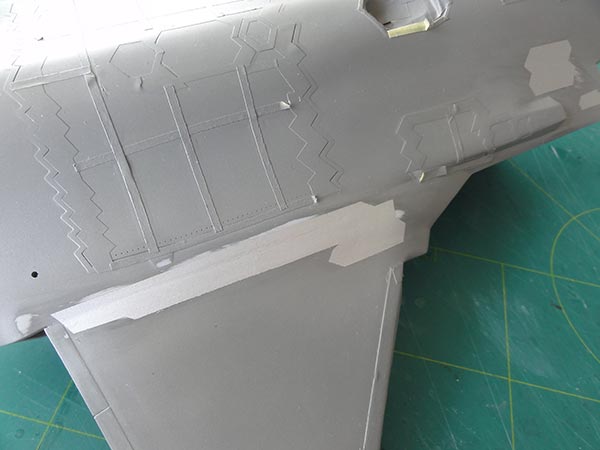
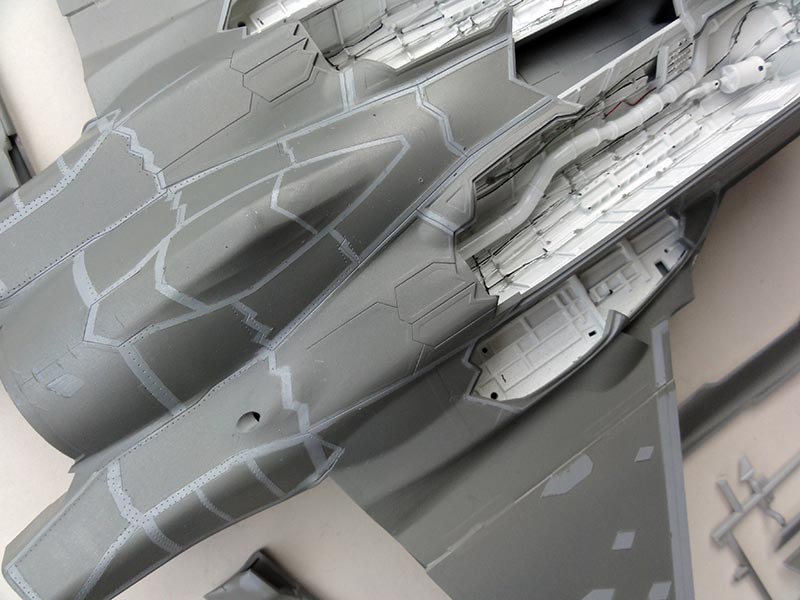
Next, the various bits of masking tape were removed. This took 2 hours because of the many pieces of tape I had put on the "zig zag" panels.
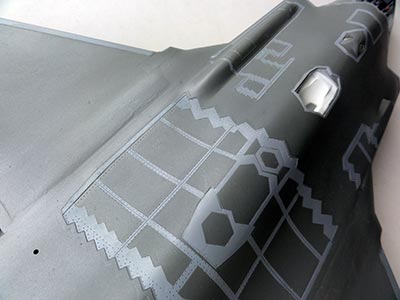
The main parts are seen. Also on all doors the edges have the lighter grey as the "zig zag" panels.
The model can now be taken to a next stage to finish. A lot of work is still needed to get a good white finish in the intake area and I still need to do some repatch and repaint work on the "zig zag" panels.
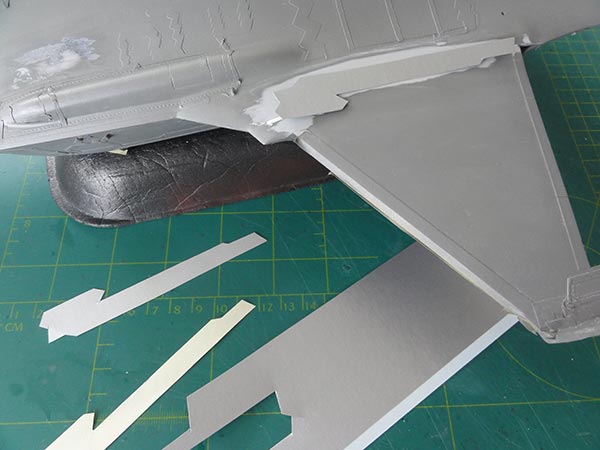
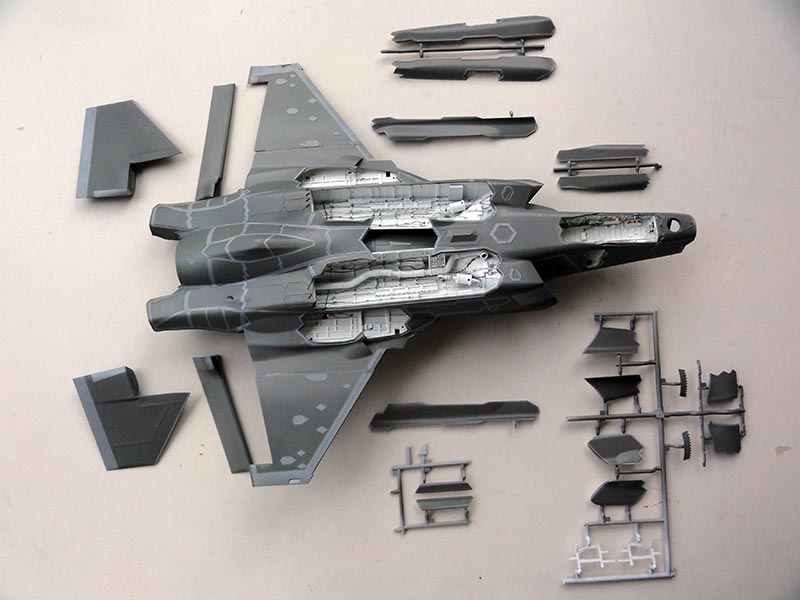
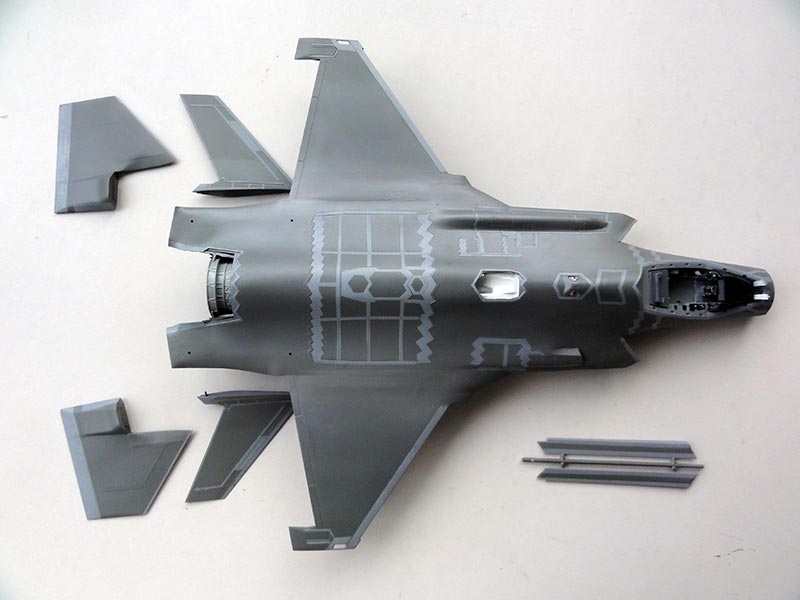
Here the lower aft fuselage with the corrected shapes (see page 2). The corrected IPP exhaust still needs a metal surrounding area.
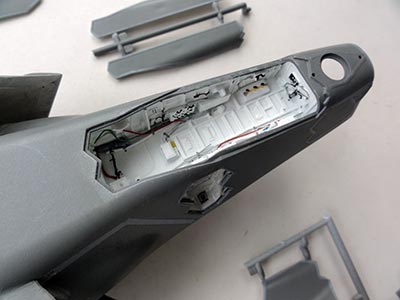
Some paint work is also needed at the lower wing joints.
On to next and final [ Page 7 ]
Back to 1/32 Models

(c) Copyright "designer"/ All rights reserved. Your comments are welcomed by webmaster
Created this page
July 6, 2017