[ page 7 ]
F-16 in 1/72 scale : kit review & modelling reports of KINETIC F-16D kits
.. continued from
page 6...
..
Real F-16D
Block
52 deliveries were limited to a few air forces. It has a two seat
cockpit,
very advanced systems and weapons, a spine on top of the fuselage and
often
Conformal Fuel Tanks (CFT's) fitted for extra range. The intake is the
small one but the engine is an upgraded Pratt and Whitney F100-PW-229.
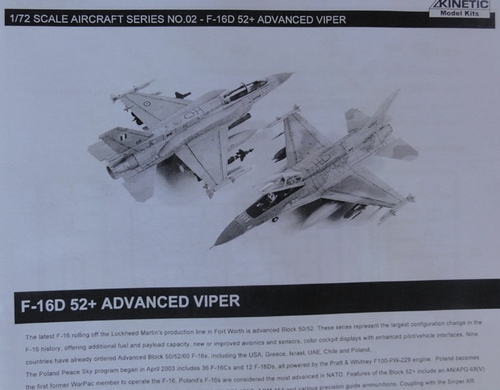
Some air forces that
use this F-16D block type are Israel with the F-16I SUFA first flown
end
2003, Poland, Greece, Singapore and Pakistan. More
info here....
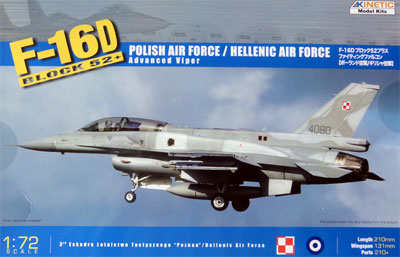
The KINETIC kit
The first release was kit no. #72001
for an Israeli F-16I SUFA version with some extra specific parts. The purchased
KINETIC kit release has markings for a Greek "Hellenic" F-16D Block 52
or a Polish F-16D Block 52.
The correct smaller original type
air intake is in the kit (for the updated Pratt and Whitney F100-PW-229
engine with 29,000 lbs of thrust). (its wide is about 17 mm in 1/72
scale). The appropriate exhaust is simple, has no internal detail but there
is a deep pipe with afterburner ring moulded.
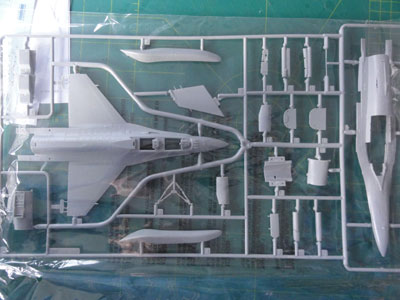
The plastic parts are in different colours.
The kit looks a bit rough in areas with some deep panel lines for 1/72 scale but shapes look good for a more advanced F-16 Viper.
The instructions in my kit were A5
format and rather small but I understand later kits had A4 sized instructions.
Colours are indicated in Fed.Std FS numbers for each (detail) part in the
kit instructions. The instructions though have some smaller errors and
do e.g not indicate some alternative parts although they are provided in
the kit and seen on the sprues! Part numbers are not seen on the sprue layout drawing. So modelling your particular desired Block
62 F-16D will need studying real F-16D photos to see what is needed.
The instructions are very unclear at particularly the undercarriage assembly. So you will need some "F-16 modelling experience" or check photos (such as on my own F-16 Walkaround...).
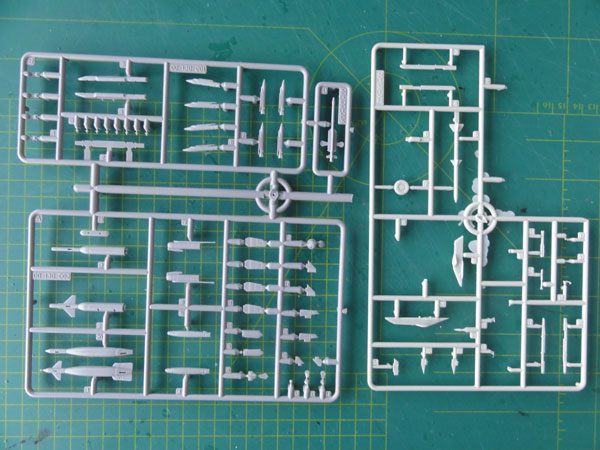
There are only 6 sprues indicated in the parts layout but there are more sprues for the stores with pylons, bombs and missiles like the GBU-24, ALQ-14, ALQ-13, IRIS-T (for Poland F-16D). Some of these are welcome indeed. But no advanced AIM-9X Sidewinders are provided. The later style correct LAU-129 missile wing tip lauch rails are provided though.
(NOTE: the F-16I SUFA kit #72001
has another extra sprue with specific parts and also some stores like a
Python missile and some special Israeli sensor pods).
Take care as there are 2 sprues labelled B !
![]()
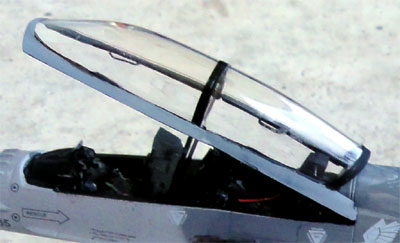
The long two seat canopy is untinted
and its sprue is not packed in a separate bag, so my canopy was unfortunately scratched!
Polishing is thus needed.
Some air forces have a tinted canopy,
so you need to check this and when needed do this than yourself (e.g
thinned Tamiya Clear Smoke paint).
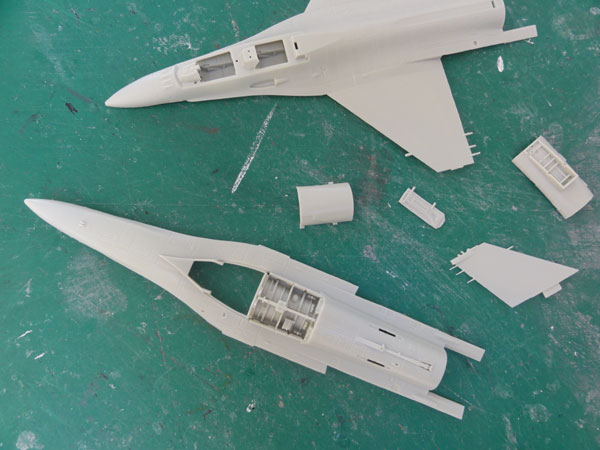
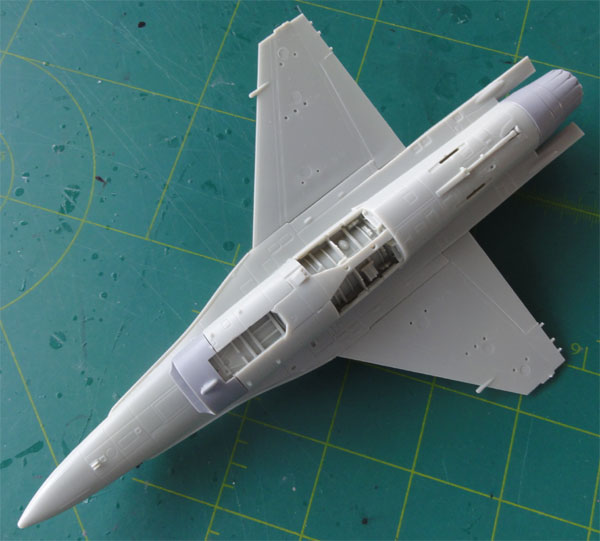
The fuselage looks good with also the lower mostly standard chaff flare dispensers well engraved in front of the air brakes between stabilizers and wing trailing edge.
The typical large fairing / spine on top of the fuselage is separate and made of a few parts and can be installed (or left off for other block F-16's).
The cockpit is small and has raised detail on the side consoles and instrument panels. The ejection seats have no harnesses but look good when some detail is added.
The two separate Conformal Fuel Tanks (CFT) to be fitted onto the center fuselage are nicely provided as separate parts as well and can be fitted or left off as desired.
The long range 600 gallons larger under wing fuel tanks are also nicely provided in the kit with slightly different pylons with an angle at the rear; these tanks are often used on later Block F-16's including Israeli F-16I SUFA. (but in this Kinetic kit no standard 370 gallon tanks with their pylons are included so source these from other F-16's kits if needed).
The real F-16 Block 52 had a beefed up landing gear as the aircraft is heavier than earlier blocks. The landing gear in the kit has correctly bulged main doors though on the parts not very noticeable and also slightly thicker main wheels though they seem still a bit too thin.
The lower wing halves show large ejector pin marks, these definitely need filler! The static dischargers on the trailing edges are rather thick, so better replace these; I cut them off and made them from thin fishing line at the final finishing stage.
Decals are well printed by Cartograf
and are in this release #K72002 for two air force markings:
(1) Hellenic Greek F-16D Block 52
in a 3 tone colour wrap around of Fed.Std FS36307, 36251 and 35237;
(2) Poland F-16D Block 52 in a 2
tone scheme with Fed.Std FS36270 and 36375.
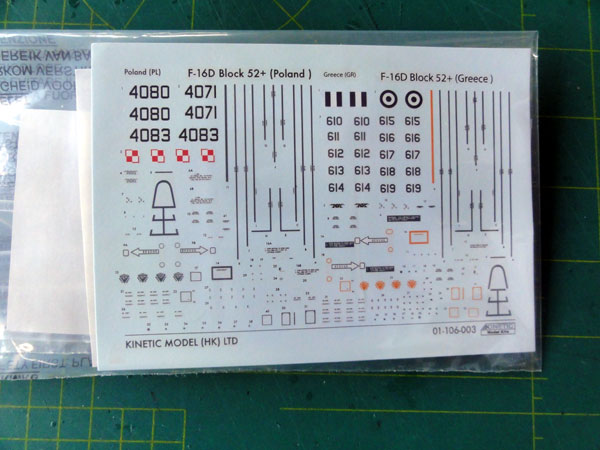
The schemes are rather simple but
a lot of detail markings and stencils are provided on the decal sheet.
The fuselage parts with the integrally moulded upper wing were warped. Probably their sprues in my kit came out of the moulding machine too fast. Some bending will solve this. There is some flash on tiny edges on some parts but a file and X-acto knife quickly deals with this.
(A few KINETIC F-16D models will be made, also for Greece / Hellas and Pakistan, see later update on page 14...).
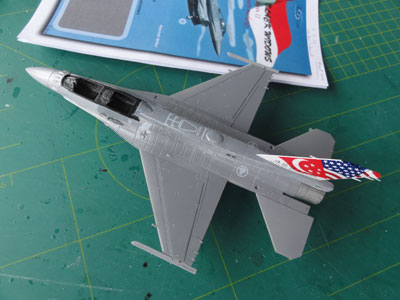
I started with a F-16D Block 52 of SINGAPORE
using other after market decals.
page 2
page 3
page 4
page 5
page 6
page 7
page 8
Some general notes on assembly
Parts have rather thick sprue attachment gates so use a razor saw to seperate the parts from the sprues.
STEP 1
The cockpit looks good with engraved
console detail but this needs painting as no decals are provided. This can be done with a permanent black marker. Part
#B16 is wrongly labelled, should be #D15.
STEP 2
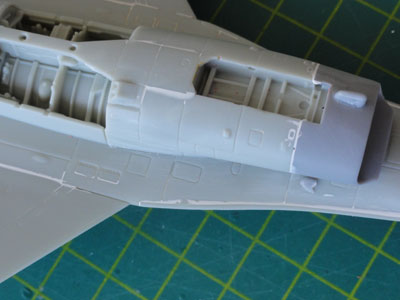
The sides of the cockpit tub reveals
awkward inside gaps at the rear, these were closed with thin plastic card. The
main undercarriage bays are detailed well enough including the battery.
STEP 3
The main upper fuselage and wing with the appropriate leading edge RWAH "beer can" antennas
is one piece so will give a good look but the warped parts need bending;
ensure a wing without an angle so no dihedral and ensure that the rear
airbrakes (which can only be set closed) are horizontal and symmetrical.
The wing edges were opened up with the TIGER razor saw for a more realistic
look.
STEP 4, 5
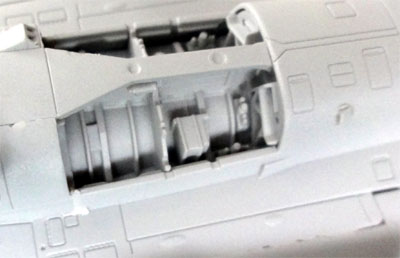
The small style air intake as provided for the updated F100-PW-229 engine is correct
and is deep enough. But the plastic of the fairing does not meet the fuselage lower "tri-angle"
area, resulting in a gap. I removed and trimmed the plastic on the mating
lips to ensure a better fit. A strong clamp is needed after glueing and
a long drying time to close the gap. Please do this, this will save a lot
of trouble.
Do not yet fit any undercarriage parts
to avoid damage. The main gear legs are one part #C5, I separated the legs
in order to fit the lower belly part #A6. Always set these on at a final
stage.
STEP 6
I engraved the main flap line a bit
deeper both on the upper and lower wing with a scriber.
Fill and sand the awkward ejector pin marks on the lower wing. Also fill any pylon holes if you don't fit pylons and their stores.
The central pylon does not fit very
well. Part A6 will be fitter when scraped off a bit on it's inside.
The lower wing-fuselage joint needs
filler to close the gap. Also fill the ejector pin marks later on.
STEP 7
There are some optional fairings
seen here, not well indicated for a particular version. Check photos as
which of the parts #D23, #D24 is needed.
The side intake light stubs
parts
#F12 are better fitted later on after sanding the intake.
The exhaust fairing in front of the gearbays is not shown in the
instructions but is provided.
> for a Greek Hellenic or Pakistan F-16D parts #D23, #D24 are not applicable;
> for a Polish F-16D parts #D23, #D24 look applicable so to be fitted;
> for Singapore F-16D parts #D23, #D24 sensors are applicable and thus fitted on the F-16D block 52 model;
The aft horizontal stabilizers look a bit "rough" but look better after removal of the thick static dischargers; these will be replaced and made finer at a final stage.
The aft exhaust part #D35 and its rear fuselage section joint results in a big step. So a lot of sanding is needed here. The exhaust itself for the upgraded Pratt and Whitney F100-PW-229 looks a bit simple but painting can improve how it looks.
STEP 8
The gun nozzle part #D34 does not
fit very well. Some will be hidden if the CFT's are fitted.
The large fuselage spine fits OK onto the fuselage but there is an ugly gap/ ridge on top. Fill and sand. Also check out the particular antenna layout and intake scoop configuration on your desired F-16D for your desired air force. The rear part #F3 varies! Part #F2 is also supplied on the sprues and applicable for e.g. a Greek Hellenic F-16D which seems a sort of sensor.
The tail fairings #F4, #F5 are also
not standard; for a Greek only one part to be fitted on the right side,
Singapore or Pakistan F-16D not applicable at all! So fill the locator
holes.
STEP 9
The ejection ACES seats look OK without
moulded harness but these can be added made with tape. The cockpit detailling
and the canopy will be dealt with later.
STEP 9... yes again and mislabelled...
The pair of Conformal Fuel Tank (CFT) on the upper roots
are separate and not always fitted. Bend these a bit and they wil fit much
better. Some white glue is needed that will close any CFT gaps.
STEP 10
The designator AN/AAQ-13 pod is nicely
provided but needs filler!
Shown are the larger Israeli underwing 600 gallon long range fuel tanks. The fuel tank pylons parts #B20 are not the standard ones. So when you want a particular F-16D of an air force with the standard tanks, source the standard 370 gallon fuel tanks and pylons from another F-16 kit (like from Revell or Hasegawa).
STEPs 11-13
This step deals with the tanks, pylons
and stores as desired. The later LAU-129 wing tip missiles launch rails are the correct advanced (AMRAAM AIM-120
capable) type. Many other pylons and launchers are also in the kit (though
not indicated).
Also check if the intake pods like the AN/ALQ-13 and ALQ-14 and fairings are applicable for your desired air force F-16. For my SINGAPORE model I will keep the configuration rather "clean". Some white glue will close any gaps.
![]()
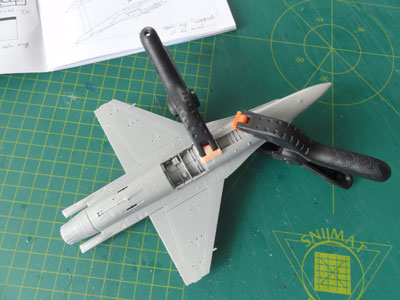
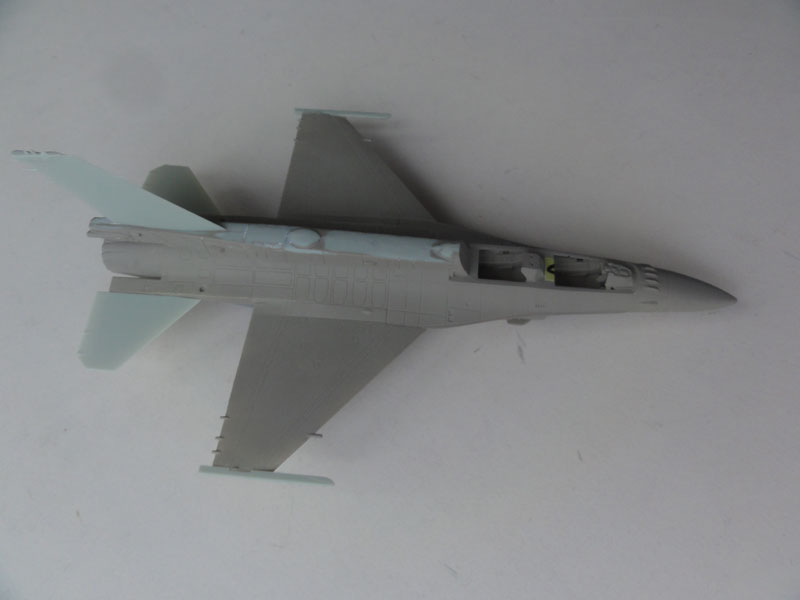
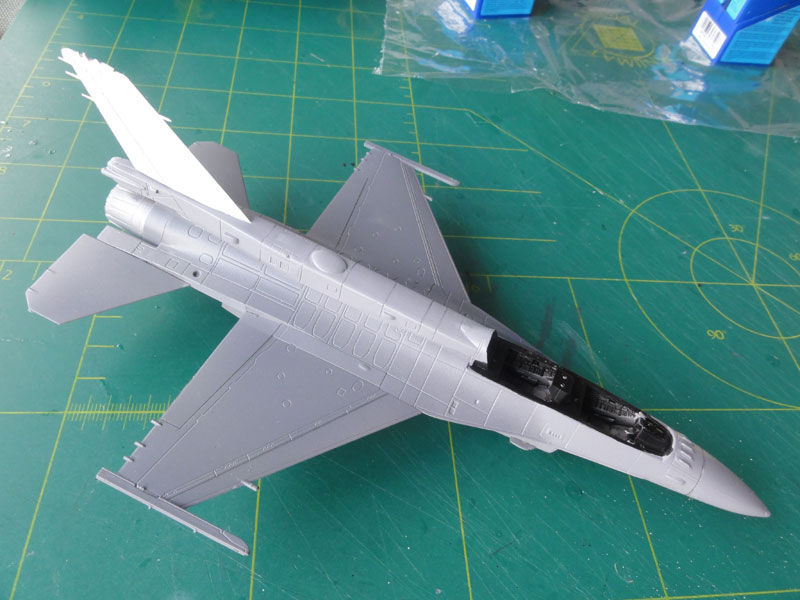
When the overall assembly was ready, some limited amounts of filler / putty were surprisingly only needed. I used some on the nose, the upper spine, intake and the wing-root gaps. Tiny gaps were filled with white glue.
The model got now a coat of grey base coat with the airbrush to check for any flaws. Often I airbrush thinned simple Revell Aqua acrylic 75 "steingrau". Any left errors were corrected. Some work was still needed on the spine!

But, generally a kit that needed remarkably
only a little putty when assembled carefully.
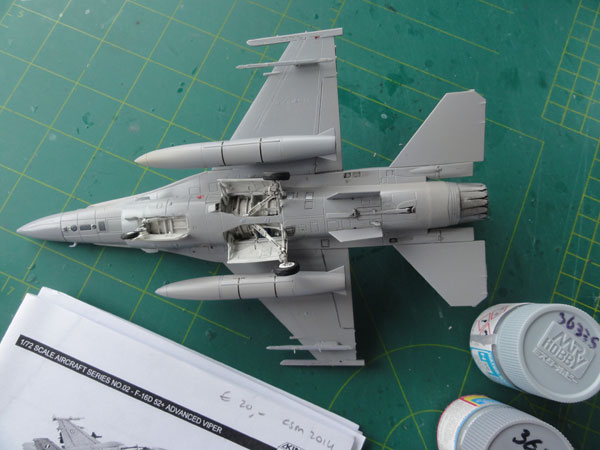
[15]The first Kinetic F-16D Block 52 model was finished as SINGAPORE AF aircraft and kept rather clean. It has indeed the advanced Pratt and Whitney F100-PW-229 engine with still the small style air intake, fuselage spine but often not the CFT's.
Standard 370 gallon fuel tanks are not in the Kinetic kit, so nice ones were retrieved from a Revell F-16 kit.
The upper spine of STEP 8 was obviously installed (but later I saw that I forgot to reposition the smaller antenna on top; it should be moved more aft in front of the vertical tail). Also, sometimes a sort of scoop intake is seen at the left side of the spine. No parachute is fitted probably so use indeed Kinetic part #F3 at the tail base fairing end.
I fitted no intake side sensor pods (though they are in the kit). The lower chaff flare dispensers are also often installed in front of the air brakes between stabilizers and wing trailing edge. The cockpit interior was painted medium grey but also large parts in black and this is a night mission capable F-16.
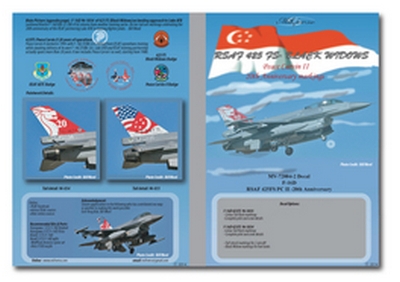
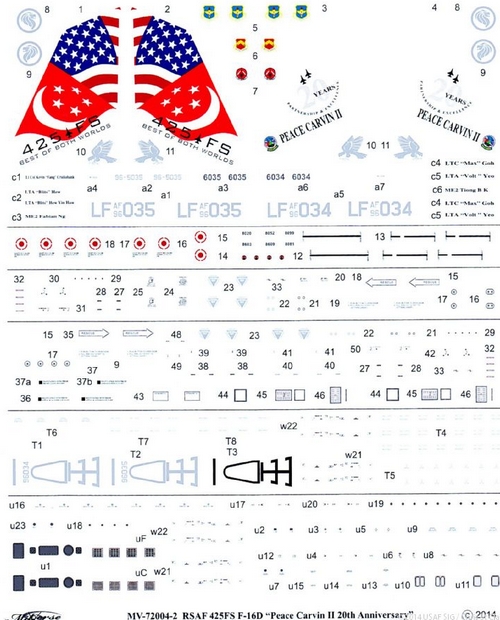
I purchased decals from Miliverse, set MV-72004-2 for RSAF 425 FS Black Widows issued. Because of Program Peace Carvin II - 20th Anniversary, two RSAF F-16Ds got applied coloured tail flash designs. The scheme choosen was for a Singapore air force aircraft used for training as based in the USA at Luke AFB. The aircraft is the flagship of the no.425 Fighter Squadron.
The decals are really good though not cheap but Milliverse
really does its homework (their website is: http://www.miliverse.com/index.html
).
Plenty of tiny stencilling is also on
the sheet with excellent instructions.
The colour scheme indicated is rather standard F-16 and was applied with Gunze Sangyo acrylic paints airbrushed, with...
FS36270 using Gunze Sangyo H306 on
lower fins, radarnose and spine, wing tip advanced launchers;
FS36320 using Gunze Sangyo H307 on
forward fuseage, small areas of intake and fuselage sides;
FS36375 using Gunze Sangyo H308 mostly
on lower surfaces and wing fuel tanks;
FS36118 using Gunze Sangyo H305 mostly
on aft upper surfaces;
This required some simple masking while applying these colours. The wing and stabilizer leading edges often have a FS36270 coloured stripe (this is a decal in the set).
The upper vertical tail got a white
undercoat for the flagship scheme.
The typical walkway stripes were
not seen on this particular F-16, only a line in front of the flaps.
The model got first a gloss undercoat
before the decals were set using my
usual technique...
Decals were commendably thin and
went on fine.
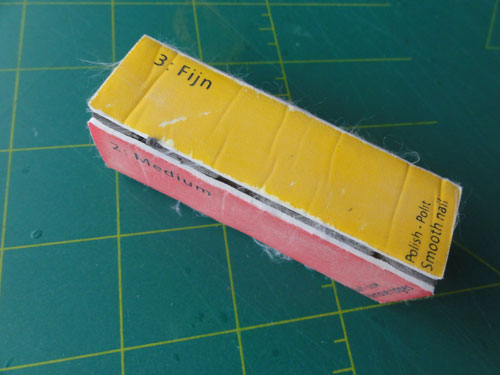
The canopy in the box was scratched
so polished with a nail polisher block. It looked untinted so kept this
way. I was not sure about the canopy
tints.
Photos sometimes show the forward pilot section to be tinted and the
aft system operator/ instructor section untinted. I simply used the kit
clear canopy. Inside the canopy 2x2 handles were added from black sprue, these are missing in almost all F-16 kits.
The installment of the undercarriage is unclear from the instructions. See my previous made models and "your own F-16 gear assembly experience".
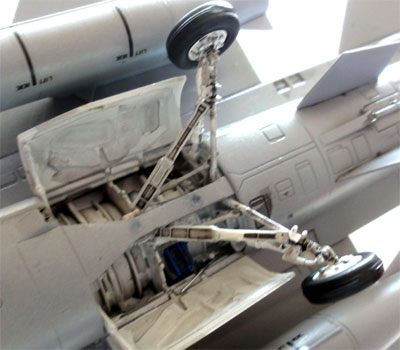
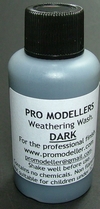
The gears and wheel bays were painted white and got a wash. Also some engraved fuselage panels got a wash (using PROMODELLER wash).
The some 15 static dischargers (that were first removed as too thick) were added made from thin fishing wire and painted dark grey when dried.
The outboard wing pylons were set in place, but without weapons, only the other fuel tanks. The model was kept "unarmed", used for training only.
The nose pitot was made from a metal
needle and the right side pitot aft of the nose installed. Some store braces were added, made from thin wire, on the pylons.
Anti-collision lights were painted red and blue.

The model finally got a semi-matt coat.... . This gives an even sheen and looks realistic.
The ejection seats got harnesses with straps and belts from tape and set in place. The HUD is the Detractive Optics (DO) type, I used the kit part.
Note the inside canopy 2x2 handles were
fitted made from thin sprue. The canopy was set in place and that completed
a nice F-16D block 52 of no.425 Fighter Squadron, SINGAPORE AIR FORCE.
Normally it is based in the USA.
![]()
 ..
..
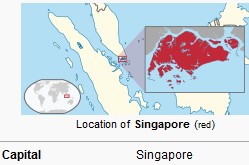
[ area: 721 km2 | capital: Singapore | population: 5,6 million | GDP nominal USD 61,000 per capita ]
Singapore is
an island city state republic and became independent from
Britain in 1963. The Singapore air defense command was established in 1968 and was
renamed air force in 1975. Before that the defense relied on British forces.
The first jet aircraft were Hawker Hunters delivered in the 1970s. Also
BAC Strikemasters and A-4 Skyhawks followed in 1973 and even the SIAI S.211
jet trainer was used as in the eighties the air force was given a big boost.
In 1980 the first F-5E Tigers were acquired so Hunters could be transferred
to a ground attack role.
The Singapore
air force obtained their first F-16 aircraft way back in 1988 with sort
of block 15 (with block 30 fuselage) aircraft under Peace Carvin I program.
The aerial demonstration team "Black Knights" flew now with the F-16A. In 1998 delivery followed under Peace Carvin II for more advanced F-16C
and F-16D models aircraft. Starting in year 2000 Peace Carvin III and IV
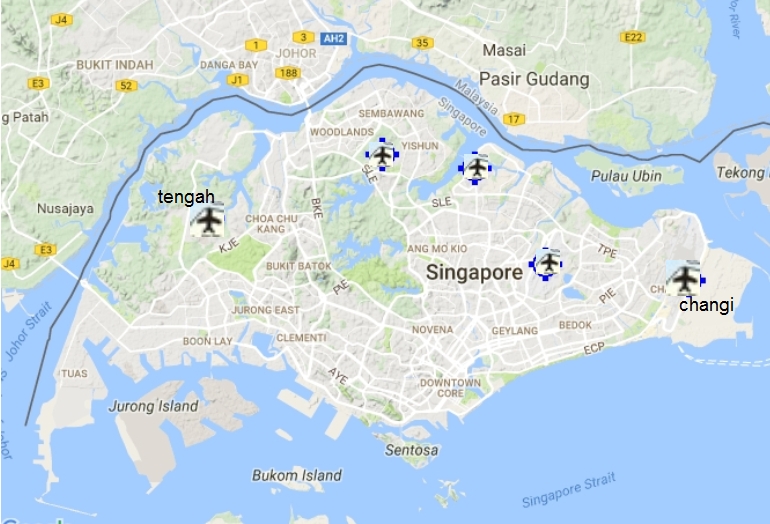
newer aircraft were delivered with about 50 F-16C and F-16D Block 52 aircraft
flying from Tengah AFB. They can be armed with AIM-120C5 or C7 AMRAAM and
AIM-9M Sidewinder missiles along with smart bombs like GBU-10/12 and Mavericks
and the LANTIRN pod or later Rafael LITENING III and AN/AAQ-33 Sniper targeting
pod. In the dorsal spine probably advanced ECM systems are fitted. From
2016 a further F-16 upgrade program started to install a new radar, Link
16 and to use the GBU-39, JDAM and a helmet integrated JHCMS with the AIM-9X.
Another important
fighter type in the relatively big air force is the in 2010 delivered F-15SG
Eagle.
Also, the Defense force operates a few Fokker 50 Enforcer mk.II
maritime
patrol aircraft that can fire Harpoon anti-ship missiles. A study is in
progress to order some 12 Lockheed Martin F-35. 

 <
air force roundels over the years...
<
air force roundels over the years...
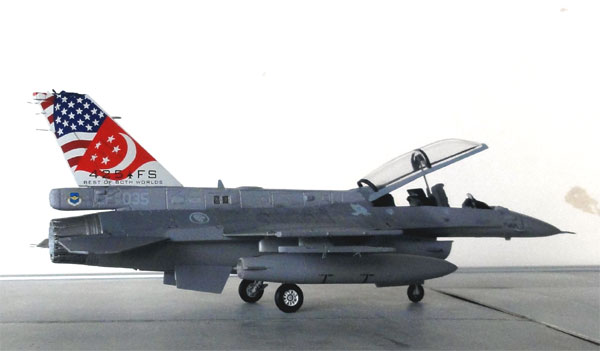
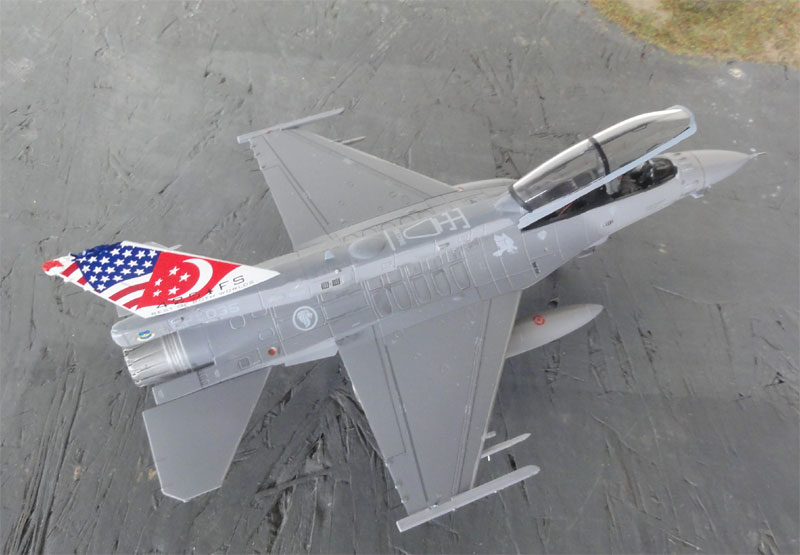
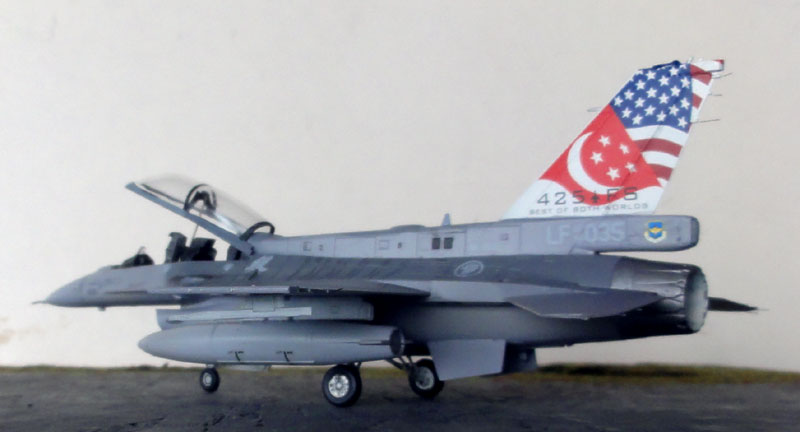
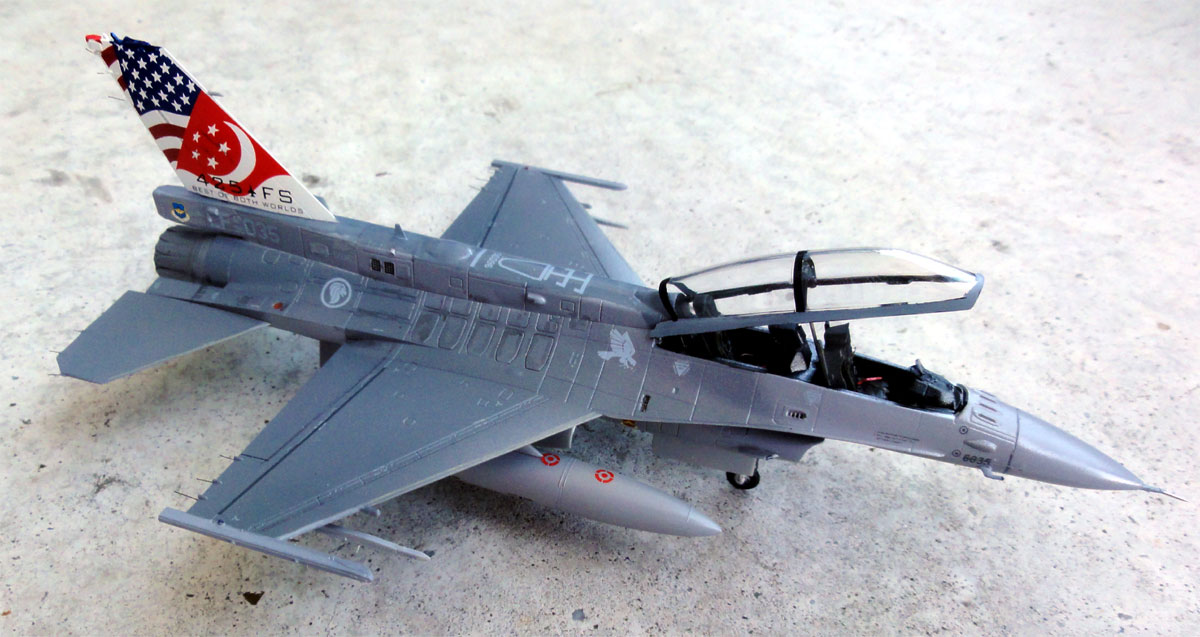
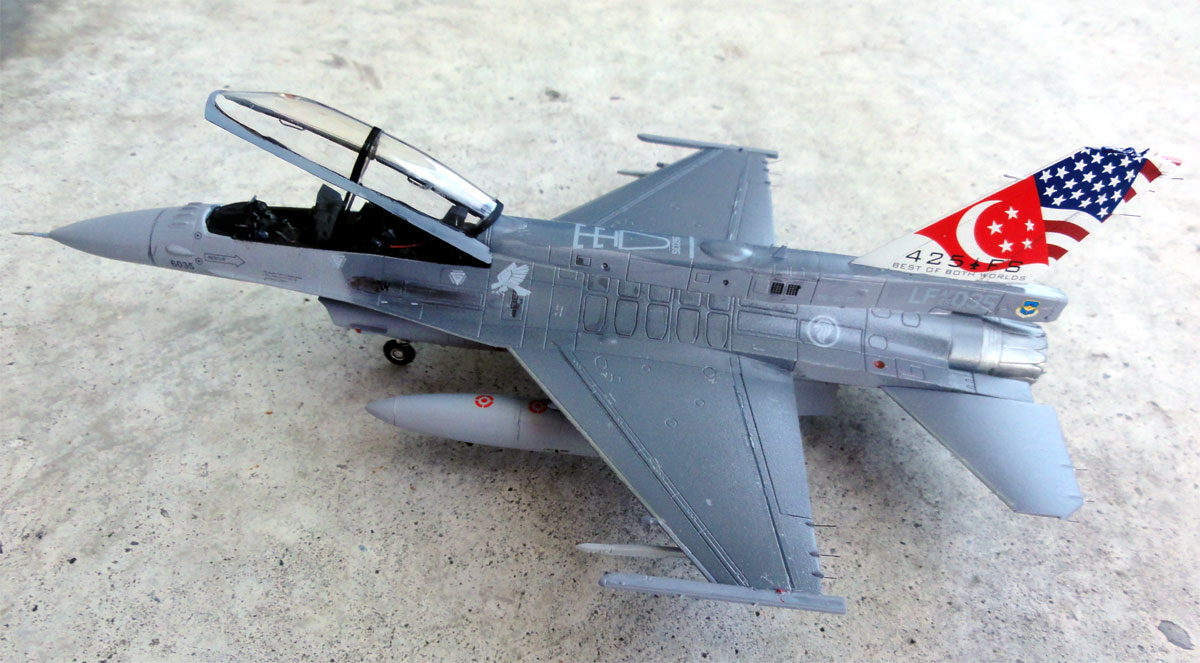
F-16D Block 52 , no.425 FS of SINGAPORE AIR FORCE based at Luke AFB, USA.

"on the scene...
during a visit to Changi airport Singapore". Operational unit based here
is no.145 squadron.

(c) Copyright "designer"/ All rights reserved. Your comments are welcomed by webmaster
Created this page
Sept 20, 2016