[ page 19 ]
F-16 in 1/72 scale : kit review & modelling reports of HASEGAWA kits
.. continued from
page 18...
..
..
 [ 32 ]
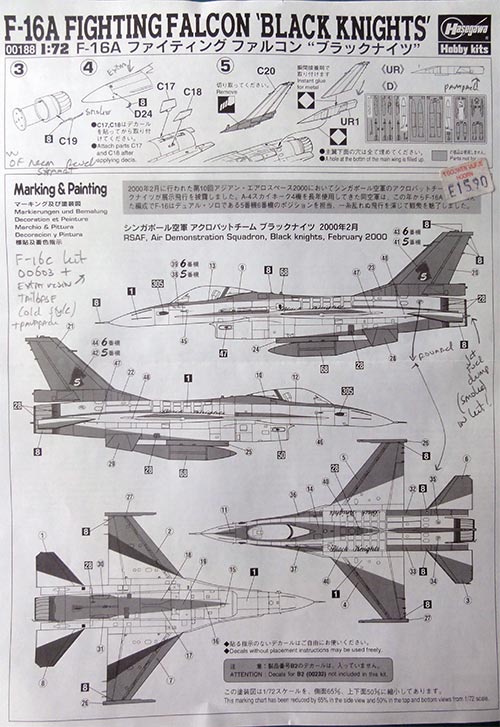
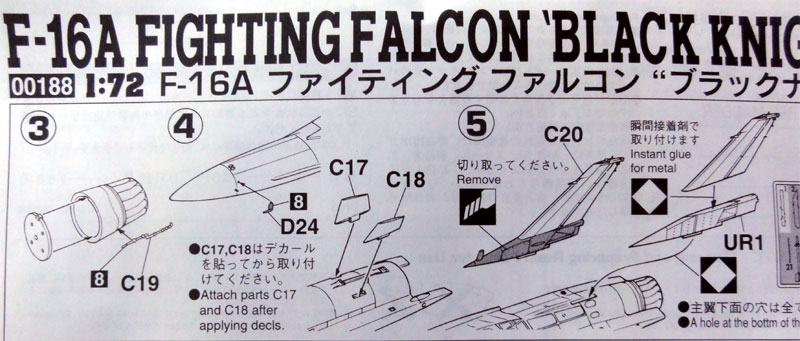
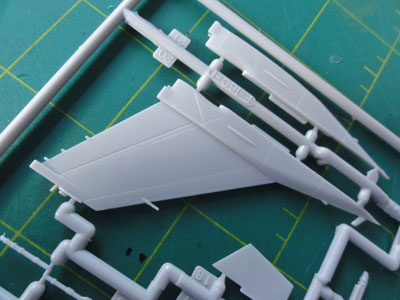
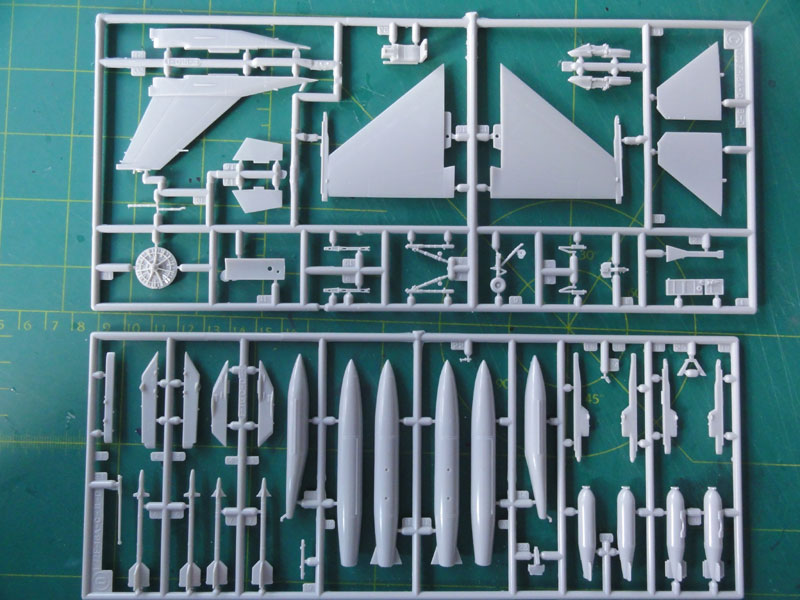
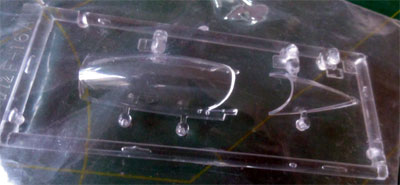
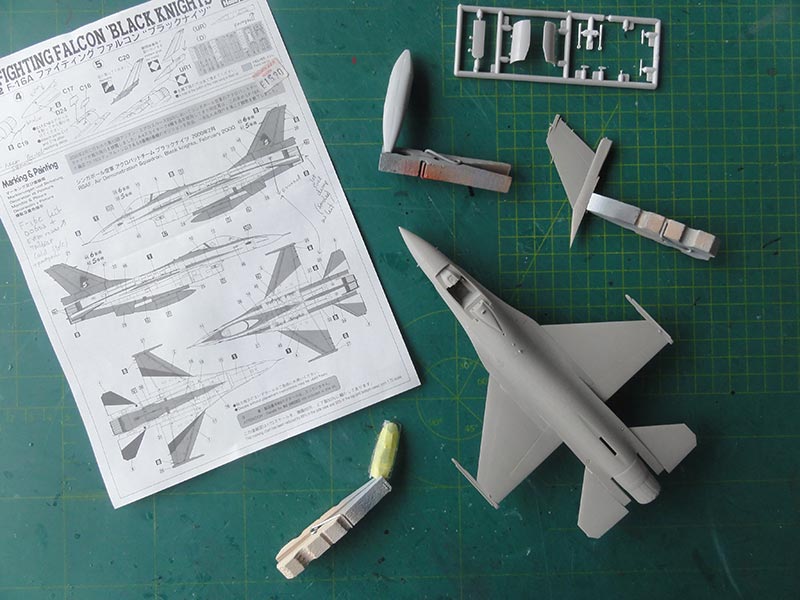
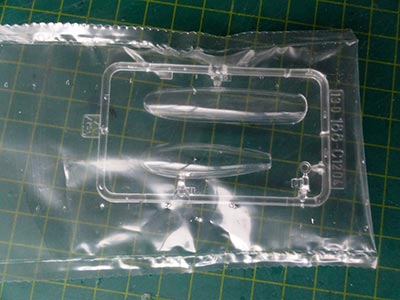
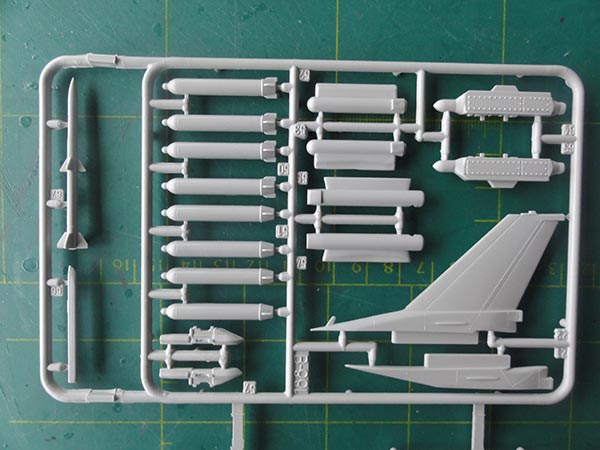
 The usual Hasegawa F-16A kit has 4 plastic sprues and 1 clear sprue that have about 70 parts. Surface detail has engraved panel lines but the wing has two halves to be joint to the center fuselage section. The normal first generation vertical tail is in the kit with a very short standard USAF like tail fairing. Rear fuselage with exhaust is for the Pratt and Whitney F100 engine with also the initial normal air intake. In the kit the intake is a bit undeep. The later standard horizontal stabilizers are in the kit as well as the normal main wheels and flat main gear doors. The kit is appropriate for an early F-16A single seater. The kit also has the appropriate early LAU-114 wing tip launch rails.
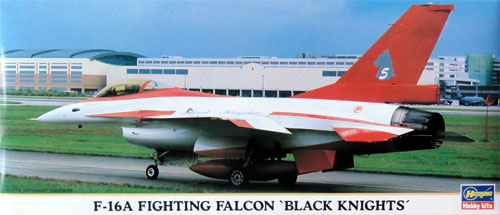
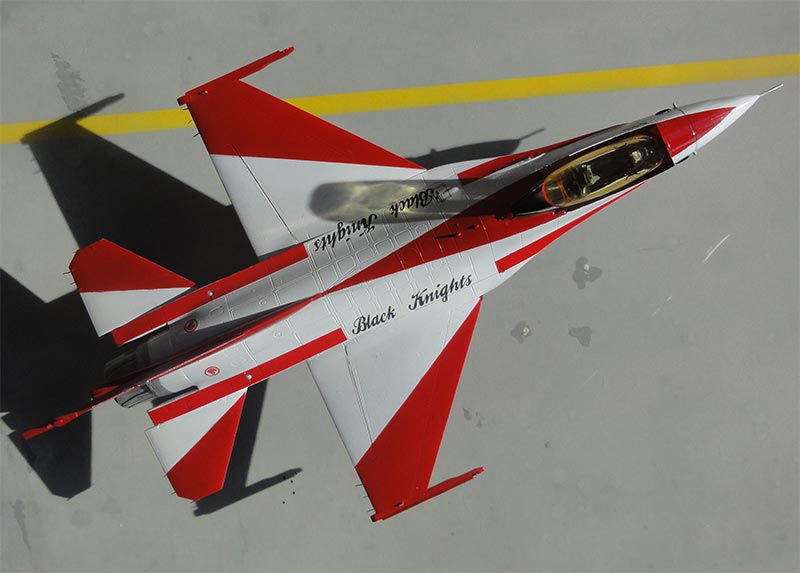
This Hasegawa F-16A kit #00188 was released with special markings for an aircraft of the SINGAPORE BLACK KNIGHTS aerial demonstration team that appears to be an F-16A Block 15AA OCU (NOTE: later the BLACK KNIGHTS flew with F-16C aircraft). The kit can thus be used.
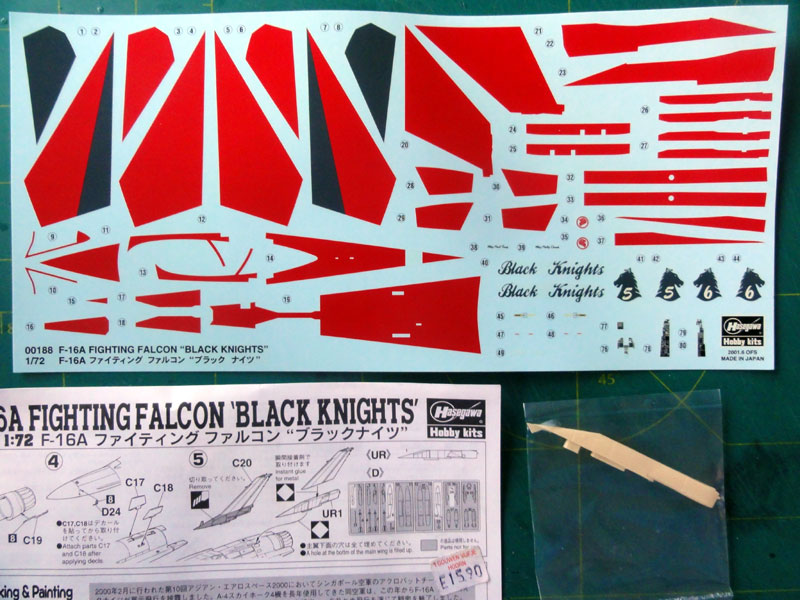
The large red panels are also provided as large red decals but obviously a neater result will be obtained airbrushing these red panels.
As the standard kit has the USAF type tail, a resin part and is provided for the different long parachute fairing at the tail base. With a razor saw the old base should be cut off and the new resin part fitted. (if you have other F-16 kits, this long fairing may be included in your kit such as in the Revell F-16A MLU kit).
A bitt odd is that the other parts seem to be as found in the standard Hasegawa F-16C kit, so not an F-16A kit. But the differences are small as the Hasegawa F-16C is for an early block. I think that Hasegawa choose these as their manufacturing moulds are a bit better:

Assembly is straight forward but as seen on earlier made models the
intake #B4 is however a bit undeep, with a razor saw the rear closed
portion was cut-off. This gives a "deeper look".
The kit was discussed on many previous pages such as page 5. Ensure a symmetric assembly of the wing halves and landing gear bulkhead.
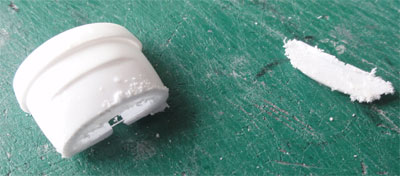
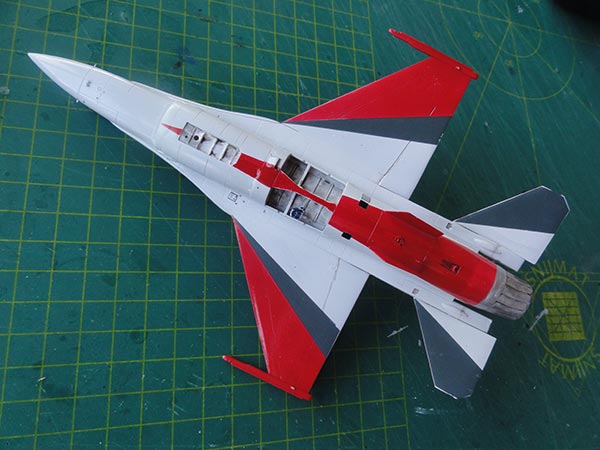
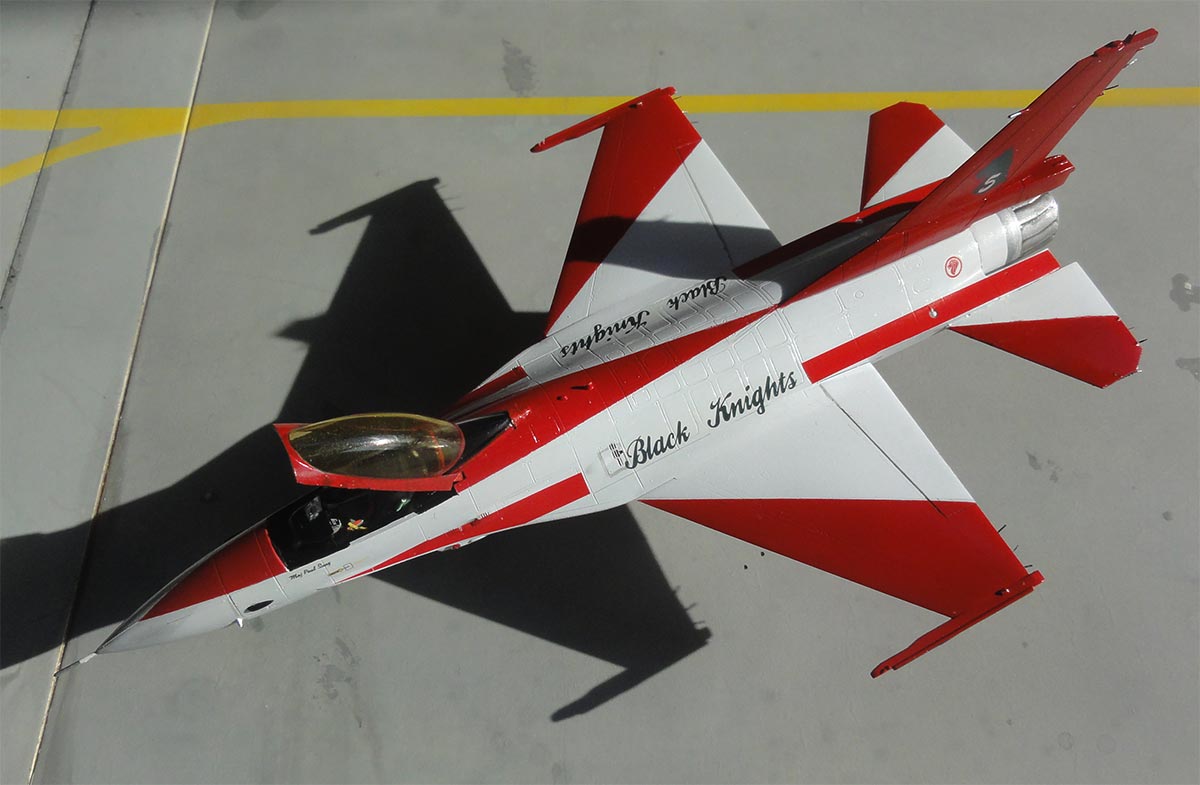
As the BLACK KNIGHTS keep their aircraft in splendid condition, make sure the paints are very neat. The white paint was polished when dried to get a fine white result.
The next task was masking all the white areas before the large red panels were to be airbrushed. (I preferred not to use the large red decals). Make sure to protect all white areas as red is awkward to have as "over spray" though with some polishing paste any small dots can be polished off.
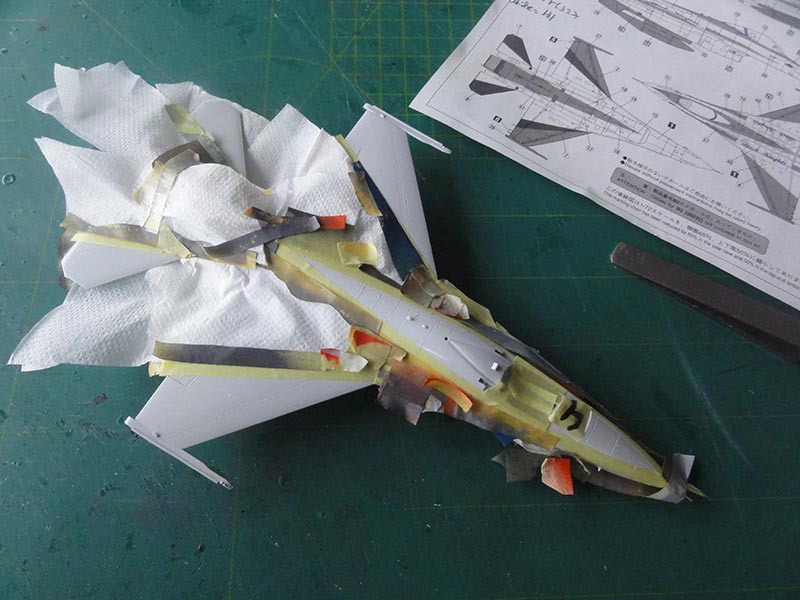
For the red paint Gunze Sangyo acrylic H327 RED was
selected. The various smaller parts were also airbrushed as well as a
spare decal just in case "repair work" would be needed.
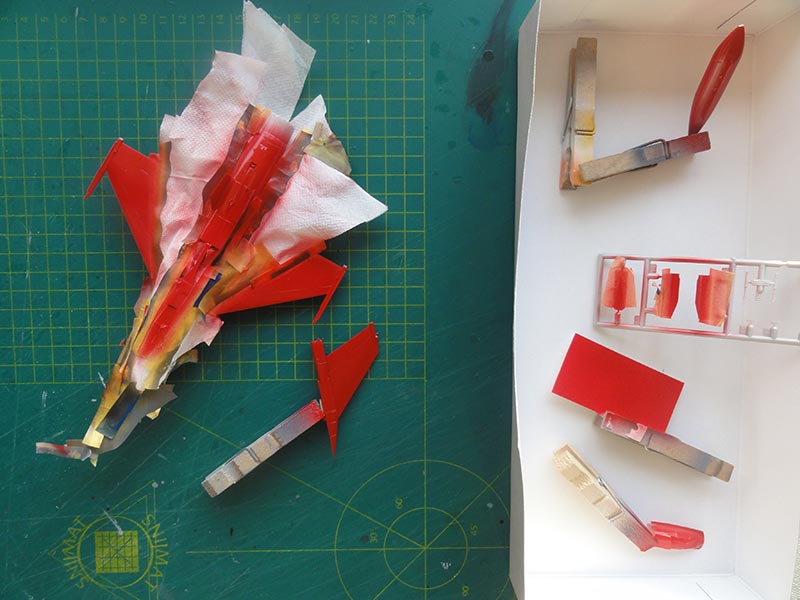
The masking tape was removed, revealing the basic model in full colour:

It seemed OK. The paints were gloss so the model could now be given the various decals for the BLACK KNIGHTS. The Hasegawa decals are fine and you are given a choice of aircraft tail numbers.
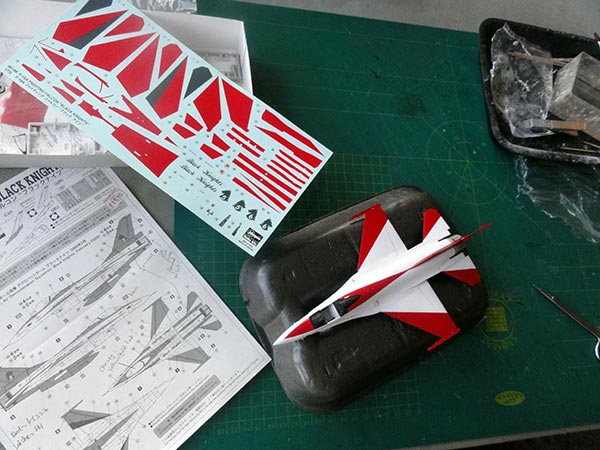
It was decided to use for the medium grey panels the kit decals. The small white remaining edges were painted with a fine brush.
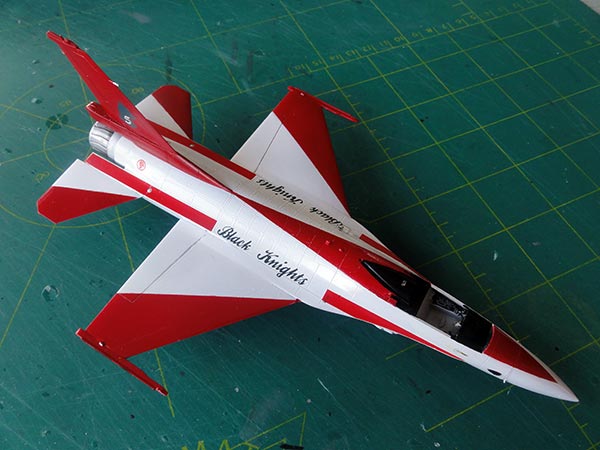
The model was ready for the detail parts to be fitted. The landing gear was simply put in place and some extra details set in the bays like the battery. A few hydraulic lines were added made from very thin metal wire as well. The nose pitot was replaced by a metal needle.
Only the (red) lower central fuel tank was fitted.
The canopy was given with a wide brush a transparent yellow coat with Tamiya clear Yellow X-24 paint. That completed another nice F-16A model.

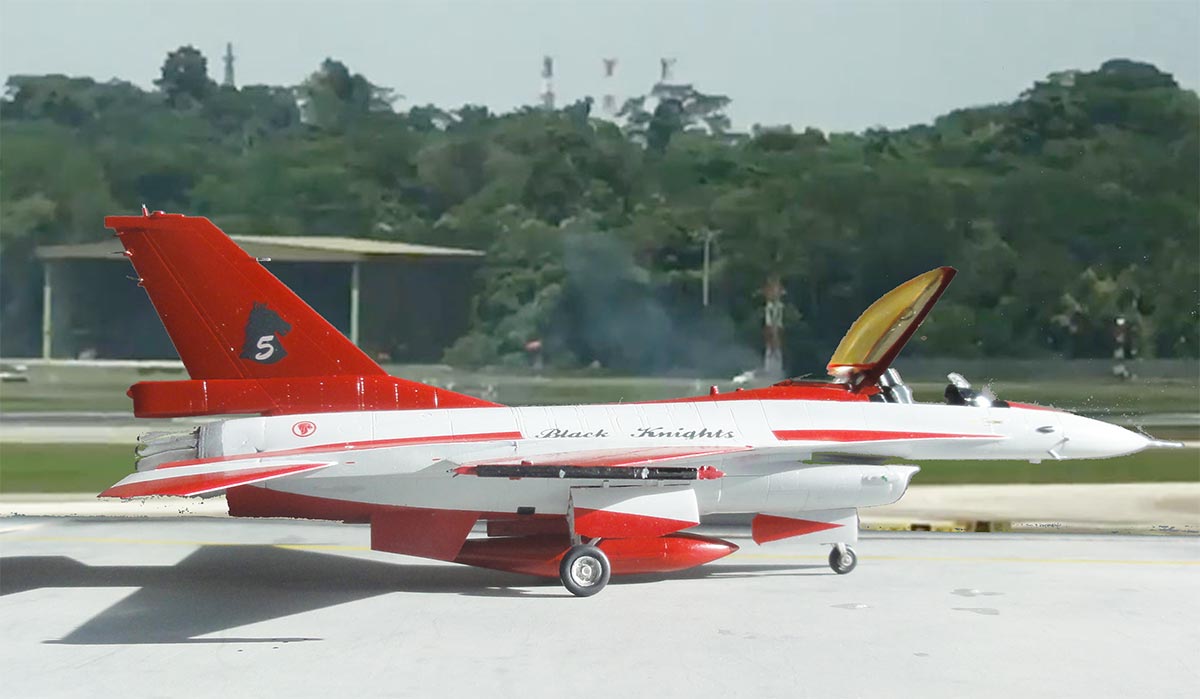
Singapore Black Knights F-16A
[ For info about Singapore Air Force, look here.... ]
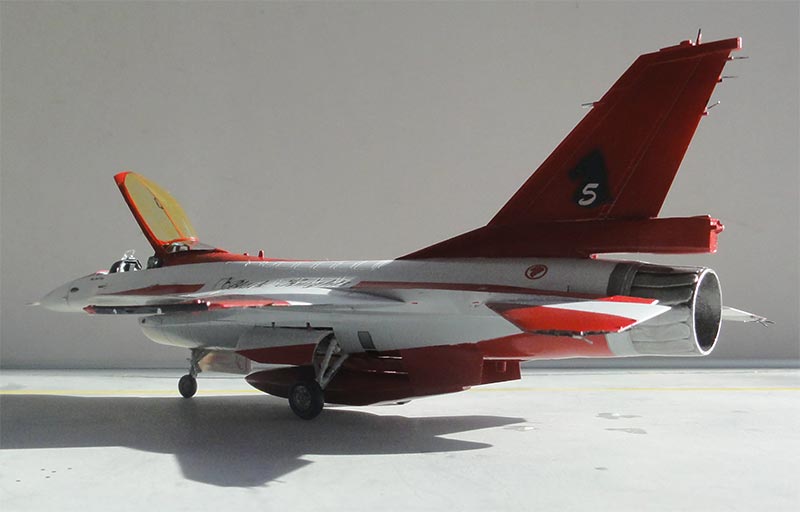
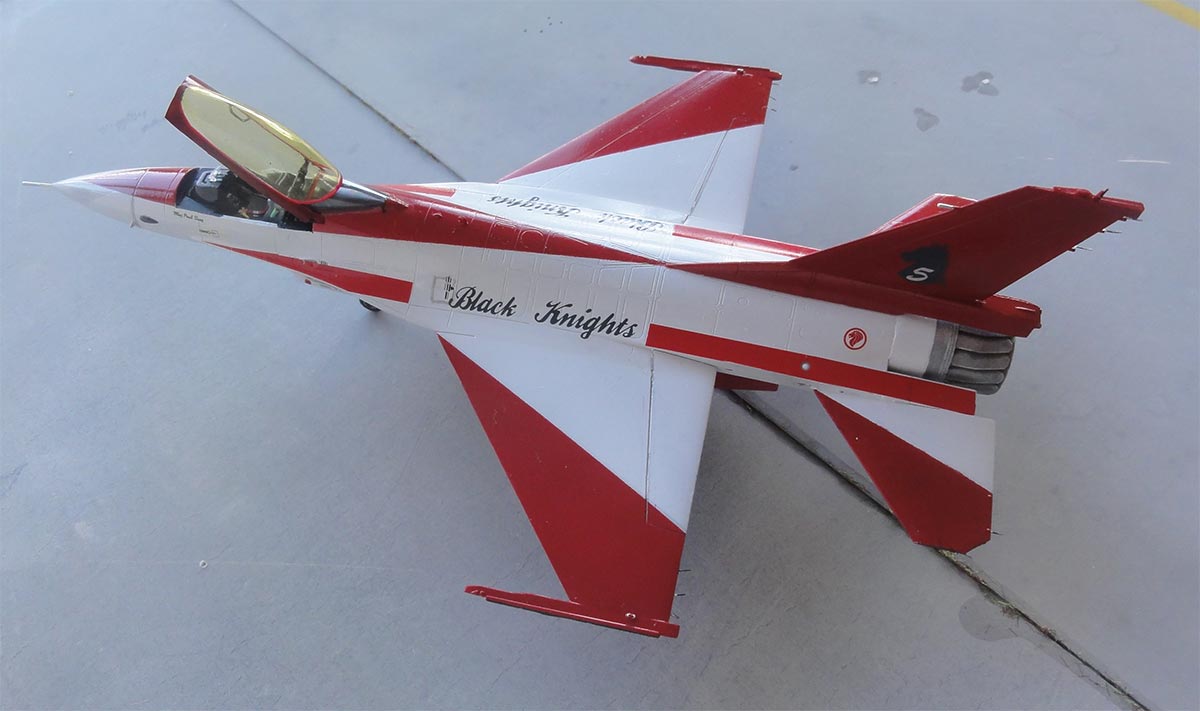
Singapore Black Knights F-16A Block 15 AA OCU
Set in a scenery at Singapore....
page 1
page 2
page 3
page 4
page 5
page 6
page 7
page 8
page 9
page 10
page 11
page 12
page 13
page 14
page 15
page 16
page 17
page 18
page 19
page 20
page ......
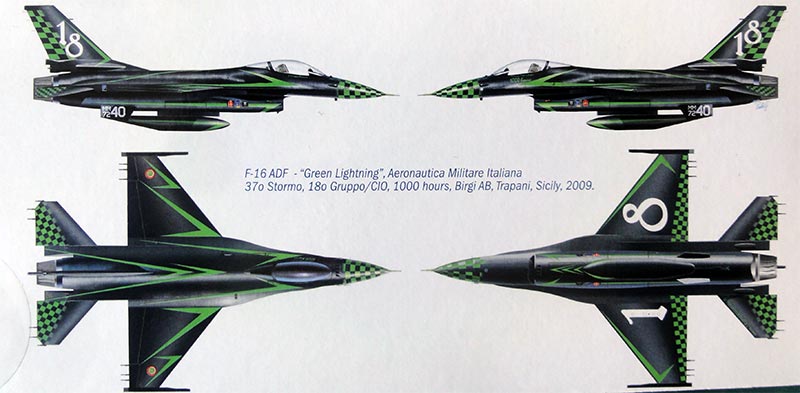
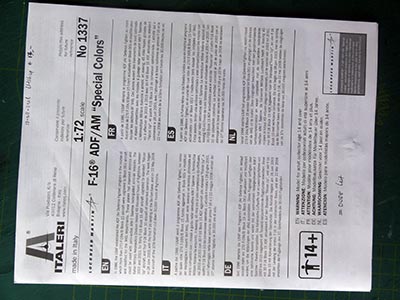
Another F-16A kit was released by ITALERI in a special scheme as kit no. #1337 as F-16 ADF or AM.
[ 33 ] 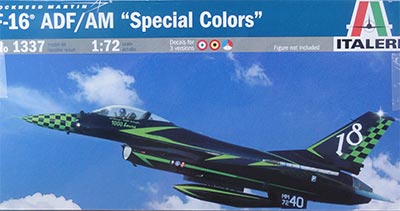
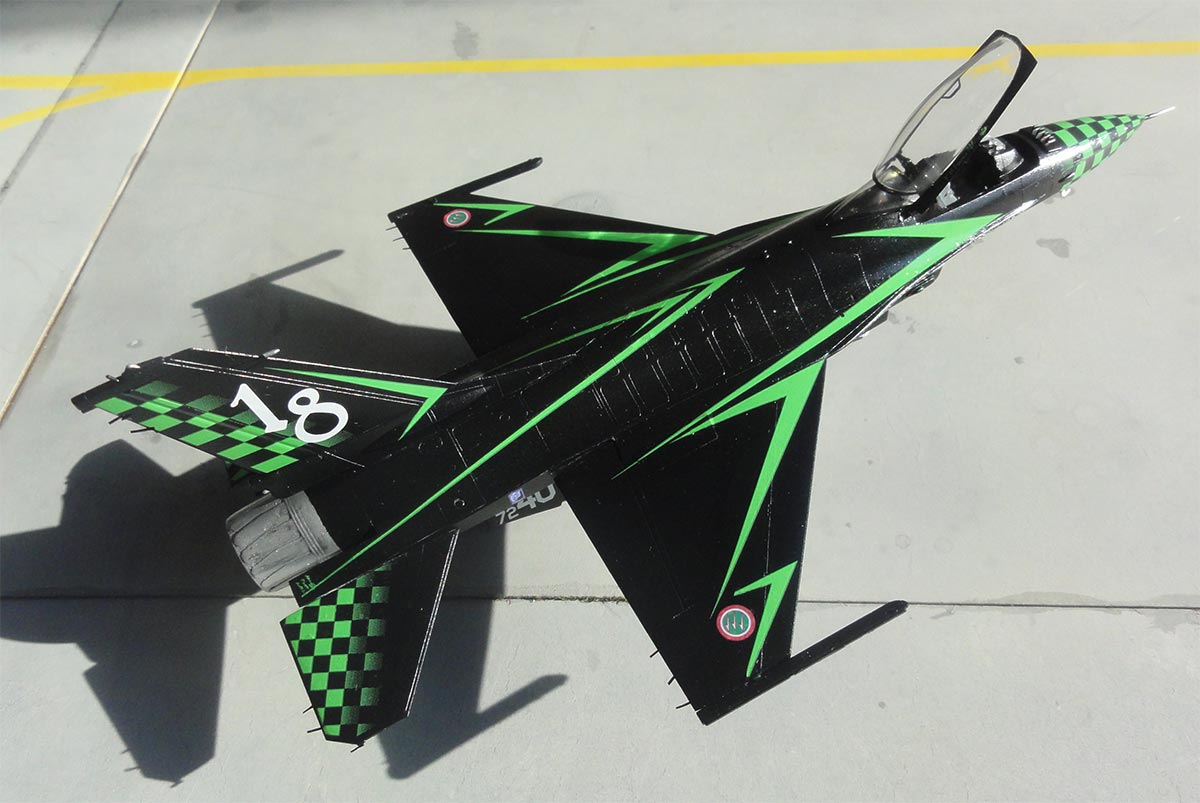
A nice special Italian Air Force scheme for the F-16A ADF "Green Lightning" of 37 stormo/ 180 gruppo as seen at Birgi in Sicily in 2009 is provided through very nice decals. I actually only bought the kit for these decals.

The basic kit parts are of the old Italeri kit and enable both a single seater F-16A or an F-16B with different top deck for the cockpit area. But the kit itself is rather basic and the shape is not so good as even older F-16 kits like from Hasegawa.
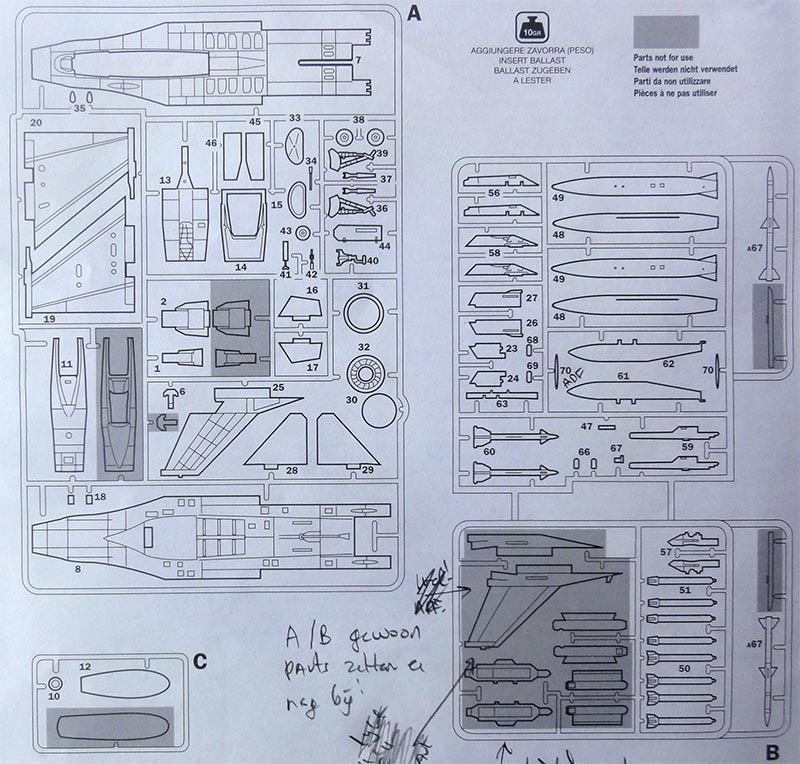

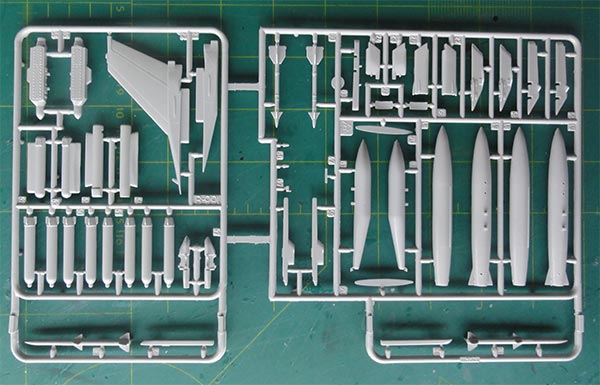
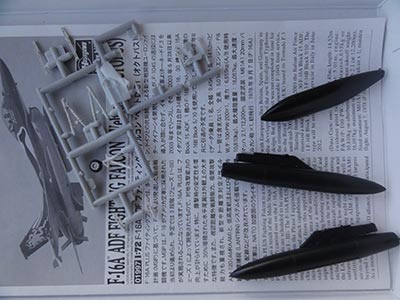
The Italeri kit has parts of their old F-16 kit but there is an additional sprue to cater for the F-16A ADF version:
The shape of the ADF tail as in the Italeri kit does not look accurate as the long bump in the tail base typical for the ADF is much to small.
So I opted to make another better Hasegawa kit for an F-16A ADF but to use the nice ITALERI decals. That would give a more accurate result. (will probably make the kit later as a Venezuela camouflaged F-16B).
The Hasegawa F-16A ADF kit is described on page 12 and is the "VELTRO" kit #01997. But the Hasegawa F-16A ADF kit can also be found in other releases such as a "Diana combo" #02172.
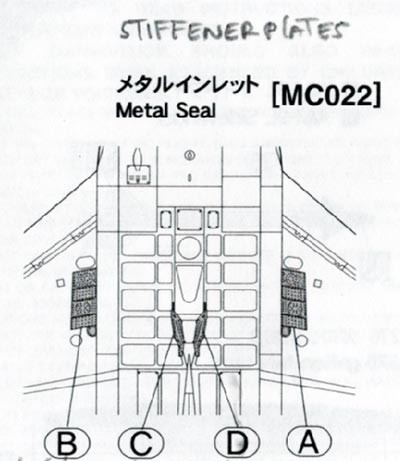
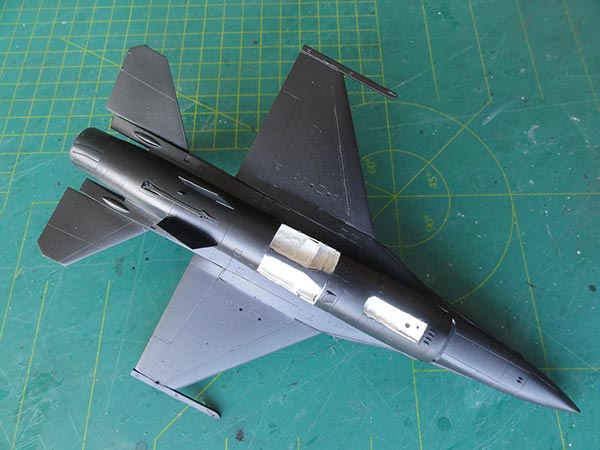
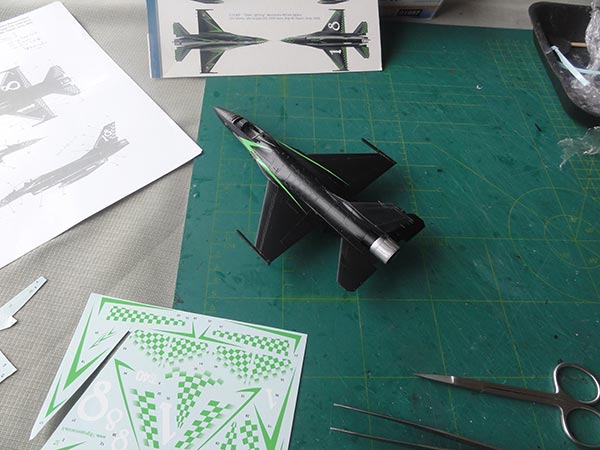
This aircraft also has the "stiffeners" on the upper fuselage and wing. These were applied as provided in the Hasegawa ADF kit as PE / etched metal plates. Use superglue to attach these; (or make the plates from very thin flat masking tape).
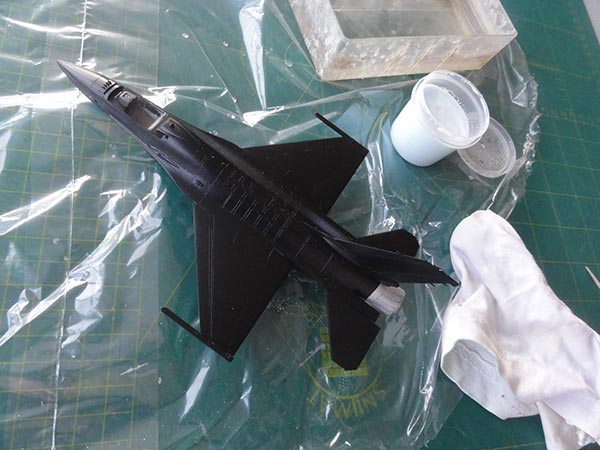
The overall paint is gloss black for which acrylic Gunze Sangyo H2 Black was airbrushed. But any black paint will do.

The smaller parts and fuel tanks were not forgotten.
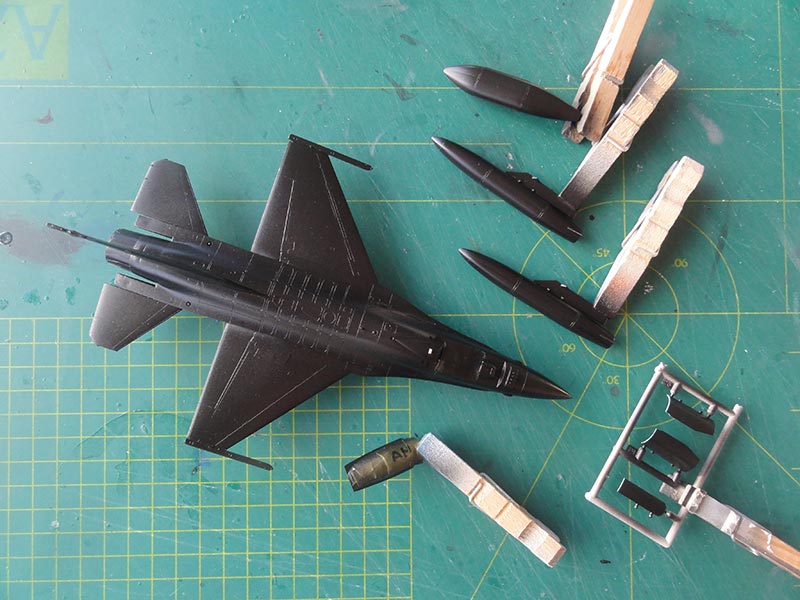
The gear bays are white and need more detail.
The model was polished with special polishing paste to get a perfect coat.
The Italeri decals would now be applied. They fit without any problems though they were designed for the Italeri kit but here put on the Hasegawa F-16A ADF.
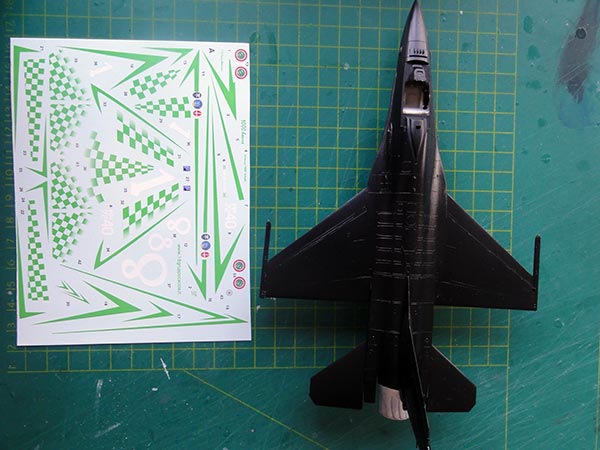
There are no walkway lines present in this scheme. The nose decals were difficult to set on, it is not perfect but that is only seen at the lower nose.
The remainder of the model was made as described at many previous pages such as page 5 and page 12. Only the central lower fuel tanks was fitted and has chevron stripes.
A gloss varnish coat was airbrushed on top in a few thin layers to give an even sheen and protect the decals.

ITALIA (look for Italian air force info here... )
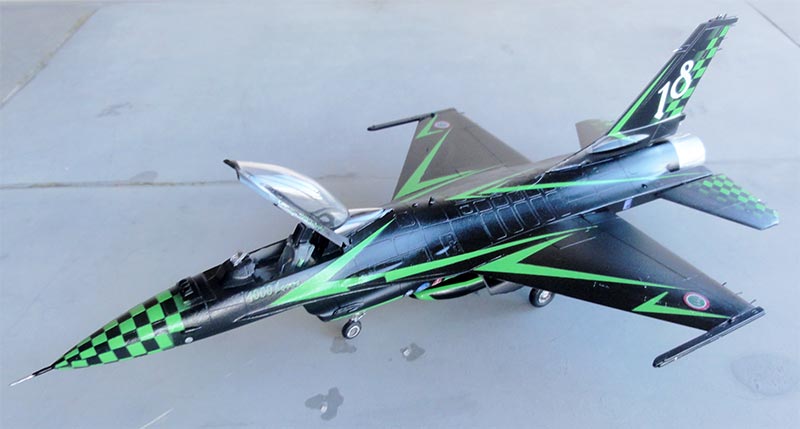
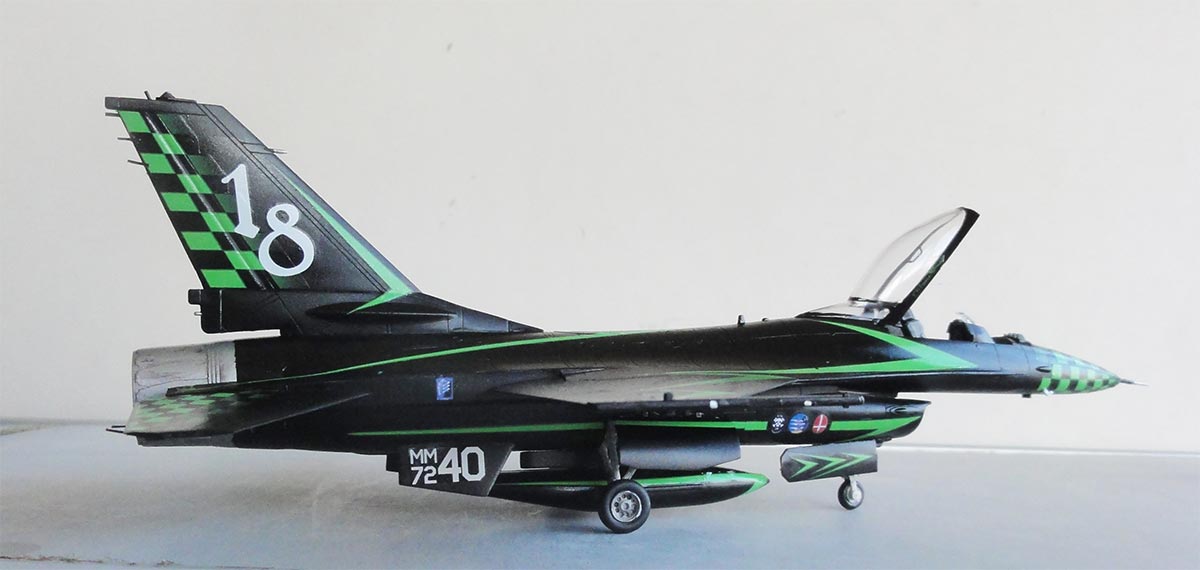
F-16A ADF "Green Lightning" of Italia Air Force , 37 stormo/ 180 gruppo,
seen at Birgi Sicily in 2009
... set in scenery at Kleine Brogel air show....

On to next [ F-16 page... ]
..

(c) Copyright "designer"/ All rights reserved. Your comments are welcomed by webmaster
Created this page
May 28, 2019