[ page 3 ]
F-14 model in 1/32 scale
Revell kit
The cockpit section with painted instruments; the kit instrument parts have nice raised details (contrary tro the 1/32 Tamiya kit which only have instrument decals....)
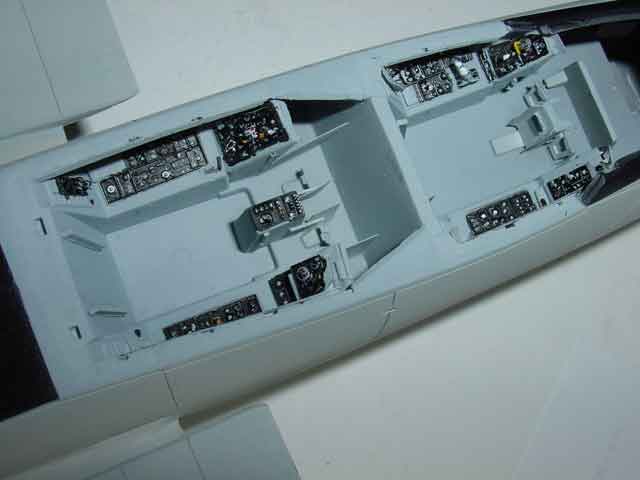
The painted instruments...
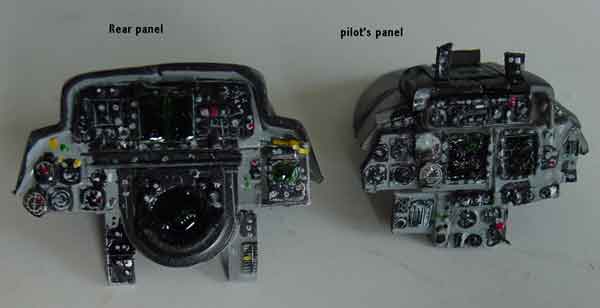
The painted rear navigator weapons
officer panel....
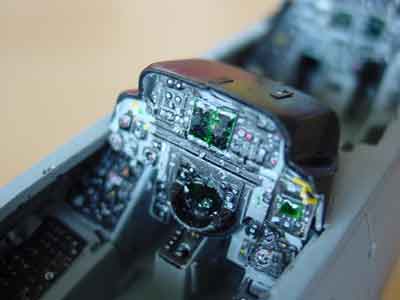
and below forward pilot's panel,
HUD still to be added for the F-14D...
The scratch made F-14D nose pod (with
double chins, such as an Infrared seaker IRSTS, TCS and still ALQ-100 and even a small position light).
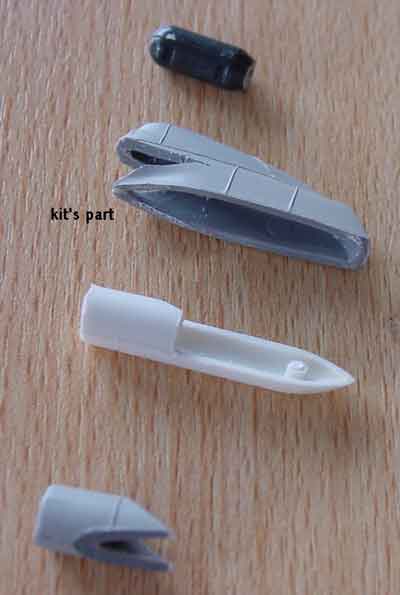
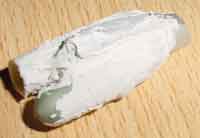 with putty and ... sanded in shape...
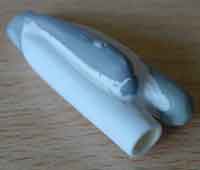
Panel lines of the entire outher airframe
were rescribed where needed.
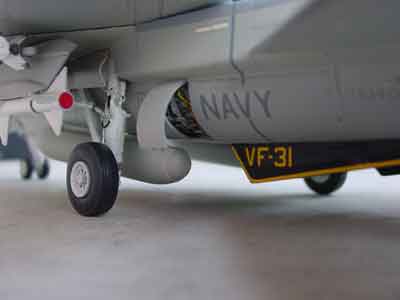
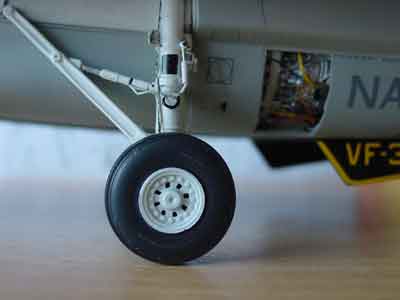
The undercarriage legs being detailed
with rods, strip and sprue... The nose leg's central rod to attach the
wheel aisle if far to wide, so reduce the "track"
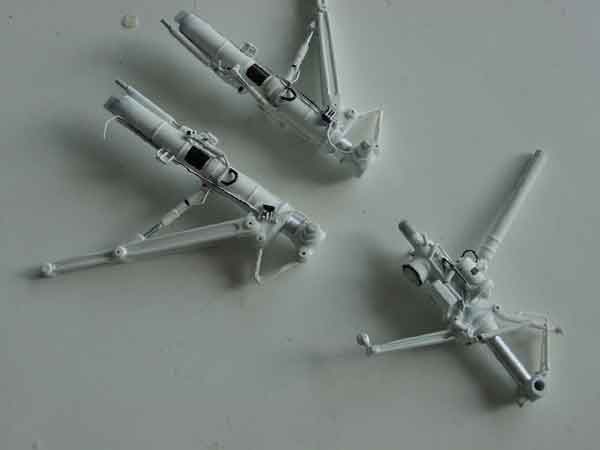
The nice detailed plastic "Goodyear"
type of tyres were used as supplied in the kit, rubber tyres not used.
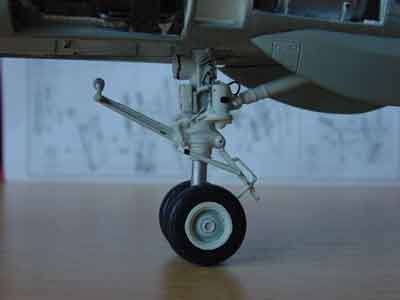
Nose leg details
.... and overall view with legs fitted.
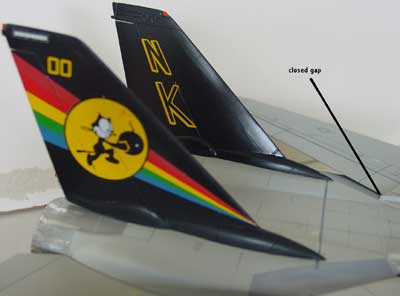
Tails were still left off to enable further detailling as they need no
further gap filling/putty because they fit perfectly.


Converted NACES F-14D seats were airbrushed matt dark grey/black, detailled and details lightly dry-brushed;
belts were made from masking tape and little pieces of copper wire.
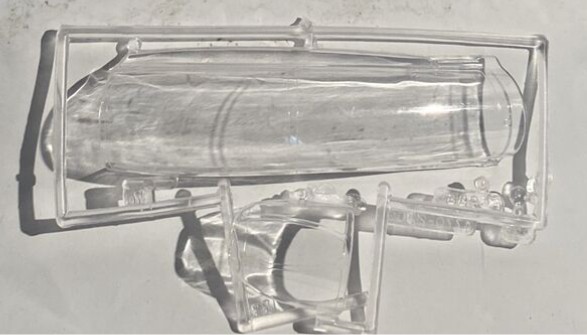
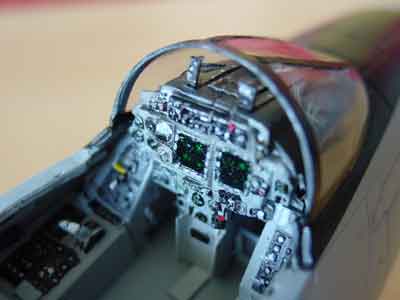
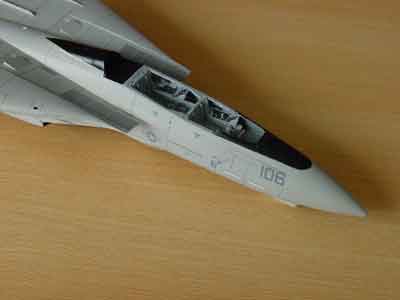
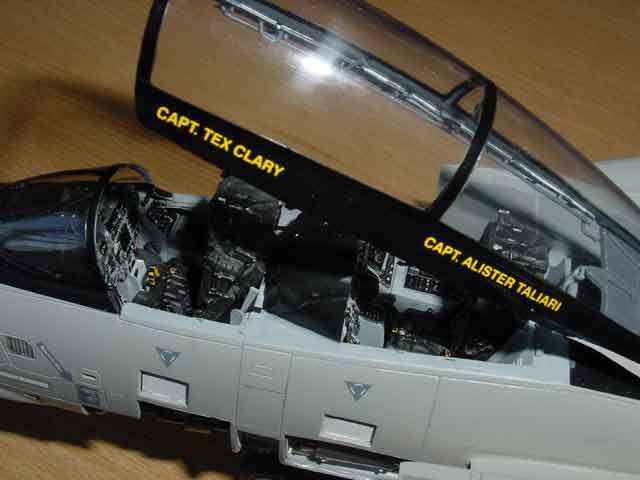
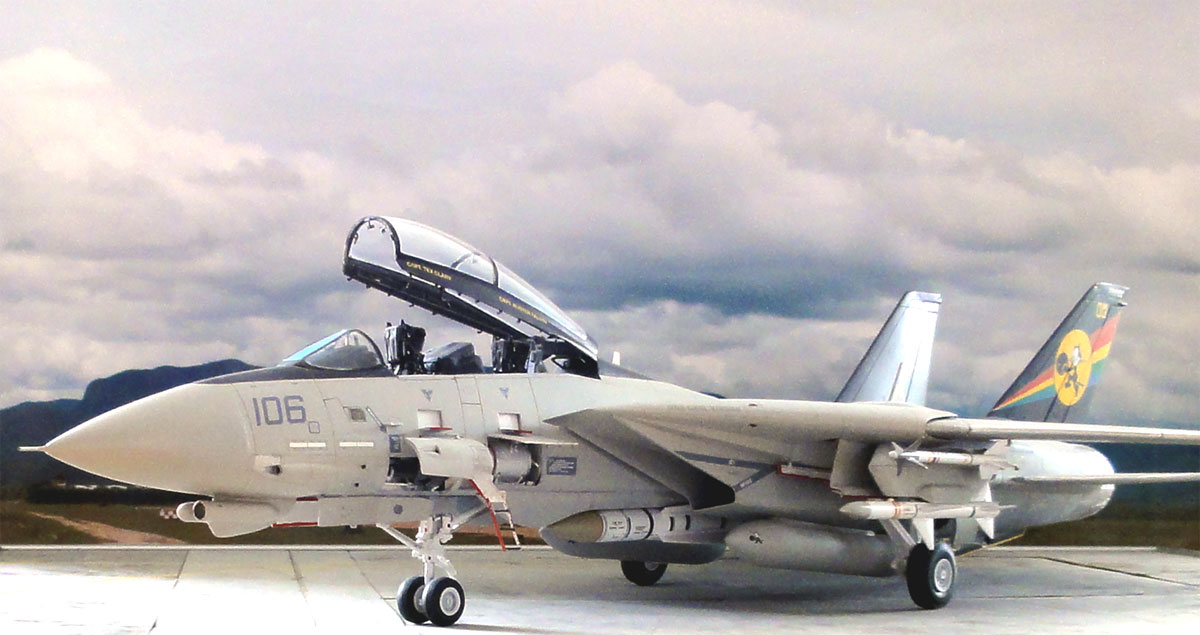
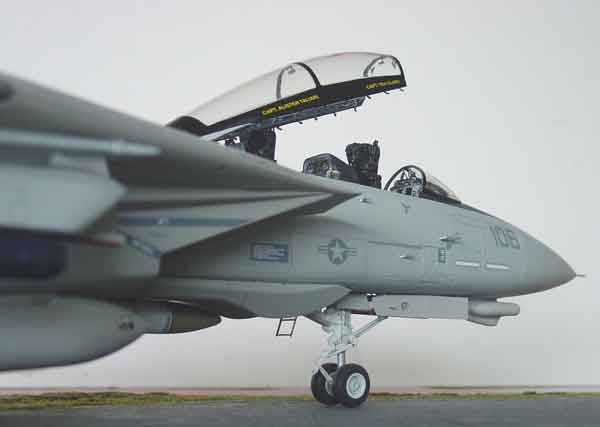
The cockpit canopy was detailed with strips, hooks made cut from a photo negative and rod; more than 50 parts went in. Mirrors were cut from metal sheet. The aft rods are of a paperclip for getting a removable canopy hinge with two corresponding holes drilled in the fuselage spine.
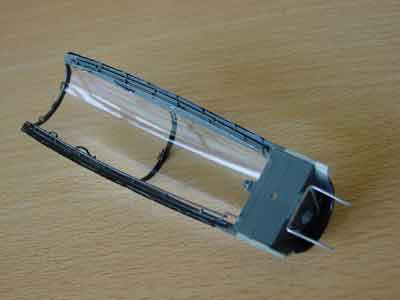
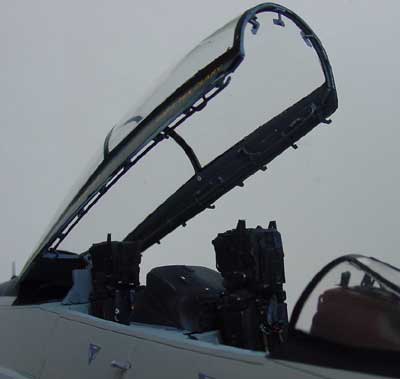
The view of the completed cockpit section with the canopy attached in such a way through metal rods that it can always be removed for clean-up or transport. A Head Up Display as fitted to the F-14D was also added on top on the forward instrument coaming, made from rod and piece of transparant sheet.
opened left engine panel; note the
red cover of the Sparrow missile exhaust
and main u..c
and engine panel area (door still to be fitted)
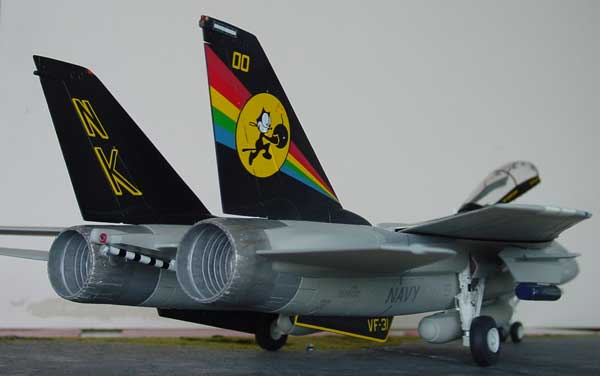
The F-14D is powered by two F110-GE-400
engines which was converted from the kits parts (see page
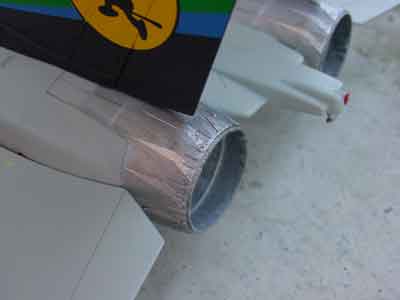
2....). .The detailed GE engine exhaust area; detailling was done with
metal housefoil sheet; inner engine was given a treat of mixed white paint,
metal and "stains added..."
The gap at the wing sealbags was also
closed with some white glue
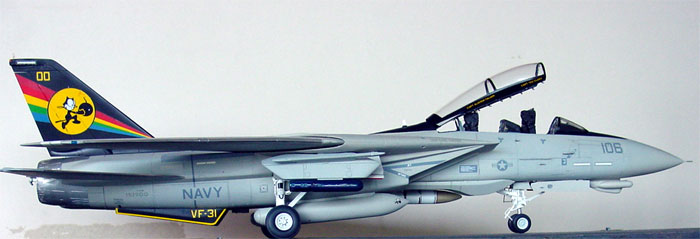
The completed
model

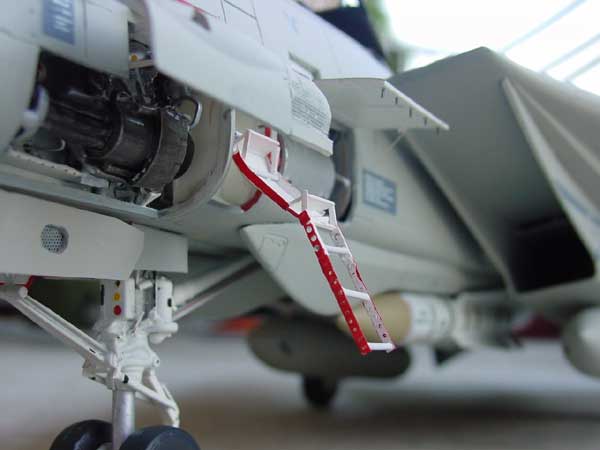
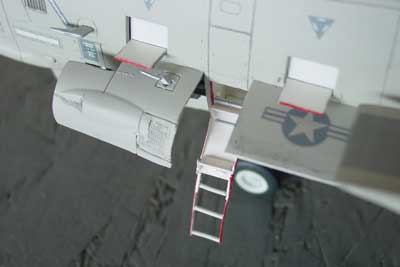
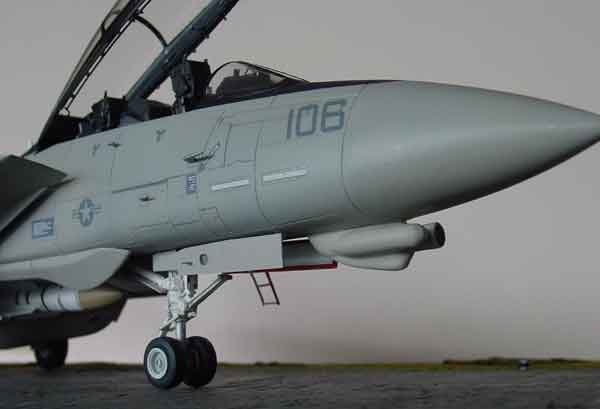
Left side lower forward panels were
opened, showing the gun area, ammo drum and foldable ladder. The panels
were detailed with fasteners etc and note the weight saving holes in the
ladder....
lower
and upper view...
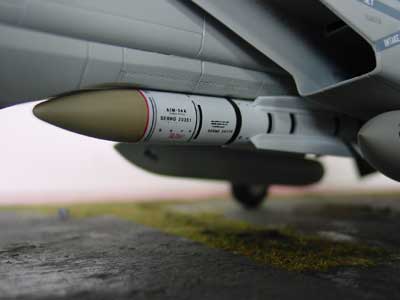
Stores also add colour and "life"
to this F-14D model. So fitted are:
- AIM-9 Sidewinder, with some parts
from a Cutting edge detail set
- AIM-54 Phoenix as in kit
- AIM-7 Sparrow, kit parts slighly
detailed with strip
- Two large fuselage pods as supplied
in Revell kit
And scratch made LANTIRN pod!
The F-14D LANTIRN pod made from an
old bomb with the pattern as seen in the Tamiya F-15E kit, seen below and
painted blue....
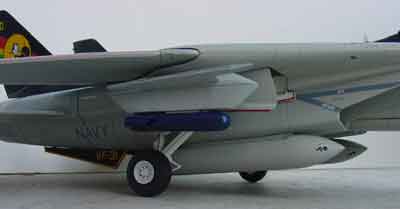
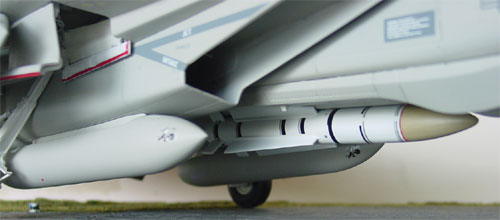
Kit's PHOENIX missile was fitted on
lower forward fuselage fairing; (decals supplied are enough for just two
missiles although parts for four are supplied in Revells' kit)

Sidewinder and Sparrow, the upper
forward fin of the Sparrow was removed (is normally recessed in pylon).
![]()
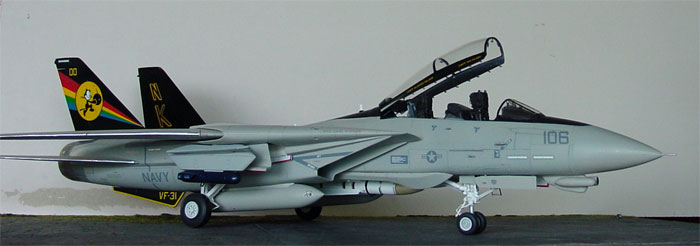
Markings were added for a F-14D from
VF-31 Tomcatters, with a combination of various CAM DECALS
sets , such as CAM decal set no. 32-098. Adaptions were:
- using low vis small U.S. type start-and-bars
- adapting the various marking, uch
as the intake warings to a grey variant (Cam decals)
- changed number
The overall kit after getting the
gull grey colour was given a gloss coat of Johnson Clear Floor polish before
applying the various decals, some also coming from the Revell kit such
as the "yellow coloured low visibility" NO STEPS and smaller stencilling.
opened left engine panel; note the
red cover of the Sparrow missile exhaust
.
..and main u.c. and engine panel area (door still to be fitted)
The upper spine larger F-14D antennas
were fitted, made from thin card. The RHAWS antennas below the wing leading
edge fairing as commonly seen on the F-14B's were not added as pictures
showed many F-14D's not to have them. The grey walkways next to the rear
cockpit areas were added, as supplied from CAM decals.
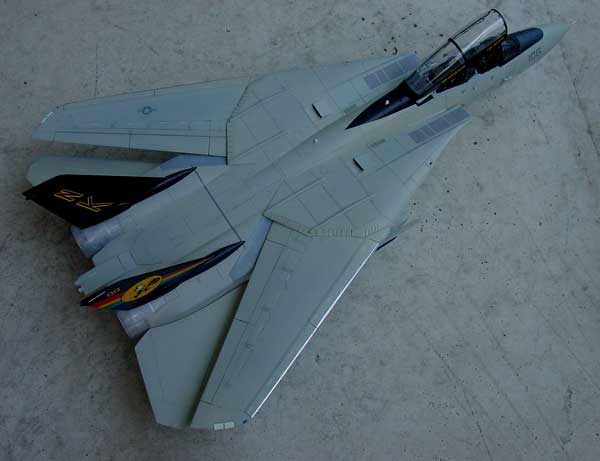
Leading edges of wing and stabilizers
were given a strip of Bare Metal Foil;
the wings were swept aft, the still small gap of the rubber bag area was
closed with white glue and painted light grey.
All recessed panels were given a VERY fine treat of light grey paint wash, do not over do it!

note
tailhook
forward area

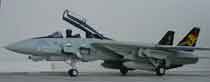
a nice 1/32
F-14D Tomcat model is born...
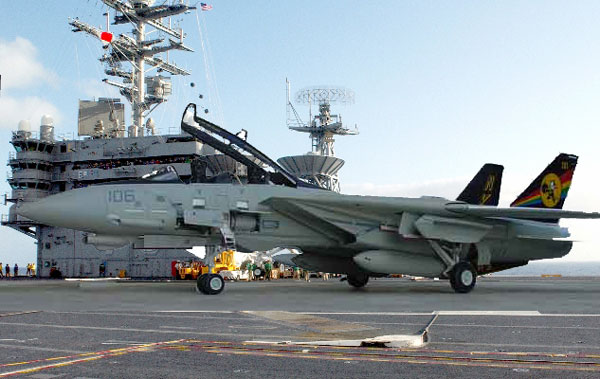
projected on a "real deck"
Also check out the 1/32 Tamiya F-14A Tomcat here...
Back to 1/32 scale Models.......
(c) Copyright "designer"/ All rights reserved. Your comments are welcomed by webmaster
Created this page
Aug 11, 2003