Tamiya
[ page T2 ]
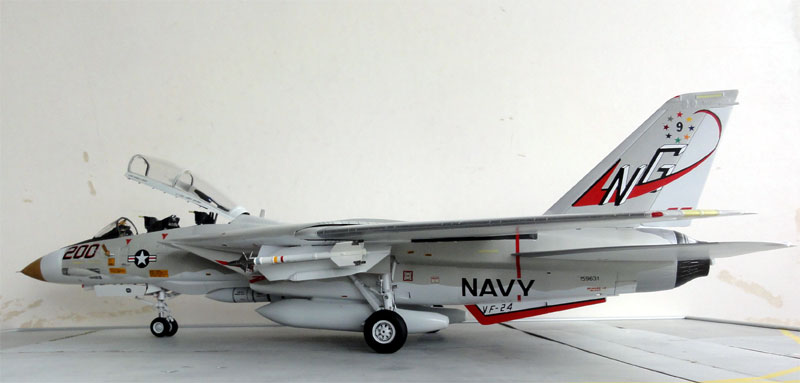
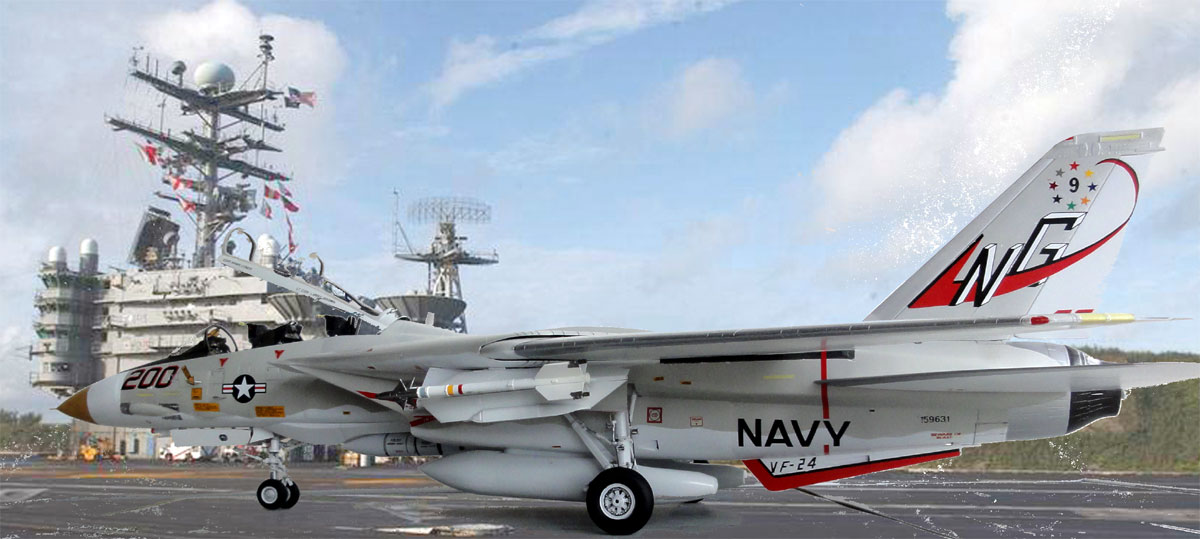
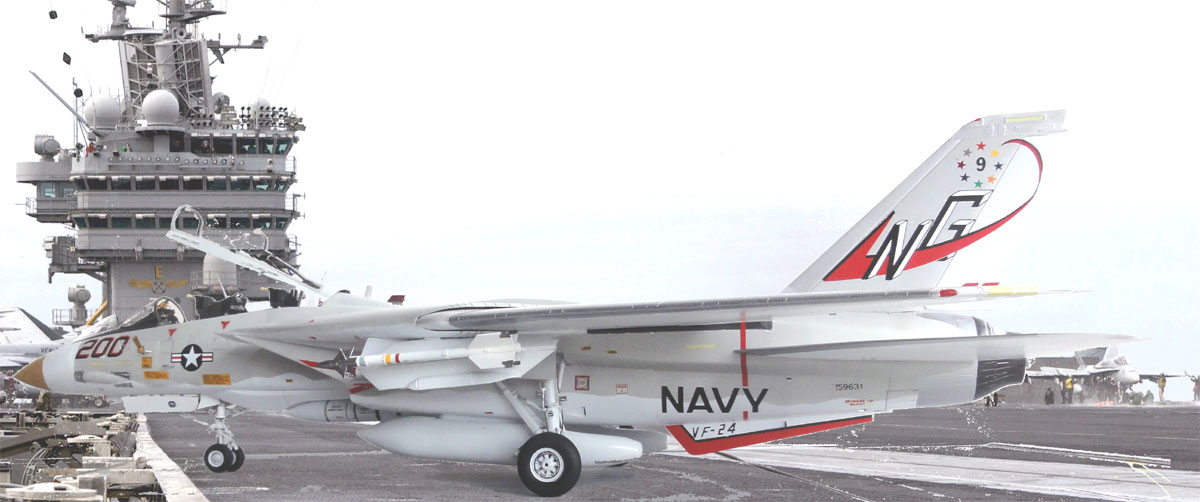
F-14A model in 1/32 scale, TAMIYA kit
.. continued from page 1....
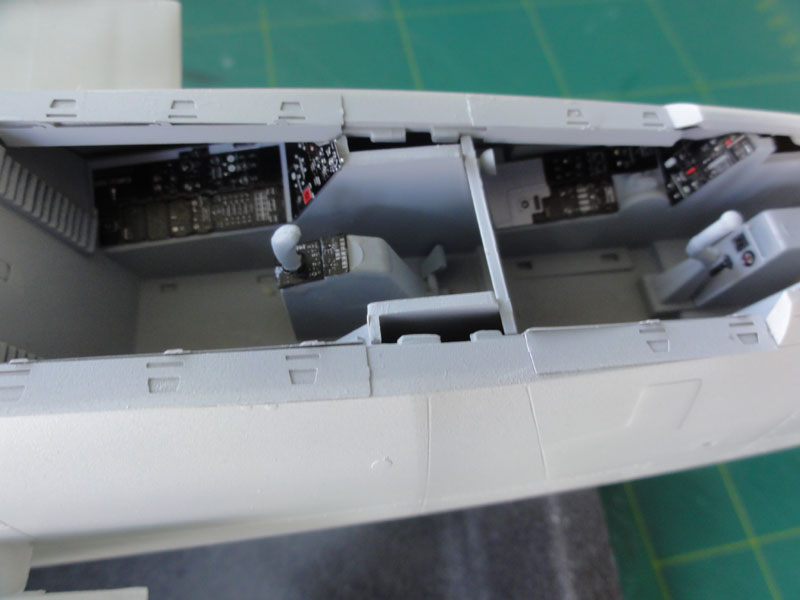
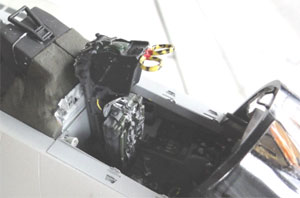
Cockpit
The "cockpit tub" was airbrushed
medium grey Revell Aqua Hell grau 371 (that match the Eduard instrument
panels) as well as the Model Technologies set cockpit edges set on.
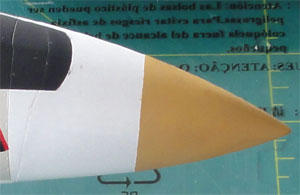
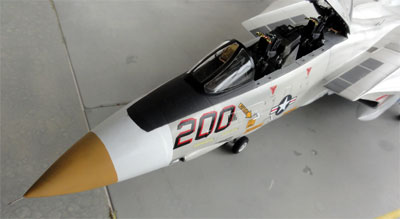
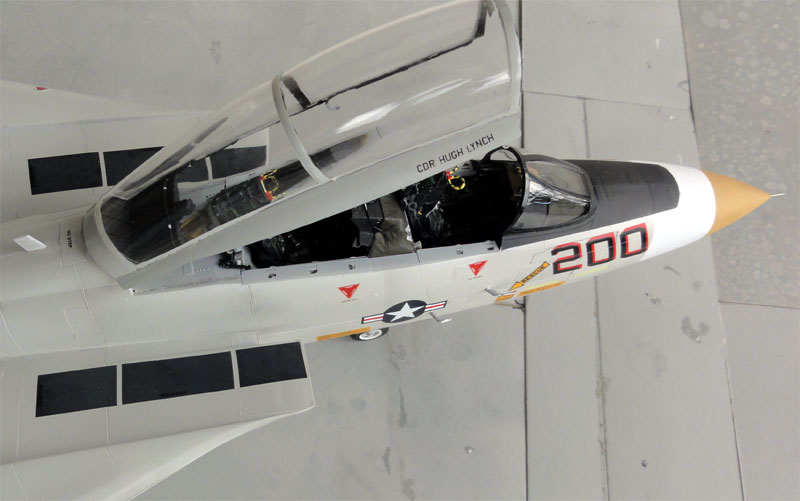
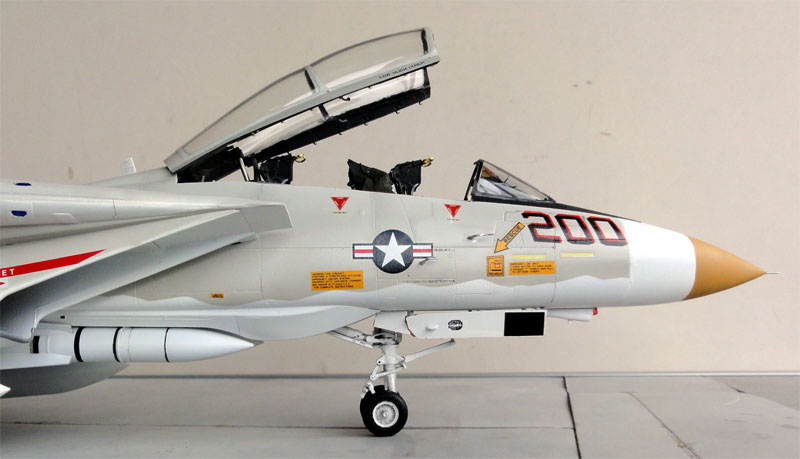
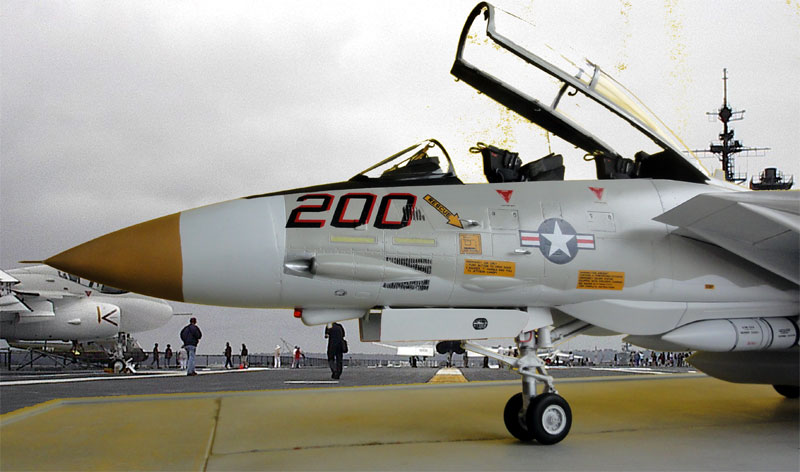
The nose was masked and got an airbrushed
coat of white with "buff" light brown colour tip using Revell Aqua 314
beige. The anti-glare panel was than masked off and airbrushed matt black.
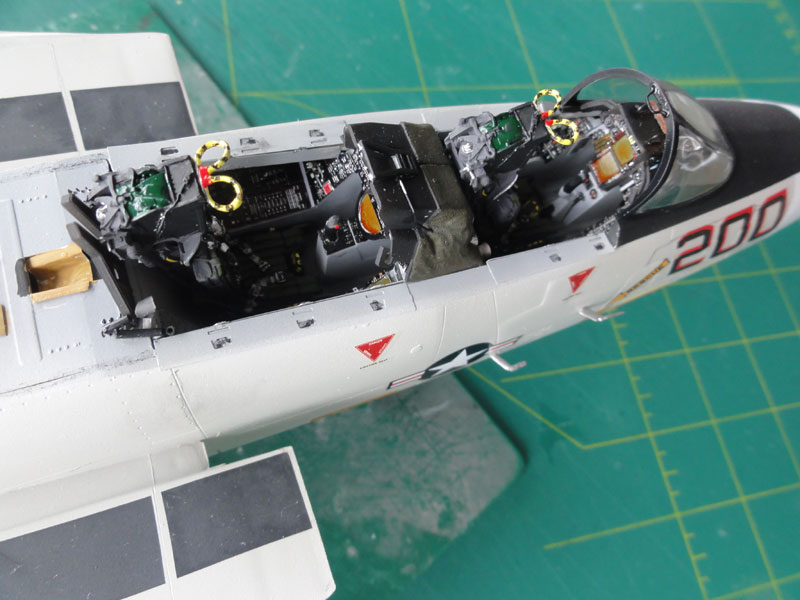
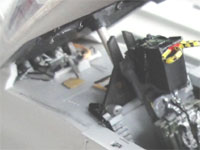
Now, looking at STEP 22, some added
detail was added to the cockpit area as well:
- The EDUARD self-adhesive instruments
were fitted;
- Some missing additional fuse boxes
were made and fitted on the forward and rear bulkheads;
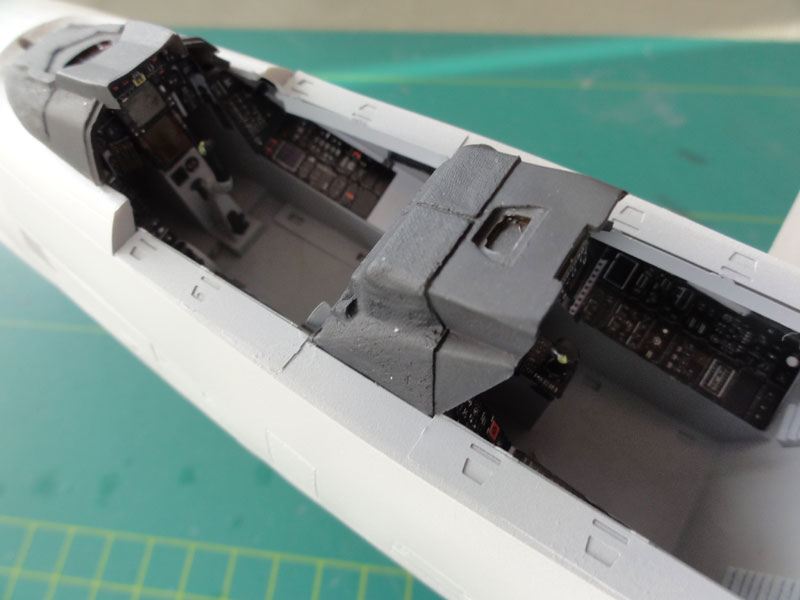
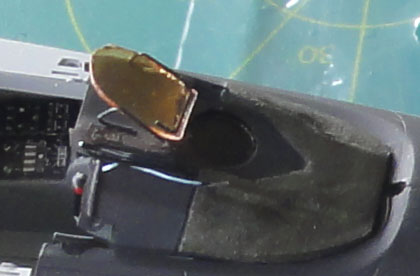
- a new "head up "gun sight display
was made from a piece of transparant card and added on the front coaming;
It was painted Tamiya acrylic "transparant orange" X26.
![]()
The panels and engraved details got
some attention to differentiate them a bit from an otherwise very large
gull grey surface. With PROMODELLERS black wash, some were pronounced a
bit more like the flap edges and landing gear legs. Other panels got with
a simple pencil stripe applied with a ruler.
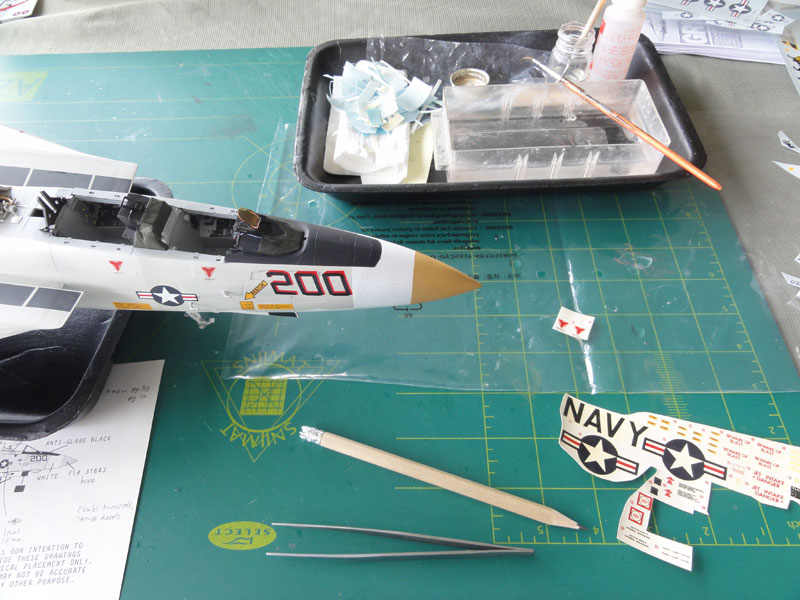
Now, the next step was to apply the
decals as otherwise the model would be very vulnerable to handle.
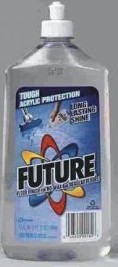
But first, a few coats of clear varnish using Johnson
Future/Pledge thinned 30% with alkohol were applied with the airbrush.
This will prevent "silvering", the bad habit of decals showing trapped
air bubbles when dried.
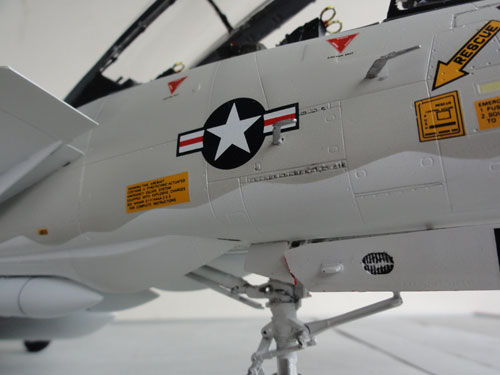
The Microscale set 32-46 decals for US NAVY VF-24 scheme showed the decals to be very old and thin; so some decals had to be replaced with other ones using spare decals.
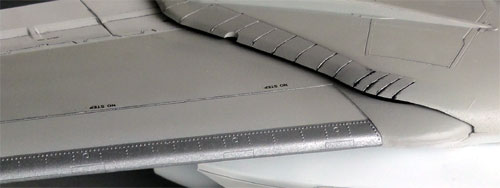
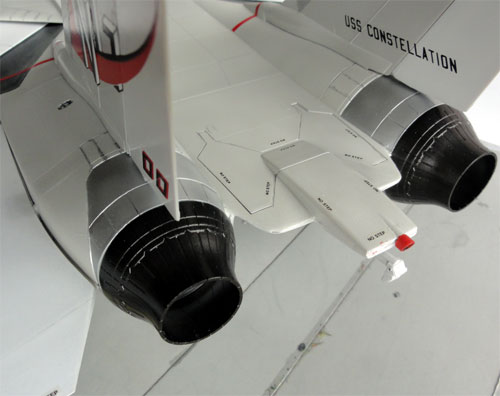
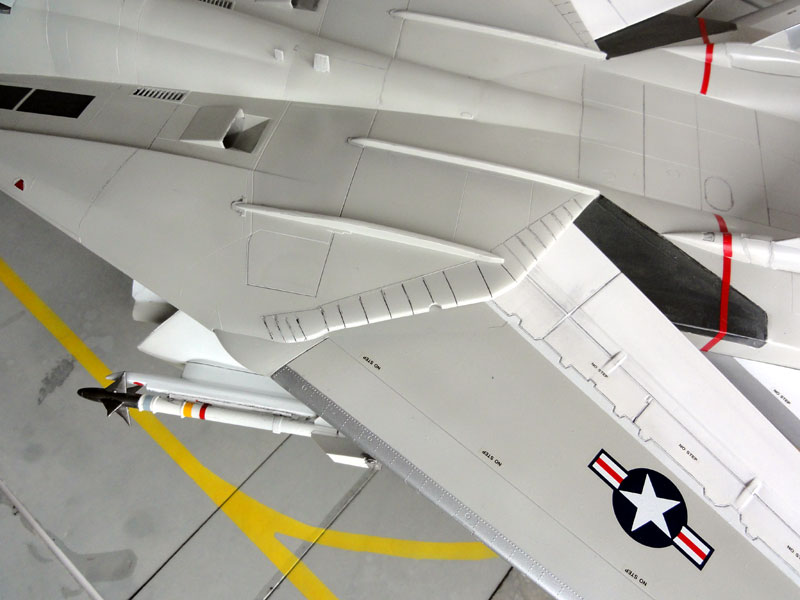
Note that the "NOSTEP" stencils of the Tamiya sheet should be cut in two reading "NO STEP". The large VF-24 squadron markings on the tail are very nice and setting these on the tails was easy as these were not yet fixed to the model!
Note that I always "drag" each decal through some Johnson Future/Pledge to really prevent any silvering and to aid fixing to the surface. Each decal is after application a bit depped with a cloath. Also, Microscale Sol and Set decal fluids were used in some areas to aid a decal adhering to a (raised or curved) surface.
The low visibility lights were applied
through decals from spare Revell F-14 decals as well as the red stripes.
The national US markings "stars and bars" were obtained from Microscale
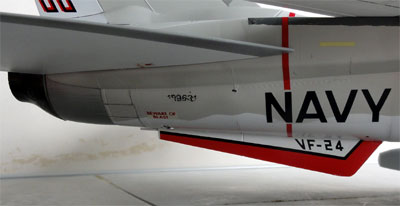
decalset 72-83. The VF-24 ventral fins have red edges and these are nicely
provided as decals in the Microscale set. Some trimming is needed however.
![]()
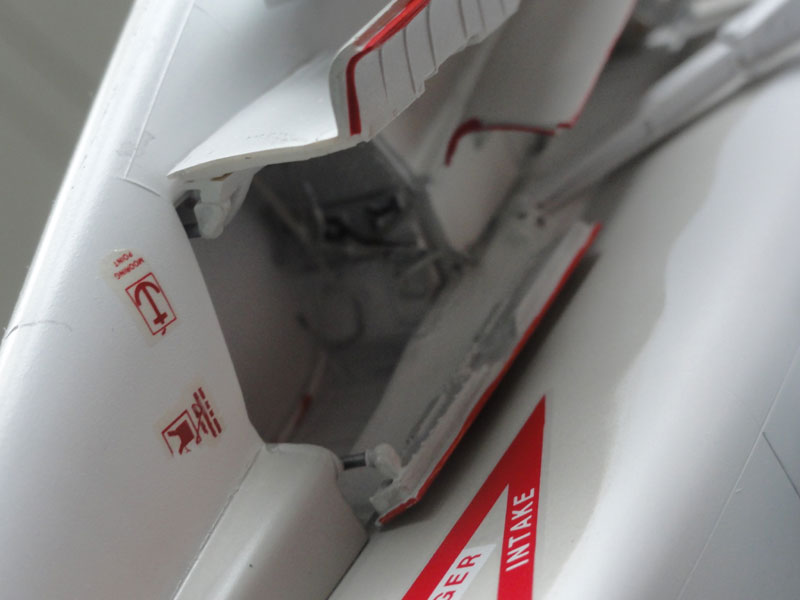
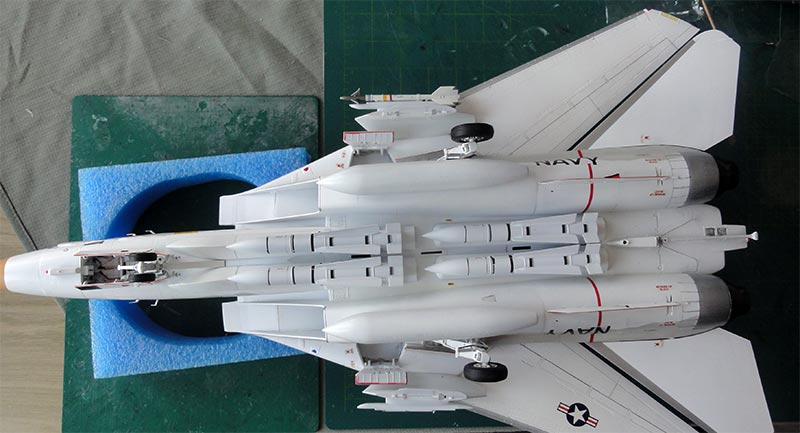
Walkway panels were added from medium
grey decals from the spares box on top of the air intakes.
After decalling, that took at least 6 hours, the model was to be detailed further.
![]()
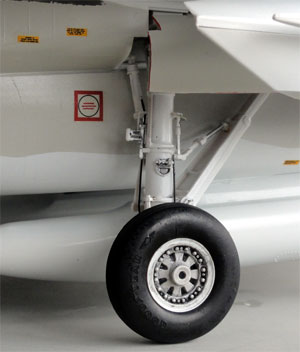
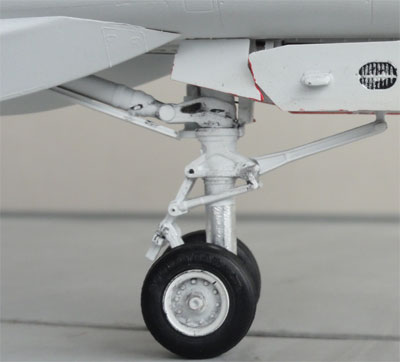
Further detailling
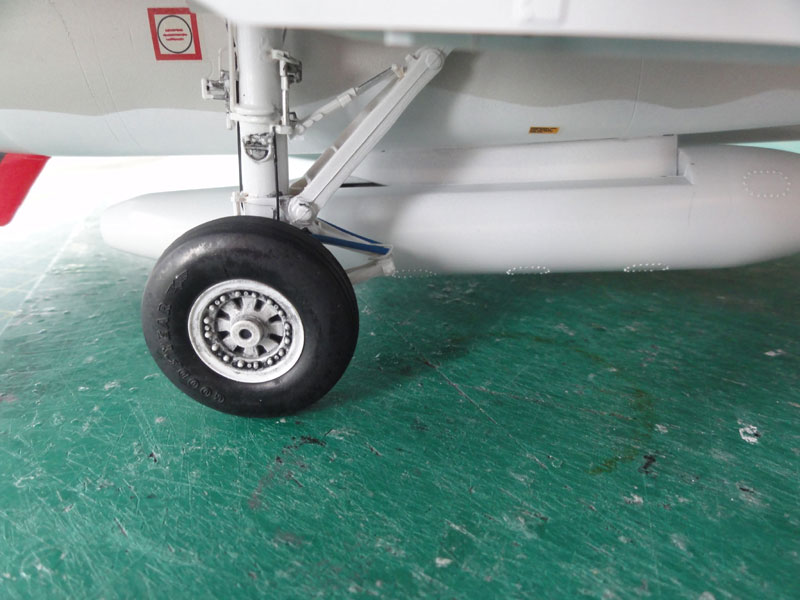
In STEP 12 the gear doors parts #E80
and E81 needed removal of some lengths of their swivelling arms as these
would be set open. Some gear doors have red "rubber" ? sealing edges
These were hand painted. Inside the bays, details were added from stretched
sprue and metal wire to suggest tubing and hydraulics. Not all were added
though, that is far too much work.
 .
.
- On the canopy part E17 an extra
tube was set made from plastic rod.
- Some additional electrical wiring was added as well inside the cockpit. At the top of the windscreen, a handling bar was added.
- Some extra wiring and tubing was added on top of part E28 (the coaming) aft of the rear seat.
- The windshield frame was masked with tape and after that airbrushed matt black. The tiny gap when fitting the windshield to the model nose was closed with White glue and after it dried painted matt black.
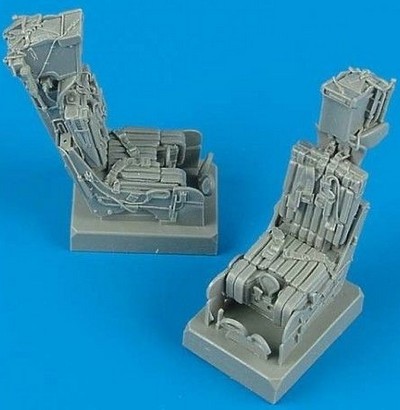
- The kit seats were replaced by those
resin ones of QuickBoost set 32033. Remove the resin base with a
razorsaw
but use a face mask for your
protection and plenty of water!! Each seat got a base coat of dark grey
and the details were painted like the seat parachute pack olive green,
harness "off white" and the seat ejection bars yellow with black
striping. Harnesses were painted.
- The instrument coamings (Parts E23 and E26) got some more detail. The cloth covers were painted a mix of black and brown.
- The large cockpit instrument panel
displays got a coat of Tamiya transparant "clear orange X26" paint.
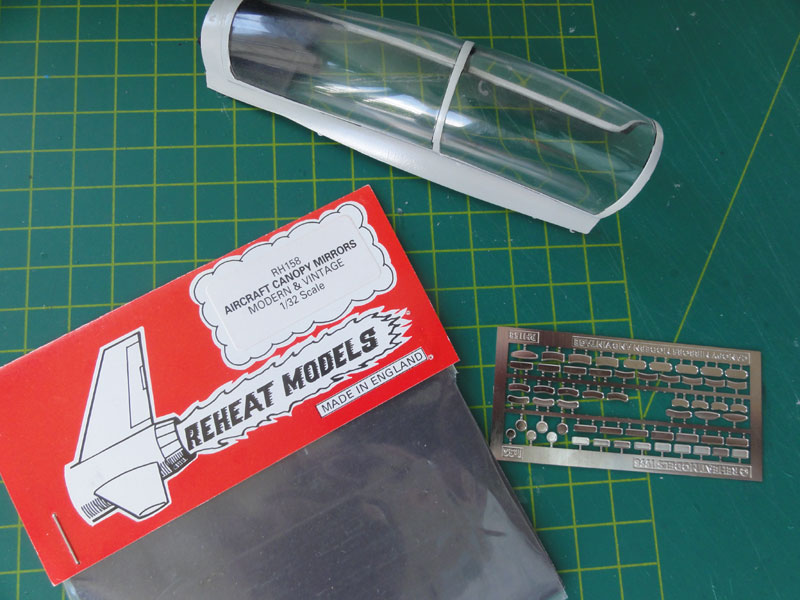
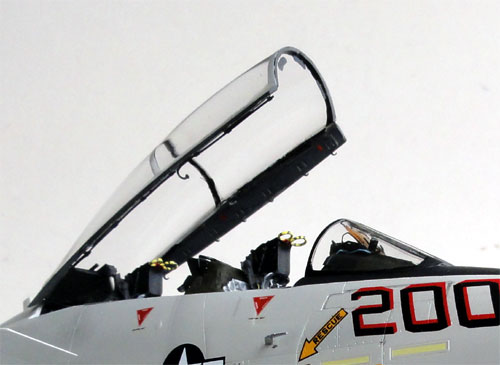
- Inside the canopy, 4 mirrors
were fitted using the RH158 set from REHEAT models (3 on the front canopy
frame and 1 in the middle frame). The mirrors front areas were painted
black.
![]()
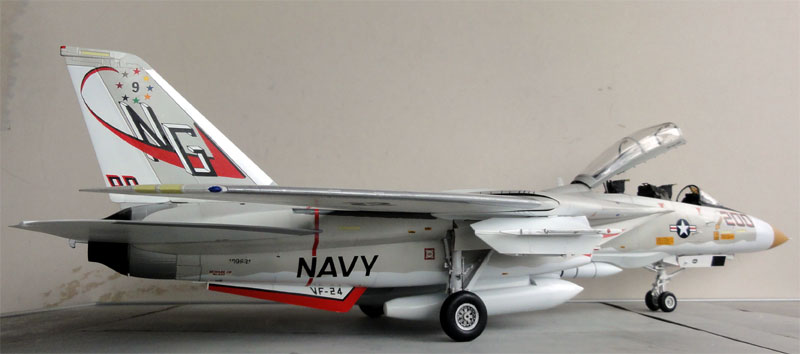
Final assembly
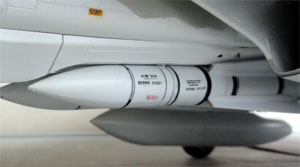
- The landing gears were fitted, as well as all pylons, pods and armaments.
- The anti-collision lights were painted (e.g. red and blue) and got a drop of Micro Kristal Klear.
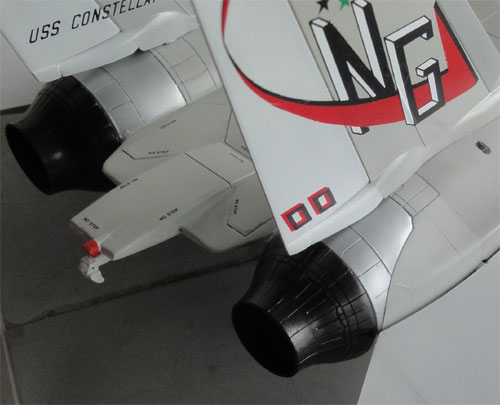
- the exhausts were airbrushed ALCLAD burned metal / exhaust color.
- The vertical tails were fitted and any tiny gaps closed with white glue that were brush painted Gull Grey after drying.
- The painted tailhook was fitted.
In this case it was overall white with metal painted details.
- a small nose pitot was added made from a metal needle and set with superglue
Finally the model got a decal protecting coat of varnish, again using Johnson Future/Pledge. The canopy was set loose in place and the model was now complete.
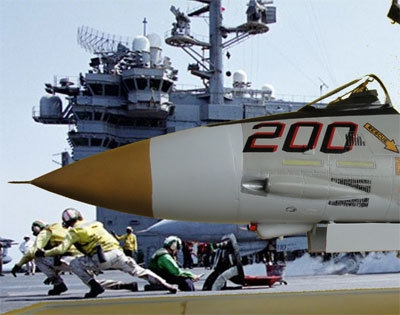
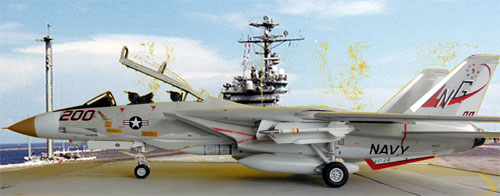
A very nice
addition to the 1/32 US NAVY model collection! The only problem is... where
to put it!
 .
.
 .
. 

 .
. 
 .
. 

(c) Copyright "designer"/ All rights reserved. Your comments are welcomed by webmaster
Created this page July 25, 2014