F-104 model in 1/32 scale
Introduction
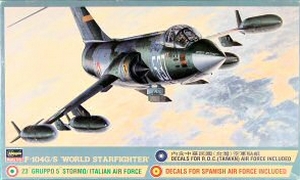
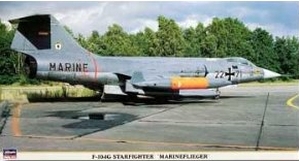
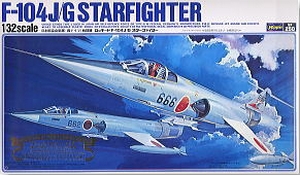
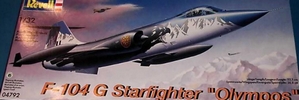
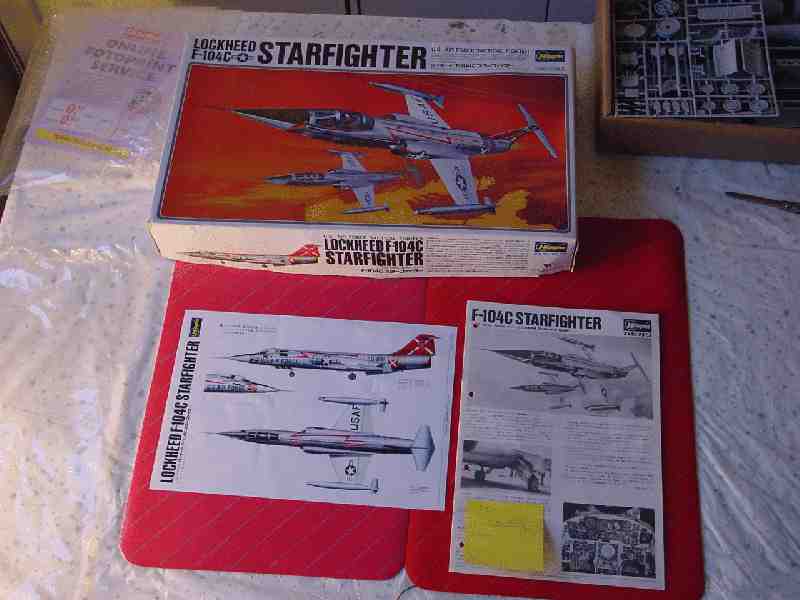
The Lockheed F-104 Starfighter, know as a "flying missile with a man in it", was "the" fighter aircraft of NATO in the sixties and seventies. In 1/32 scale, Revell issued the kit in several versions, and Hasegawa issued it as the F-104J and some others "versions" such as the F-104G and F-104"C".
The Hasegawa
kit appeared in many boxes and re-issues, some seen here:
 ...
...
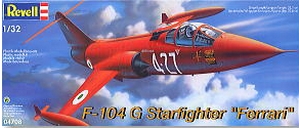
Obviously, also
the Revell kit appeared in many boxes...
(note they
also issued a F-104C)
 .....
..... 
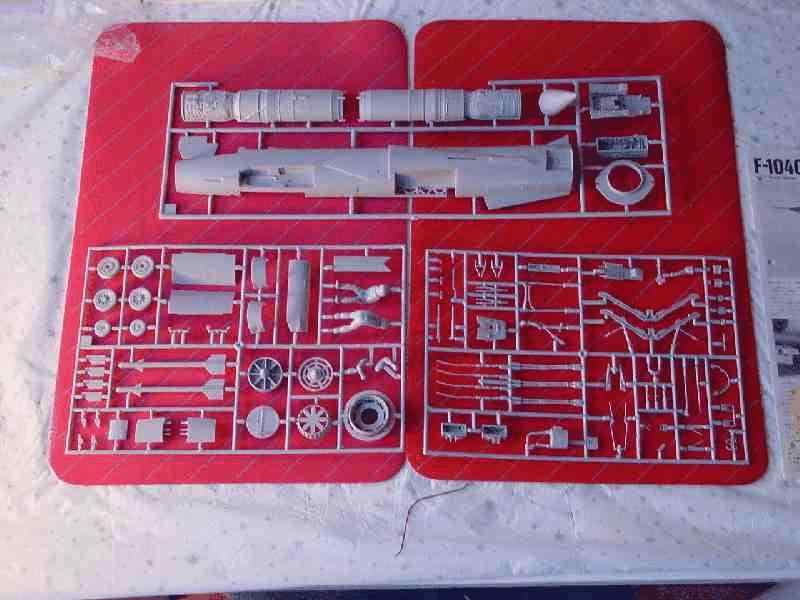
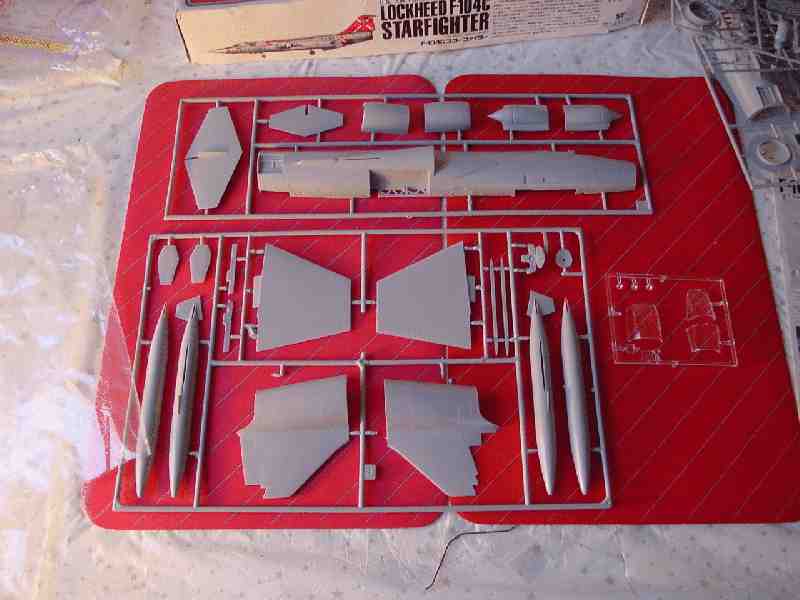
Both kits are quite good as a basis for a nice model. They are accurate in outline and dimension and capture the Starfighter very well.
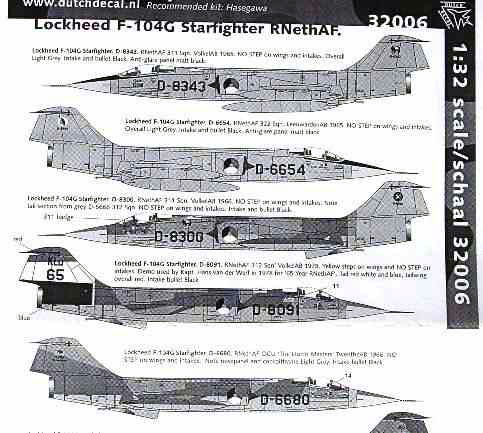
Also, some Dutch Decals were purchased...
![]()

UPDATE
I: JANUARY 2014
Italeri released
an excellent 1/32 kit of the F-104 Starfighter. I got a kit and these are
the first impressions:
I am pretty impressed with what Italeri came up with. No matter what, this kit is a big improvement on the older kits. Also, Italeri offers different versions with many alternative parts. They really give you various options.The panel lines in some areas are a bit deep, but I expend that to be OK under some camouflage paint. Otherwise add a couple of base coats and sand. Also some raised details are nicely done.
Two types of seats and moulded cockpit parts are good and cockpit will benefit with a bit added details. ( yep, the etched metal parts are not really an improvement over the plastic parts).
Now how does
it compare with the old Hasegawa F-104J kit in 1/32 scale?
Compared quickly
following findings appeared:
General shape
of both kits are quite in agreement: Fuselage depth, tail shape and overall
look are in agreement. The bigger lengths are in agreement within some
millimeters. Wing shape and size are quite alike, with the Italeri kit
having separate parts.
Regarding the main canopy there is a difference: at the rear of the canopy, the Hasegawa one is about 3 mm wider (about 15%). This is noticable. The Italeri canopy tapers a bit more towards the windshield and rear aft window and the cross section has a more oval shape. Also, the cockpit side has some more width with more detail on the Italeri kit. The shape of the Italeri kit seems better but need to investigate further.
The Dutch scheme and decals (version "F") were looked at: the Koninklijke Luchtmacht KLu roundels colouring looks fine and have correct dimensions. The lettering and numbering style is also correct as is the size of these. Squadron markings look OK too. Only the overall grey F-104G Klu colour is "RAL 7001" (paints like Humbrol Hu 128, Xtracolour X255 and Revell 7001 enamels look OK). Dutch Starfighters sometimes had black or medium green anti-glare panels. (lower nosecone colour is often FS 36622).
Also a nice
touch is that Italeri provides various styles of "NO STEP" markings : the
NO STEP texts were used until roughly 1974 on KLu Starfighters, later on
Yellow foots with red crosses or White foots with red crosses were used
as no step. Also Emergency markings are nicely done with different styles
during their operational KLu career.
So, Italeri
did their homework.
Hope these suggestions are helpfull and surely I will do a Modelling Report in the Future on these designer webpages.
UPDATE II: May 2018 this kit was also released as RF-104G with an additional sprue, kit #2514. And August 2018 a TF-104G two seater was released kit #2509 !
UPDATE III: In 2018 the Italian company Videoaviation.com has released a 1/32 Orpheus reconnaissance pod. Look here....
![]()
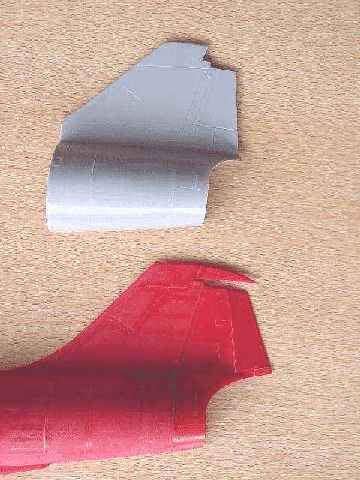
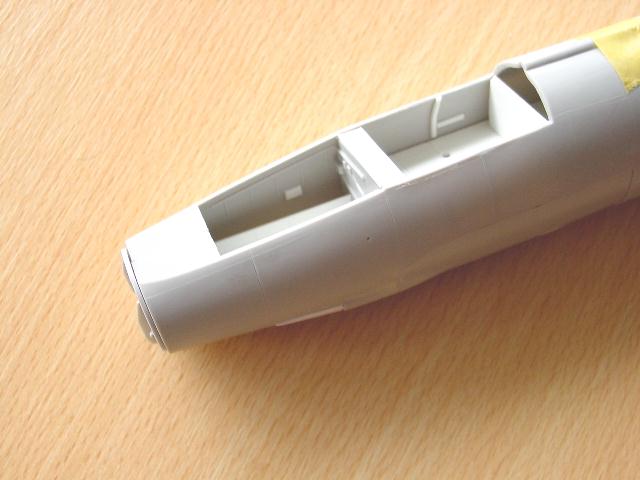
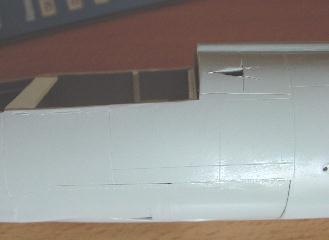
Continuing on this page, you will
see the construction through an "in progress report" of 2 brands:
- Hasegawa F-104G,
based on the "C" kit but with adaptions.
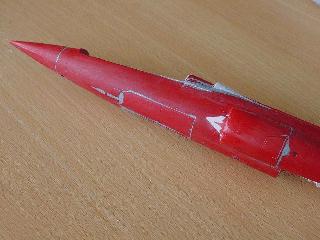
- Revell Kit of the F-104S, converted
to a TF-104G two seater trainer.
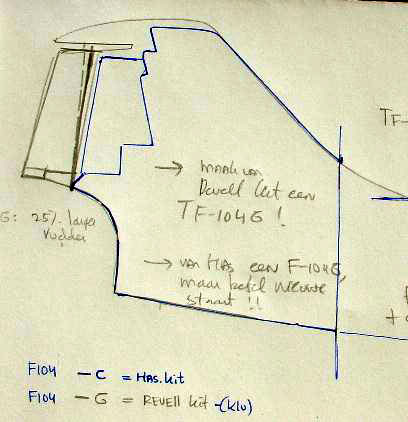
From IPMS The Netherlands magazine
MIP 4-1977, I got a good drawing of the typical Dutch AF aircraft that
I wanted to build.

Well, let's start to get some references
and drawings, especially on the two seater TF-104G conversion.
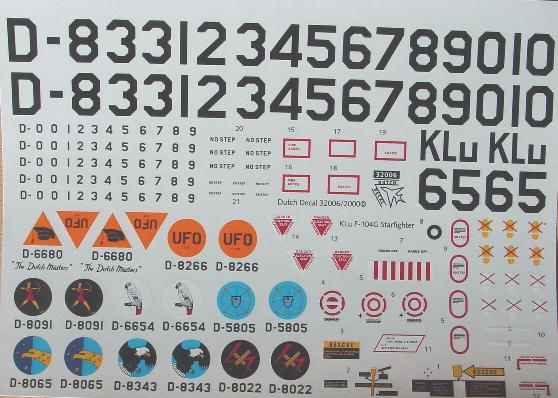
Both aircraft are to be finished as Dutch AF aircraft, with the typical camouflage and grey schemes that were typical at the seventies period. Decals would also come from the good Dutch Decals set 32006 in 1/32 scale.
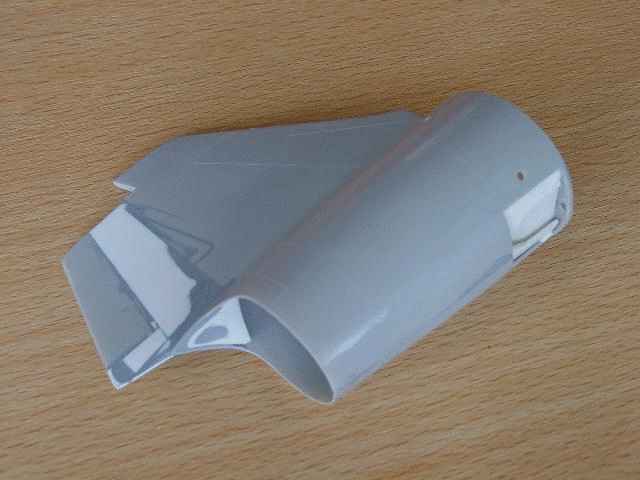

 Revell
model
Revell
model
 ..
..
