Trumpeter
FBC-1 / JH-7 in 1/72 scale: kit modelling report of the Trumpeter kit
....an aircraft model from the China series.....
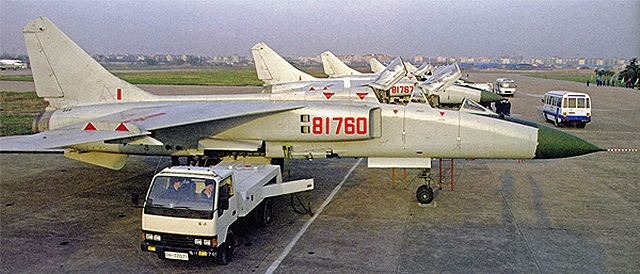
The FBC-1 (Fighter/Bomber China-1) named "Flying Leopard", is a tandem two-seat, twin-engine Chinese fighter-bomber. It was to be the successor of the old Q-5 attack type. The main contractors is the Xi'an Aircraft Industrial Corporation (XAC) in cooperation with the First Aircraft Institute of AVIC-I. A derivative of a Rolls Royce Spey engine was license manufactured called probably the QinLing engine and later Xian WS-9 engine. The first FBC-1 flight was December 1988 but the development and test program took a decade. The type has a crew of two and max. speed is over MACH 1,7 and a range of 3,300 km. It later was designated JH-7 with NATO code name "Flounder".
Problems with the WS-9 engines led to the PLAAF ordering advanced Sukhoi SU-30MKK from Russia. Development on the JH-7 continued and an improved version, the JH-7A got the Shan Ying radar, a 23mm GSh-23 cannon, more pylons, two ventral fins and one piece wind shield. It was ordered for the PLAAF and the first JH-7A entered service in 2004. The main role assigned was anti-shipping with specialized systems and Yingji-8 missiles but also ground attack with air to surface missiles. The JH-7A is also used by the air force for attack. It seems that over 250 JH-7A's were put into production and a new version is under development.

3. JH-7
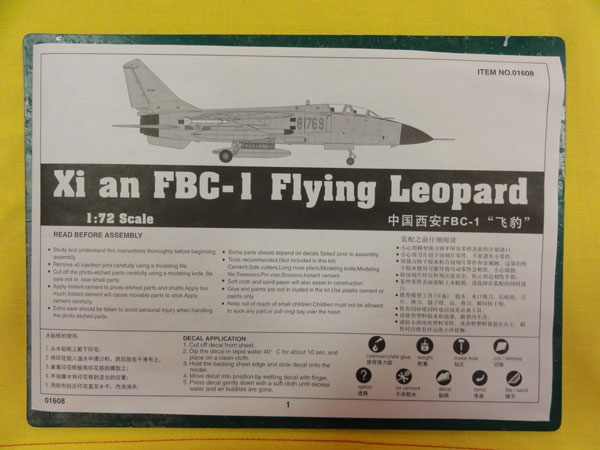
Trumpeter of China released this 1/72 scale kit #01608 in 2005.
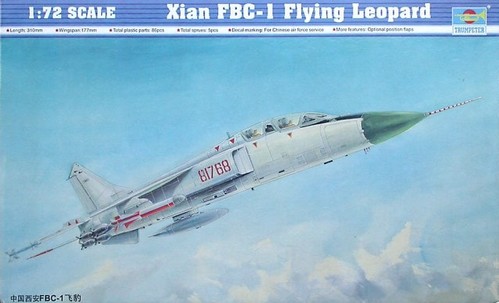
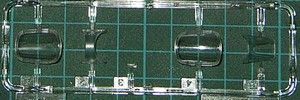
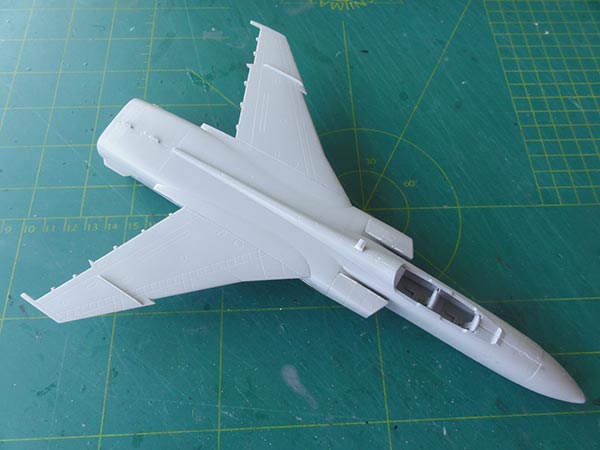
It has about 85 crisp parts. Parts are what seems to be for a "pre-production" aircraft model with 1 single ventral fin.
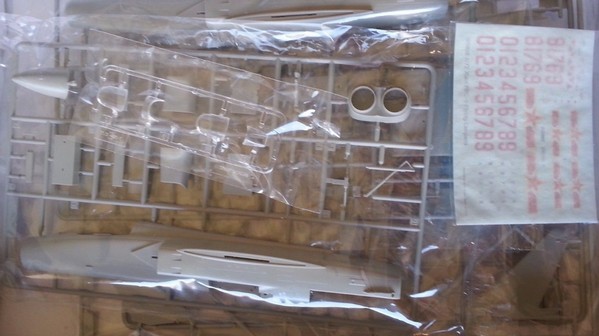
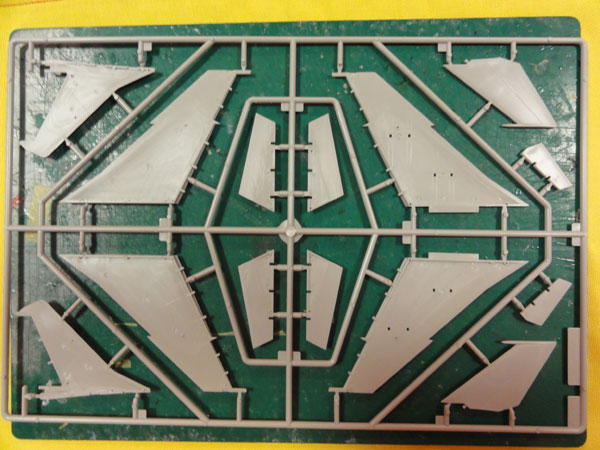
and sprues:
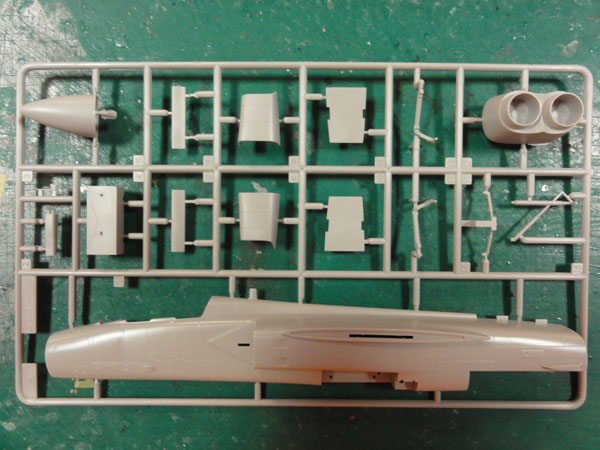
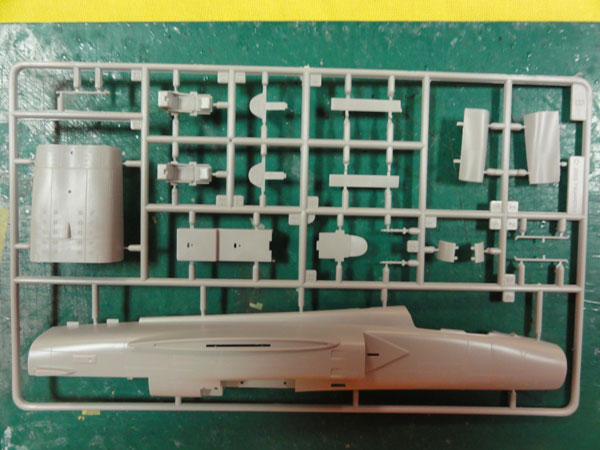
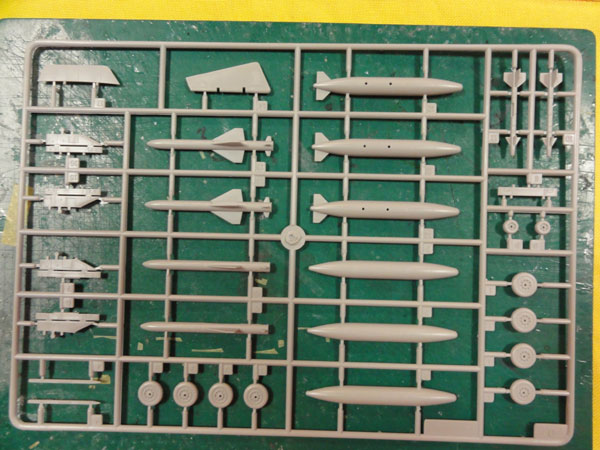
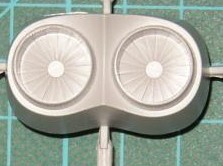
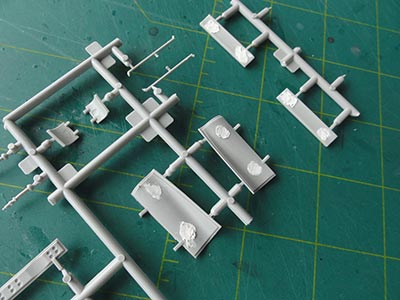
The main parts are basic. The cockpit interior is rather barren and there are injection pin marks inside the undercarriage doors. Weapons include 2 large missiles and fuel tanks.
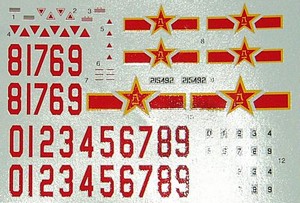
There is a simple decal sheet for "pre-production" aircraft with but with a choice for aircraft number. It is stated it has an overall aluminium colour. It has large PLAAF air force markings.
I bought the kit from a Chinese webshop in 2009 at a mere U.S. Dollar 12,-.
The accuracy of this kit could not be verified at the time with only a few and rare photos and no dimension data.
The latest data for a JH-7A states:
length 22,32 m leading to 310mm in 1/72;
wing span about 12,8 m being 177mm in 1/72;
The Trumpeter model has a length of 310mm and wingspan of 177mm including nose pitot tube and wing tip launcher rails. So the Trumpeter kit is accurate here regarding the length and span.
The overall fuselage depth looks "too deep/ too high" but I gave Trumpeter the benefit of the doubt.
Accuracy:
on hind sight, it indeed appears that the kit's fuselage is "too deep/ too high" ; looking at more recent photos the impression is that over the entire fuselage length (including intakes) some 20% . It will be a difficult task to correct this as the nose radome and engine exhausts would also be affected. So I did not bother further and used the kit fuselage parts.
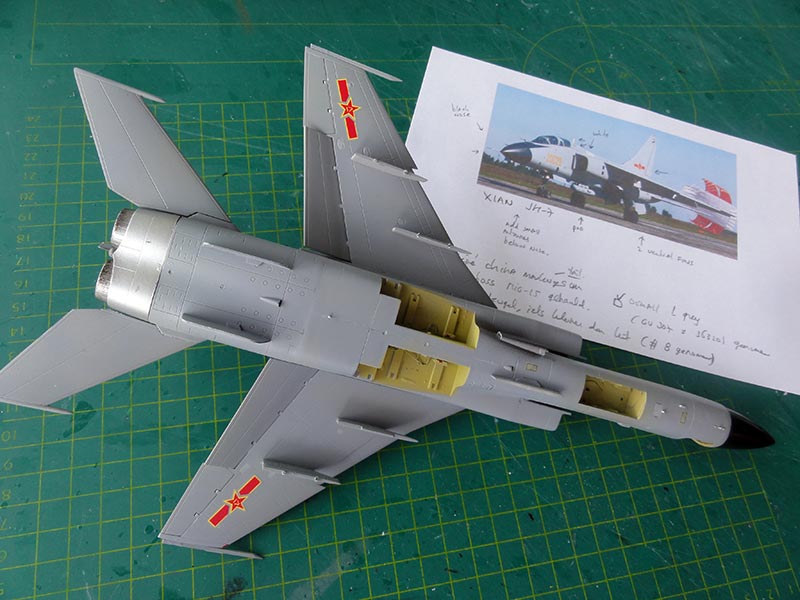
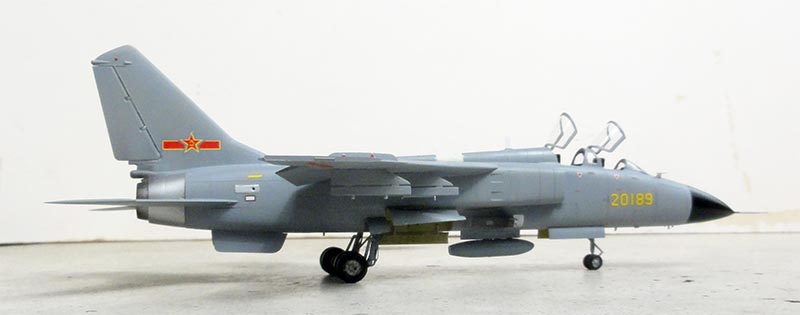
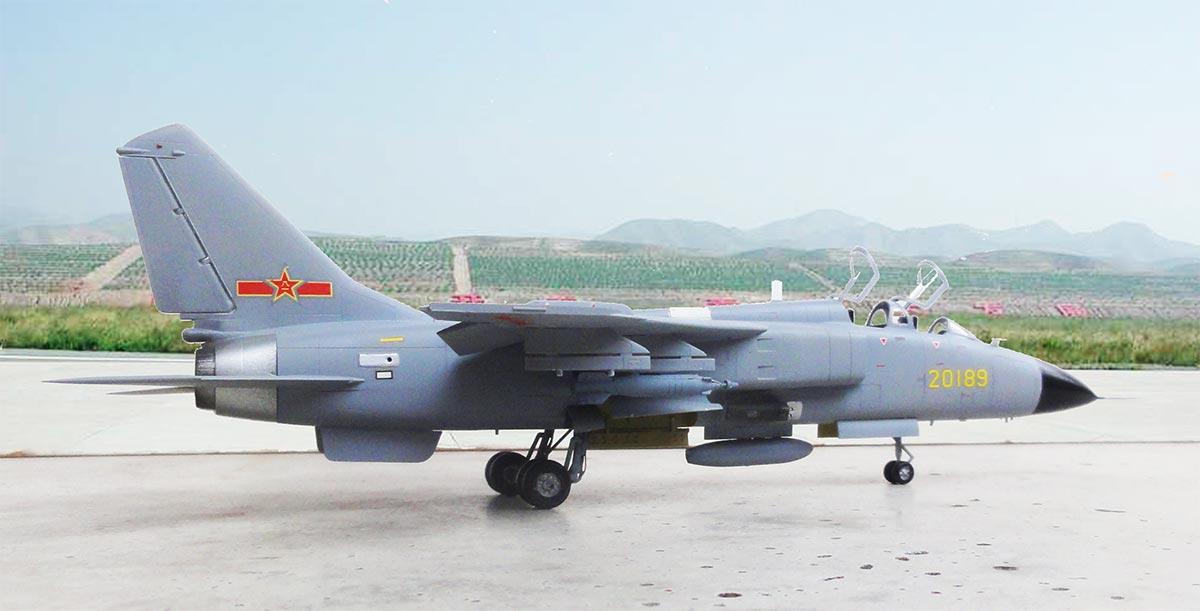
The kit is for a FBC-1 pre-production model. I opted to try to have it look like an operational JH-7A. The most obvious external feature is that these have 2 ventral fins below the aft fuselage and more pylons can be fitted. I also saw aircraft with or without wing fences so kept the wing fences moulded in the kit.
Assembly
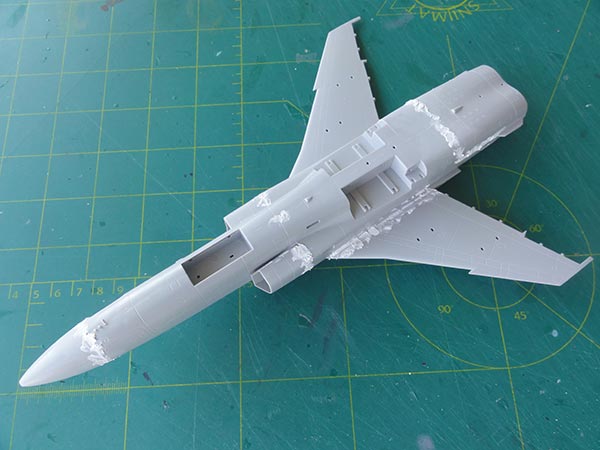
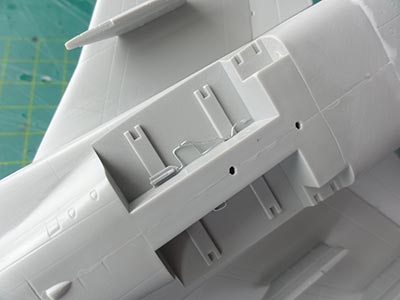
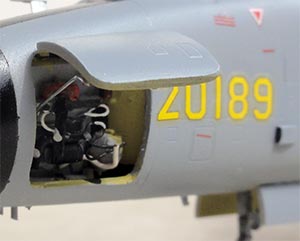
I decided to open up an avionics bay hatch aft of the Shan Ying radar. This was done with inscribing through the plastic with a sharp X-acto blade.
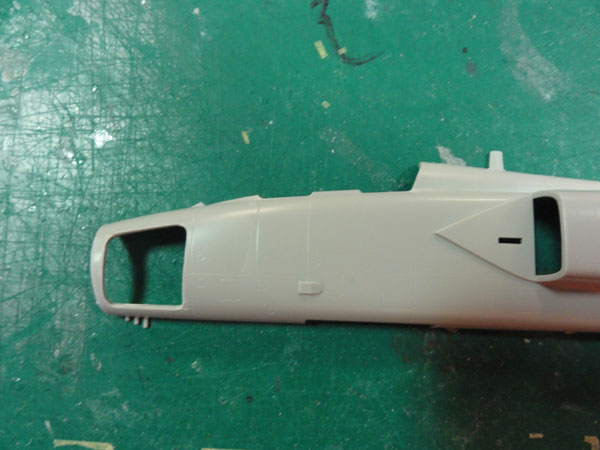
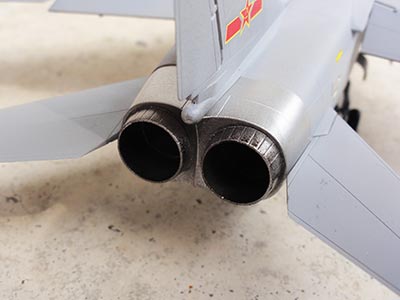
The kit exhausts are a bit undeep.
With a razor saw the inside plates of the burners were cut off, and 2 spare F-15E exhaust pipes installed. These look good.
Some filler was needed at the intakes, rear fuselage, lower wing roots and tiny amounts at other areas. I use my favourite Alabastine white car filler and sanding is quickly done without problems. The rear exhaust fairing fits without filler very well and can be airbrushed metallic separately and can be installed later on.
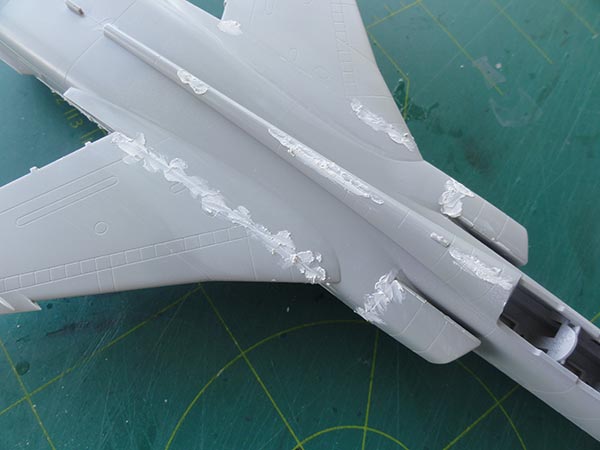
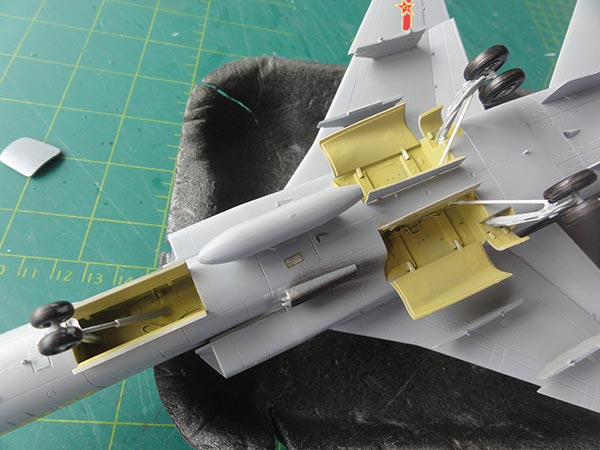
The gear plastic legs are very tin, I strengthened them with metal from a paperclip glued with superglue.
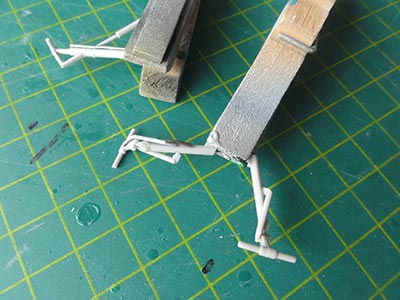
The pin marks on the insides of doors need filler and sanding. I added some hydraulic wires inside the gear bays.
It was unclear what colours the gear bay interiors are so I sticked to the Trumpeter suggestion of light interior yellow-green. Some details suggesting hydraulics were added on the gear legs.
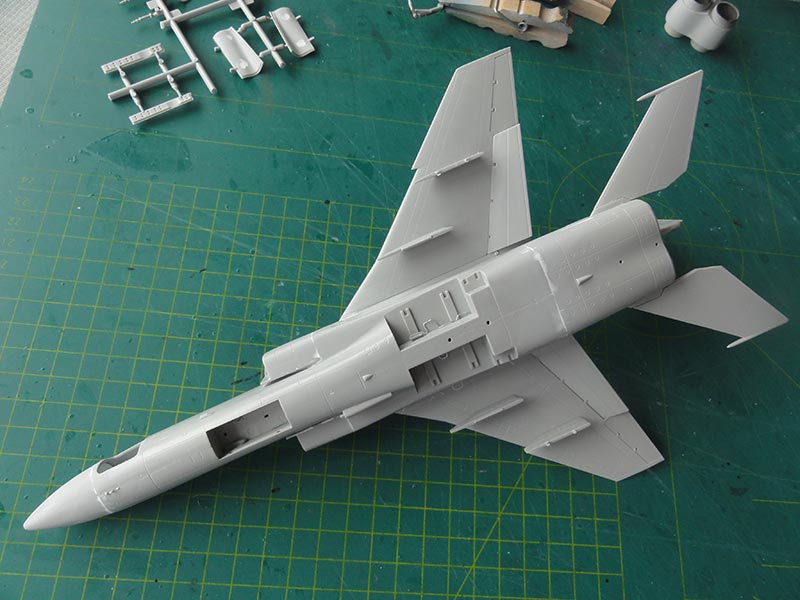
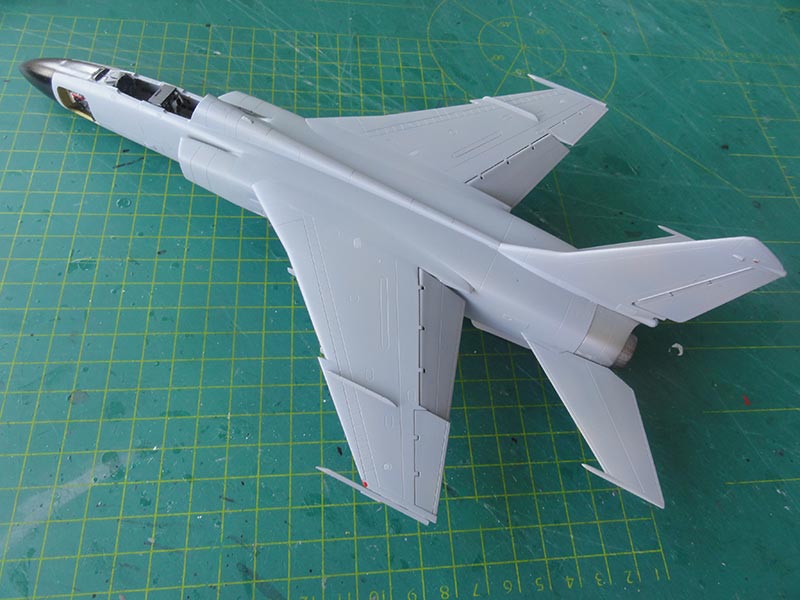
The model was after the main assembly was done a grey base coat. I airbrushed Revell aqua 75 steingrau acrylic.

I saw a pod on a special pylon below the forward fuselage. A reasonable pod was found in the spares box with a pylon. I did not use the fuel tanks in the kit.
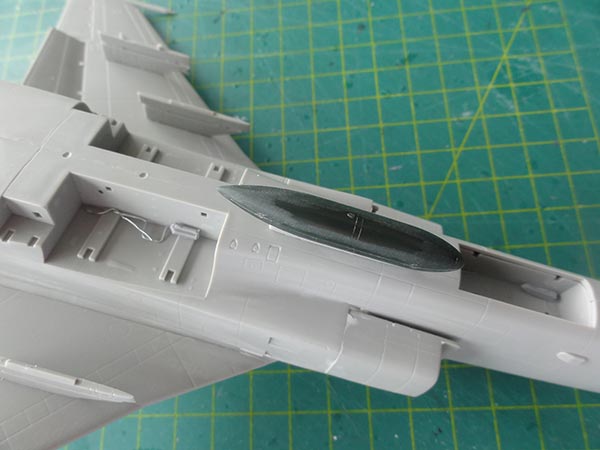
The avionics bay for the Shan Ying radar was made from scrap and detailed with bits and pieces and painted. It is an educated guess.

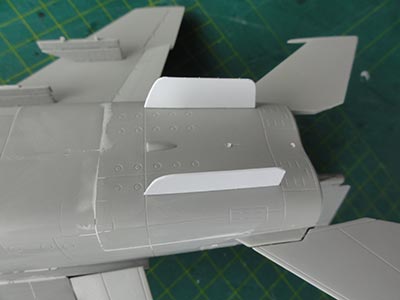
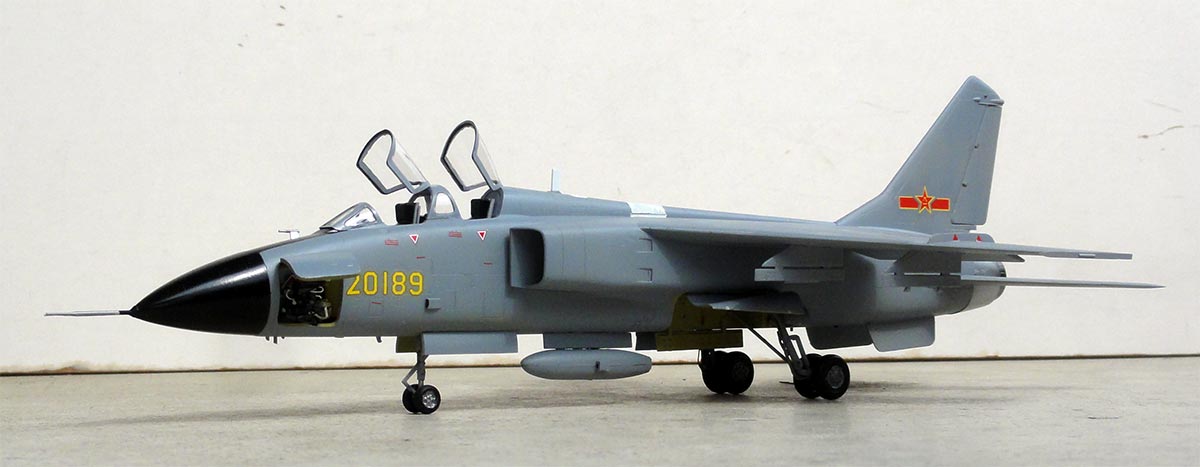
As noted earlier, the single ventral fin part # D17 was replaced with 2 smaller fins made from plastic card. I looked at photos and made them about 27mm long and about 8mm wide. The stabilizers were also set in place as well as the pylons.
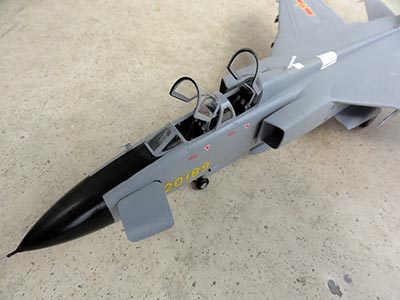
It is unclear what overall colour is used on operational JH-7 aircraft. Looking at photos found on internet, I settled for a light grey using approx. Gunze Sangyo H307 (FS36320) acrylic with a black radar nose and anti-glare panel. (earlier aircraft had dark green radar noses). The exhaust area, that was kept separate, was airbrushed metallic and installed.

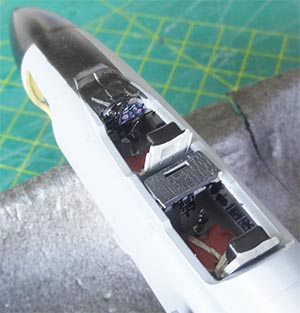
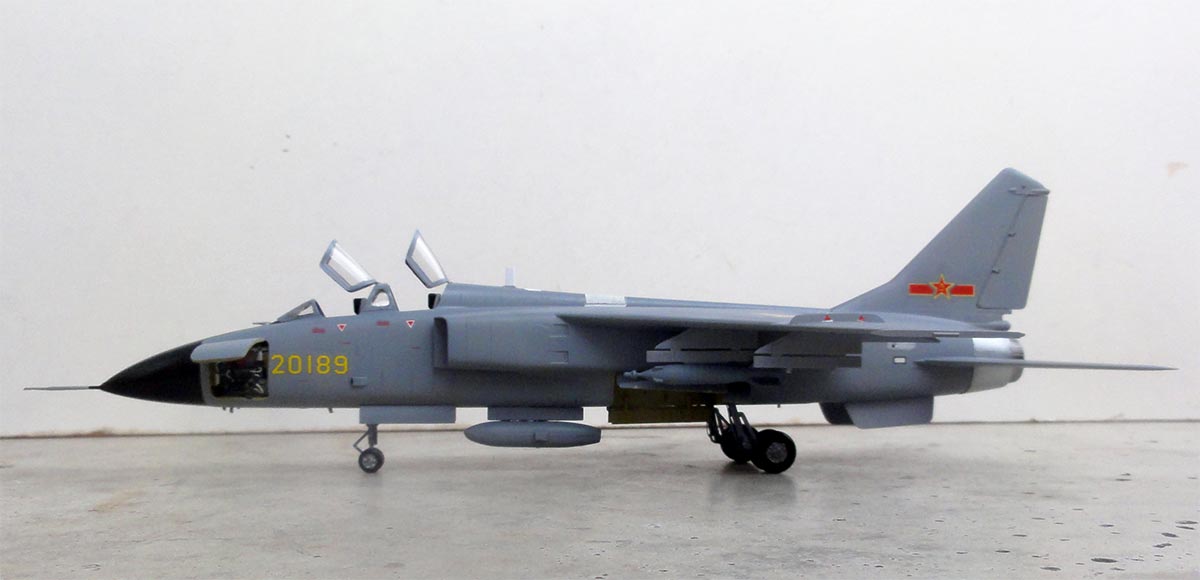
The cockpit was detailed with bits and painted, mostly medium grey. I used some decals for the instrument panels and side consoles. The 2 seats were painted dark grey with dark brown and red cushions and black head rests. All was set in place.
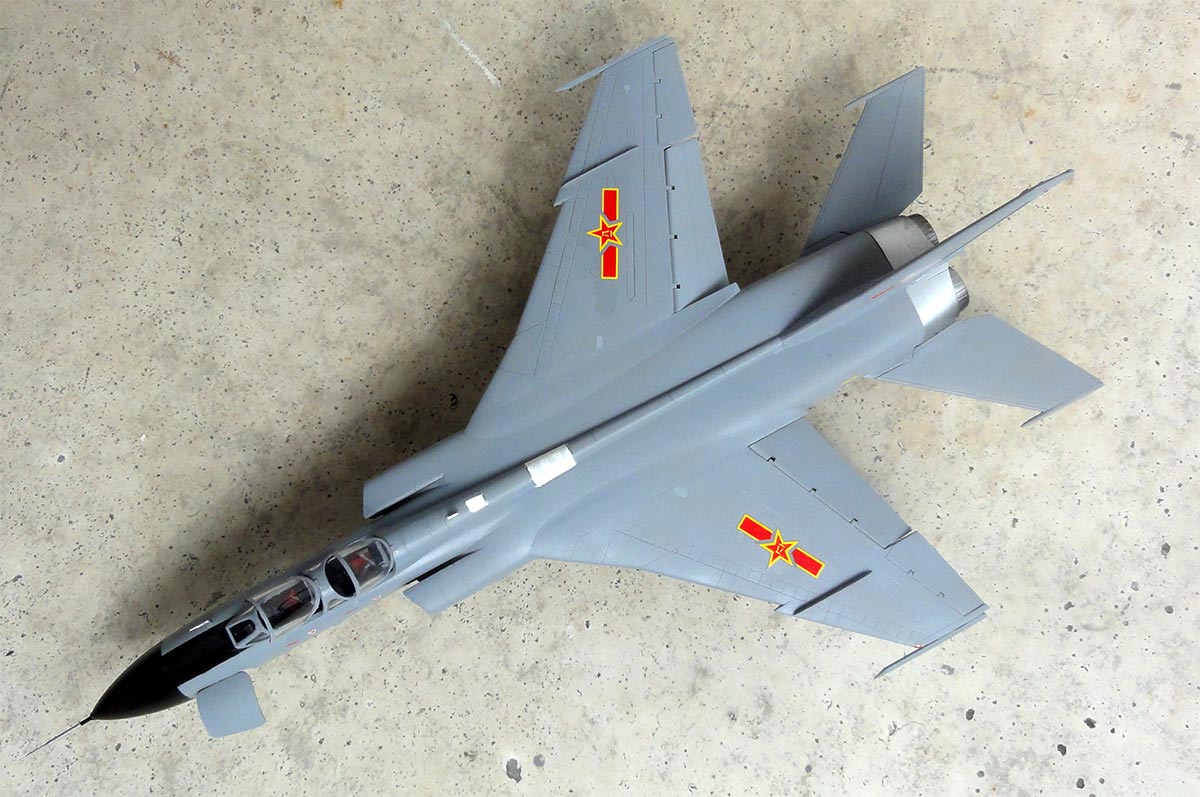
Time for decalling. It seemed that the location and sizes on operational JH-7 aircraft are different as the kit decals. I found smaller spare PLAAF markings on a Hobbyboss MiG-15 kit of 21mm length. The size of the wing PLAAF markings were difficult to estimate. I used the smaller kit markings #8 with 24mm length on top.

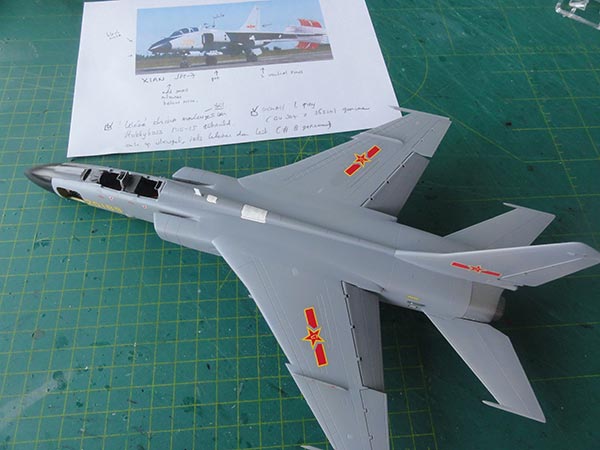
The nose "bort" numbers were seen not to be red on later aircraft but yellow, these were found in the spares decal box though they should be a little larger.
After decalling the landing gears were installed.
The canopy frames were painted with a brush. Some cockpit details were added from scrap.
An upward hinged bay door was set in place (that was previously cut out).
The various airframe surfaces were marked with a soft pencil. Anti-collision lights can not be located on photos but I suggested a red and blue light inside the wing launch rail. Finally the model got a few airbrushed coats of gloss varnish of Johnson Future/Pledge FloorCare acrylic.
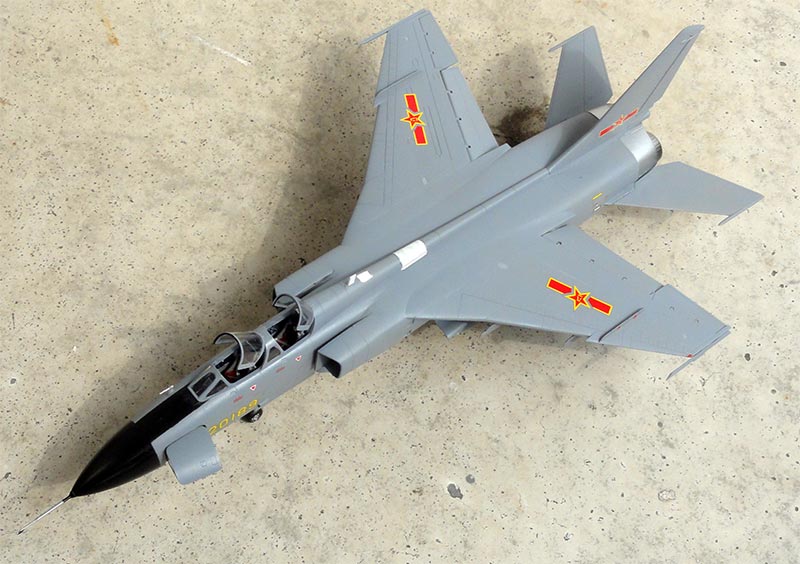
Later I installed two Laser Guided Bombs retrieved from the Trumpeter J-15 kit. Some photos below show them installed.
JH-7 China PLAAF


On to next [ J-15 Page ... ]
References: ... see Page 1....
.
Back to 1/72 Models
(c) Copyright "designer"/ All rights reserved. Your comments are welcomed by webmaster
Created this page November 27, 2018