"B one"
[ page 1 ]
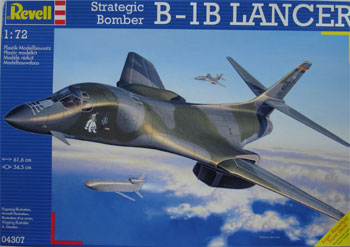
Revell Rockwell B-1B model in 1/72 scale made by Meindert de Vreeze
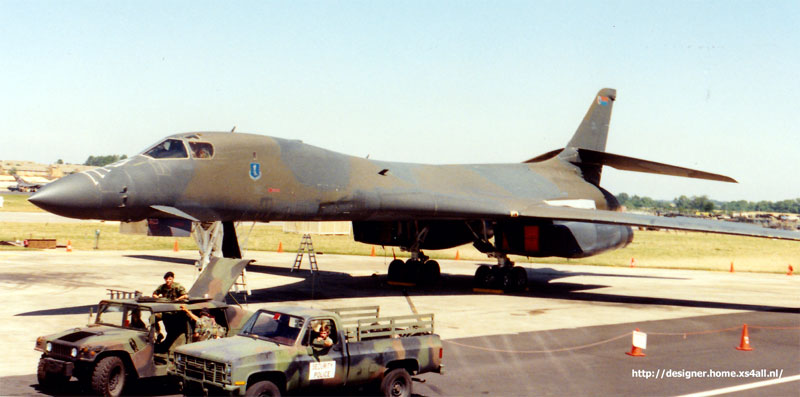
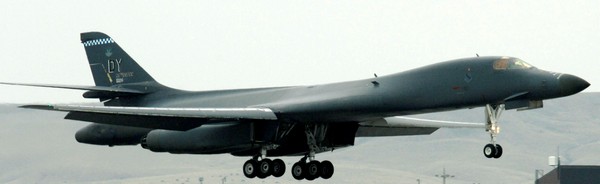
Here an old photo I took at the Air Tattoo at Fairford, probably in the early nineties.
The Revell 1/72 scale model of the Rockwell B-1B Lancer has been here quite some years now. It is the same as the original Revell-Monogram model from 1983. The latest edition Revell received boxnumber 04307 and costs about only 26, - Euro.
 .
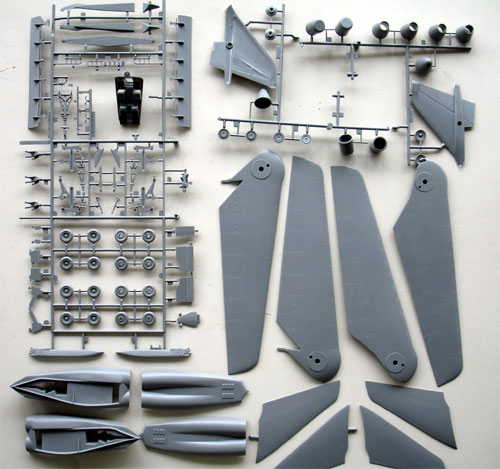
. There are about 80 parts in the kit, not including the 40 parts for the cruise missiles (not needed).
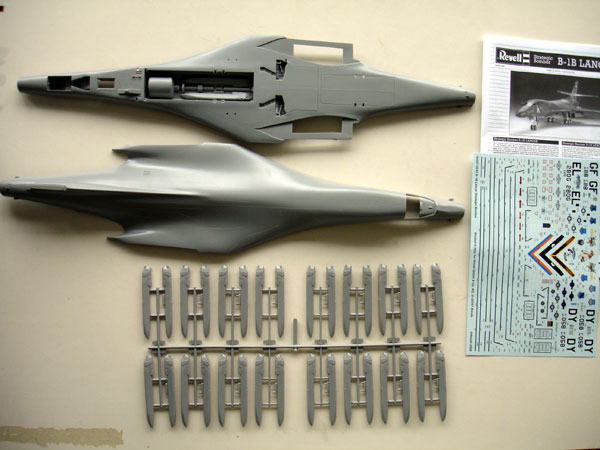
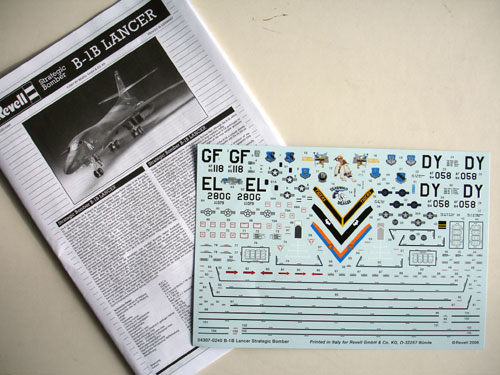
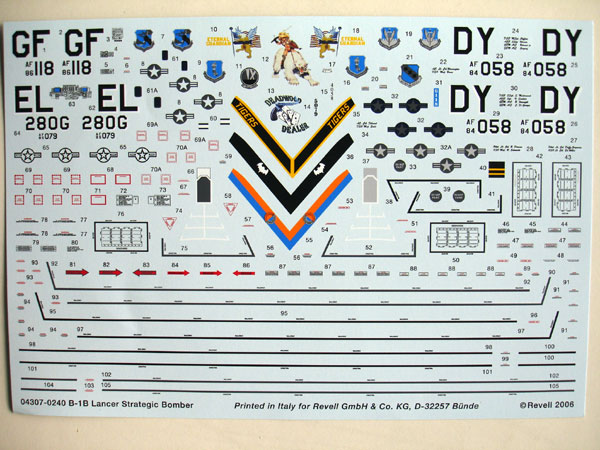
details of the decals:
The kit has many parts for cruise missiles.
Cruise missiles that still sounds pretty much like history right?
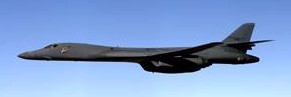
Developed from the initial supersonic B-1 variant, the B-1B Lancer has become one of the most impressive aircraft of the United States Air Force with the nickname "B one". It started with the B-1A and the final B-1B was a significant other variant as it was modified to fly at lower altitudes with a maximum speed at MACH 1. The first B-1B flew in 1983 and entered USAF service in 1986. Originally it was intended to fit the B-1B with cruise missiles. There was a revamp of the "Cold War" with tensions with the then Soviet Union. Europe and the Americans wanted to deploy cruise missiles in Europe as the Soviets were deploying the notorious SS-20 missiles at their sites in West Russia. Fortunately politics changed, the cruise missiles and SS-20's were not deployed. The Bone was armed with conventional bombs and later with smart bombs. For example, the Bones used smart bombs in the two Gulf wars but also over Afghanistan.
Back to the 1/72 model.
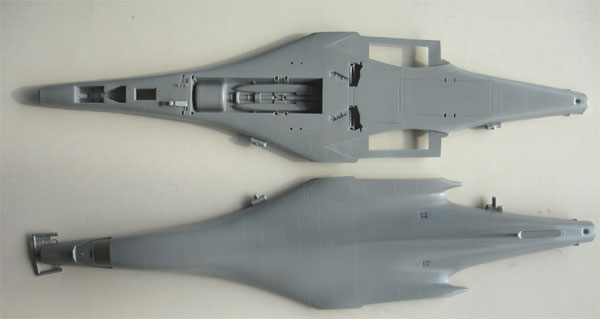
First of all, there are adjustments needed for this model to really represent a B-1B because some items of the B-1A prototype still present in the model. It is, as it were, a mix of the original B-1A with cruise missiles and the subsequent B-1B production version. So, some things on the model we need to remove and adapt. It needs some sawing, sanding and filling, but it can be done. Also, the model shape itself needs some improvements.
To summarize:
- remove B-1 prototype stuff from the Revell model
- thin the wing glove root area
- adjust fuselage end cone
- improve cockpit area
- improve details
Where do we start?
First separate the larger parts such as fuselage and wingshalves from their sprues.
The model has no recessed panellines. Some new panellines were inscribed with the OLFA P-cutter. You do not need to do "all" panels, just the major ones. After applying the panellines, all parts' upper panellines were sanded off and finally all parts with very fine wet sandpaper to remove scratches.
The ailerons and flaps of the wing can also be engraved a bit deeper. Do all this work before you start assembly..
If you look at the model, you will see that the wing gloves are too thick and they sit a bit too "high". This can be improved. I started to reduce the wing pivots by 3 mm in height. The wing gloves are bended a bit and sanded to get straight edges. (note: the fuselage upper area is also a bit too curved but there is not a lot you can do about this).
 .
. 
This also means that the winghalves upper and lower parts #31-34 also need some thinning to fit into the corrected wing gloves of the fuselage. The lower and upper winghalves were sanded a bit thinner, particularly also at the wing pivot gaps by 3 mm. This was done by first reducing the height of the wing pivots by a razorsaw, followed by sanding the wing parts on a flat piece of sand paper. In order to install the wing connecting rod #35, you need also to make some slotes/gaps in the wing pivot area.
The prepared wing halves were glued together.
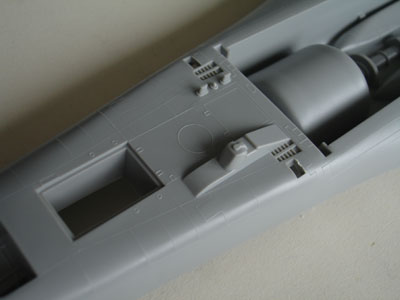
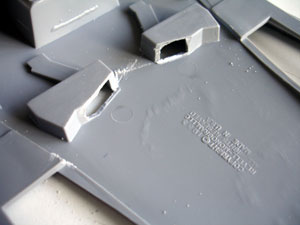
Let's now look at the fuselage lower section. Aft of the nose wheel bay, there is still a camera fairing moulded onto the model. Saw it off, it was only fitted on a test aircraft. Fill the gap with card and putty. In the main wheel bays, I also opened up the side wall at the rear.
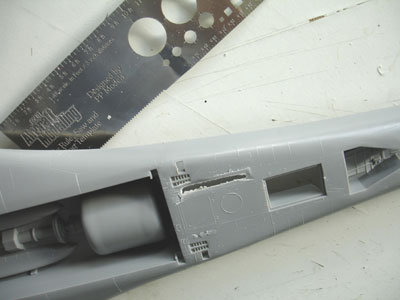
No cruisemissiles were ever really deployed on the service B-1B aircraft. So the steps 36-40 and 42,43 are not needed.
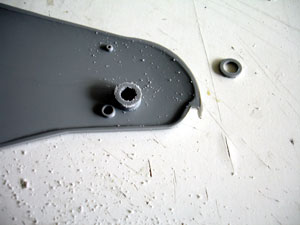
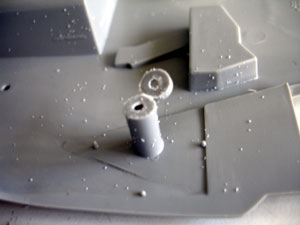
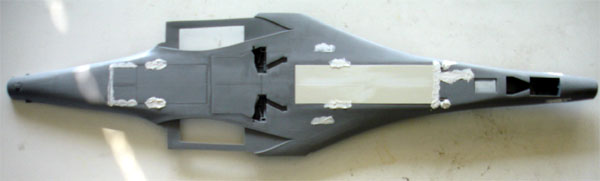
All the cruise missile pylon fitting holes were filled with rod and putty.
The real bomb bay of the B-1B has three equal sections, in 1/72 scale of 3 x 65 mm length. I opted to have the bays closed, otherwise a lot of detail work would be required inside the bays. Closing the bays was done with flat card so discarding the supplied doors.
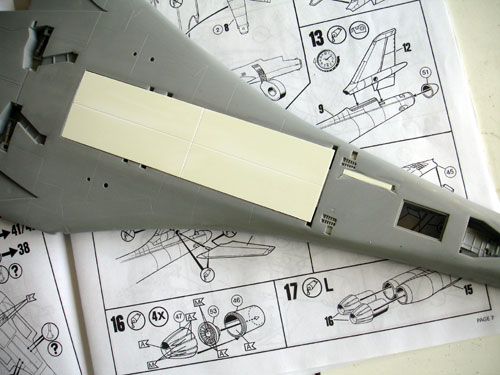
The rear inscribed bay is also too long seen below. Fill and rescribe the doors.
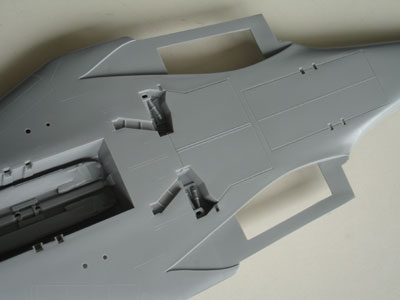
At the upper fuselage, in front of the cockpit wind screen, a strange shape is present. It should be a smooth area so sand smooth. (The canopy needs some filler later on to get a perfect fit)
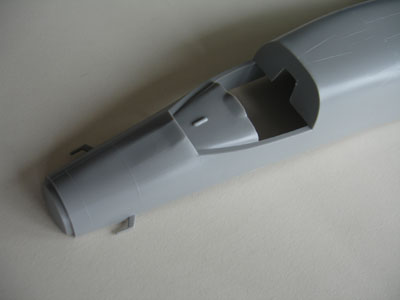
The very crude pitotubes were also cut off and are to be replaced later on.
Aft of the canopy, a small window is present on both fuselage sides (Revell provides 2 decals #61A). The windows were cut open, sanded in shape with a file and will be later filled with Micro Kristal Klear.
Some gaps were created in the main wheel wells to suggest the aft gear bays to be present. The main gear doors are closed when a Bone is on the ground.
The main parts are now ready and assembly can now proceed.
Go to next [ Page 2.... ]
References
- Aerofax Minigraph no. 24, B-1A/B, 1986
- Uncovering the B-1B, DACO
- B-1B In action no. 179, Squadron Signal
- Detail & Scale no. 37, B-1 Lancer
- World Air Power, Volume. 24
- FineScaleModeller, Paul Boyer, Oktober 2002, article about Monogram-Revell kit
Back to 1/72 models...

(c) Copyright Meindert "designer"/ All rights reserved. Your comments are welcomed by webmaster
Created this page May 25, 2008