[ final page 5 ]
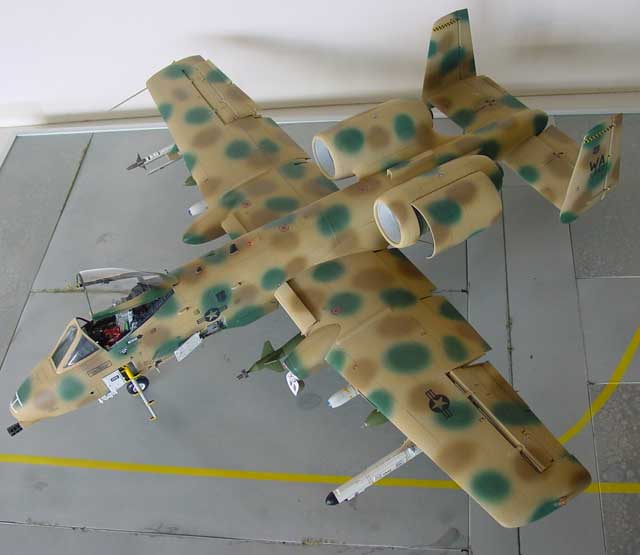
A-10 model in 1/32 scale Trumpeter kit
... continued from page 4...
Decalling
Decals are a combination of ASTRA, Trumpeter and home made.
A note on the Trumpeter decals: they are very thin and wrinkle quickly, so assure that you apply them from a piece of cart. Why? to get rid of paper particles. After having them in the water, slide them on a piece of cart (removing the paper residue...) and then apply to the model as needed.
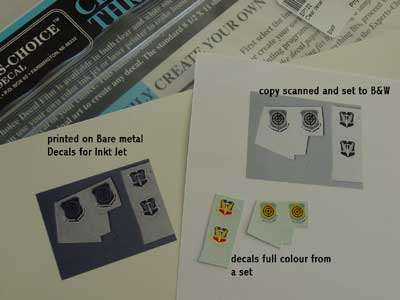
I had to make some of the decals myself. The emblems of TAC and the squadron are on the Trumpeter decal sheet but are coloured. For this JAWS scheme a black version was needed.
These decals
were made as follows:
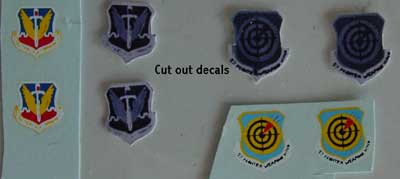
- the Trumpeter colored decals are
cut out
- they were scanned in color on the
computer scanner
- they were processed and converted
with a photographic PC program into black only
- they were printed on a piece of
paper in black to check the correct size; reduce / enlarge as need with
the PC program and reprint again
- the decals were printed with my
inktjet printer in the highest resolution possible from the PC onto a piece
of Bare Metal Foil clear decal sheet (stock # 122), especially suited
for inktjet printers;
- the decals were given a protecting
coat with a brush of Microscale Clear Liquid Decal Film
- after drying, cut out; they can
now be handled as any decal!
"home
made decals'
Other decals:
- The ASTRA
decals # 3204 were used merely for the stencillings and larger
RESCUE etc markings. Check pictures, there are differences between individual
planes. The stars-and-bars also came from the ASTRA sheet.
- The Trumpeter kit decals were used
in some areas, such as the stores and the fin tip markings: the yellow-black
checkers were made by cutting the Trumpeter decals # 14 and applying them
on top of a yellow base decal (from Scalemaster)
Assure that you have a clear glossy base coat. Another trick I use is the usage of a water-delutable "child friendly" paper glue. Can be found in any bookstore. Apply the glue (with water and a brush) to the spot where you want your decals. Slide decal into position, press with a cloth and let dry. It lets your decals set well on the area with very little chance of air bubbles being trapped.
After applying the decals, clean up and apply a mat coat of Johnson Clear with a mix of Tamiya Flat base. It was sprayed on, giving an excellent sheen. Do the same on the left off parts that have the various basic camouflage coats!
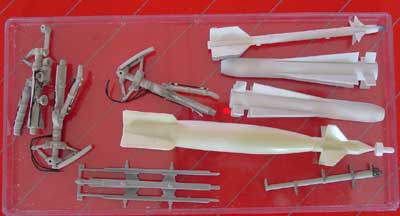
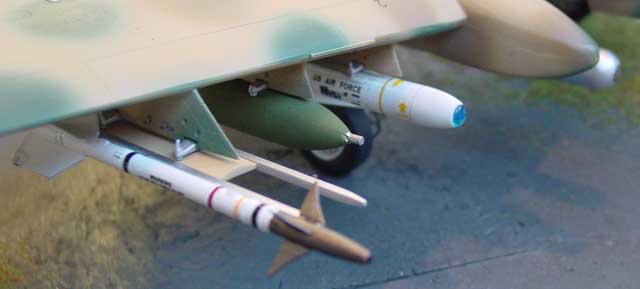
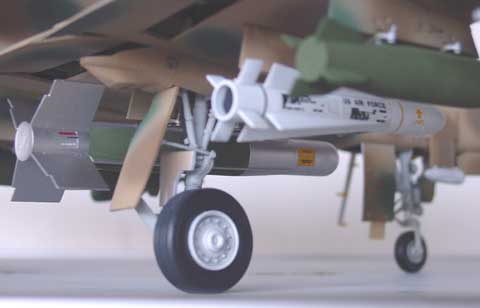
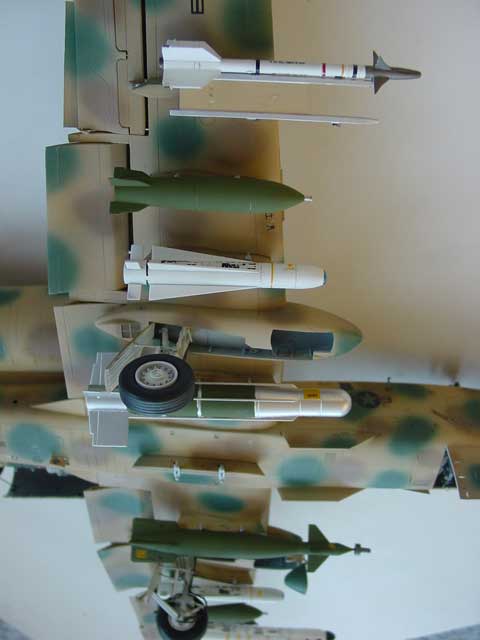
Stores
The stores in the kit vary in quality. The GBU-10 was replaced with one from a Tamiya F-15E kit, the ECM pod came from a 1/32 scale Revell F-4E Phantom. Others will be Maverick from the Revell Hunter and an AIM-9 Sidewinder from the 1/32 Tamiya F-15E kit.
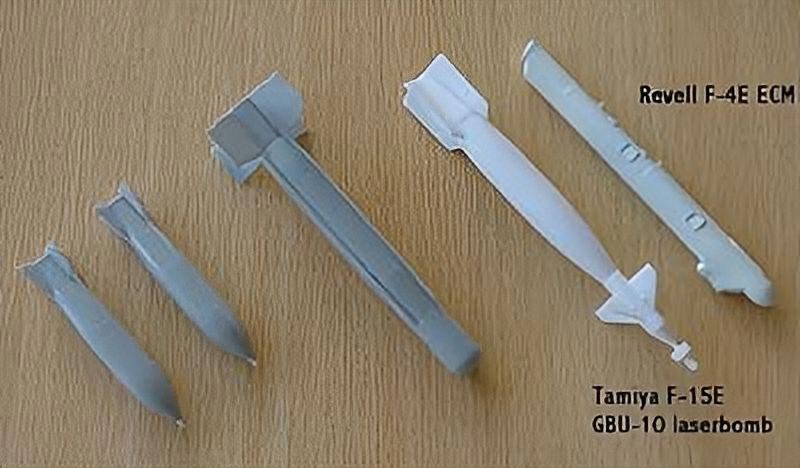
All stores were given their required colors, depicting in this case many stores for early A-10's such as the ECM pod and Sidewinder. Bombs were given colors of olive and plain green with details in metal etc,.
Attach desired stores and the Warthog
gets its Business load!
The various braces (parts H22) can
be used, but need some bending with a plier to assure that they mate with
the stores; obviously on the catuel plane they are adjustable for adding
stability in flight.
The cockpit section was further detailed
with the rear panel behind the seat.

Attached transparent parts and the upper and lower anti-collision lights were give e coat of transparent Tamiya red. The pitot tube supplied is OK but very sharp. Finally, add the engine cover in place with the parts supplied , set the canopy, add seat.
-----------------------------------the A-10 is ready for take-off!!

The HUD got two transparent
parts, made from thin clear plastic; Trumpeter provides excellent instruments
in the forward hood but electricity lines were added from very thin sprue.
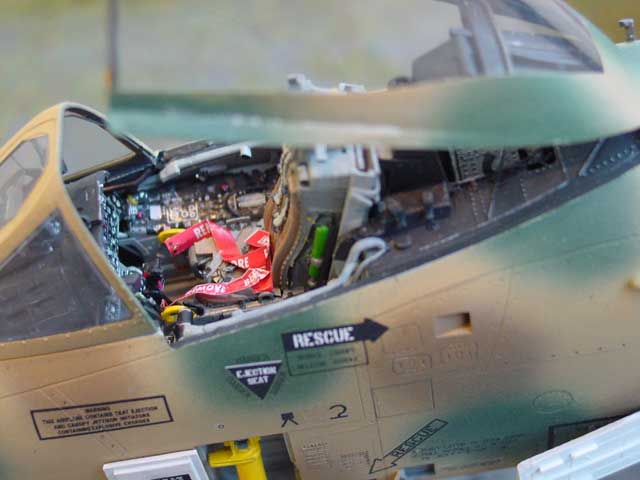
Cockpit with details; remove before
flight tags came from a Tamiya F-15E on 1/32
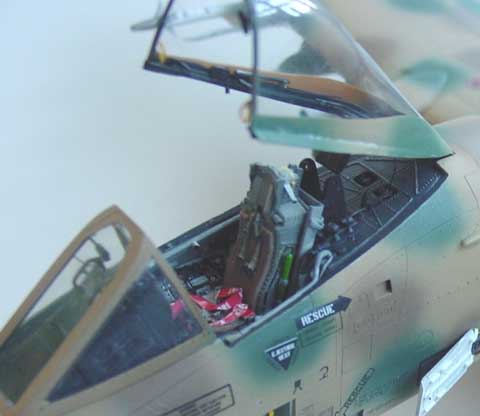
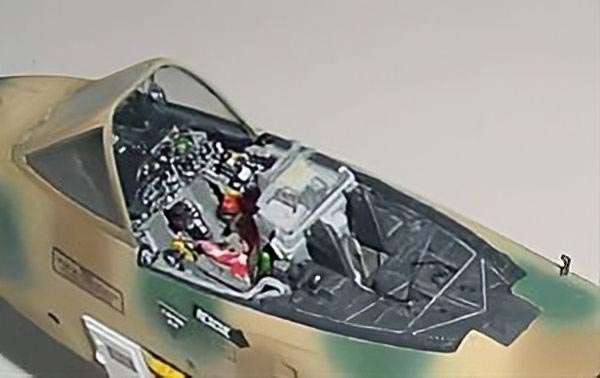
details with canopy left off..
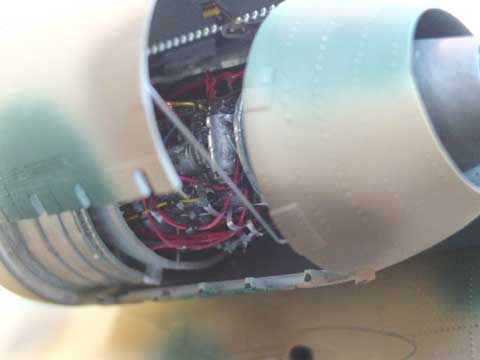
Left engine detail

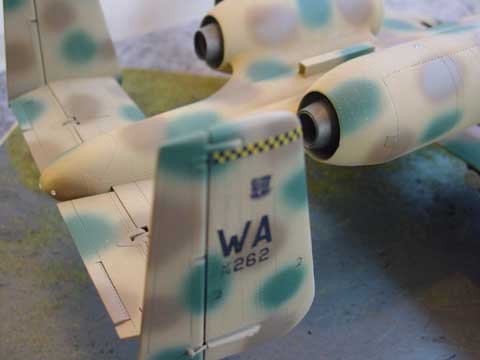 tail
section
tail
section
Checkered
tail tips
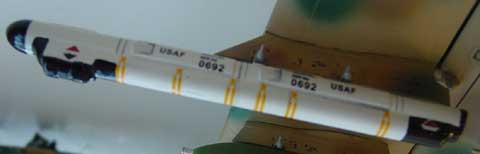 ECM
pod
ECM
pod
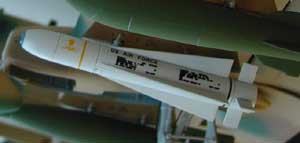 Maverick
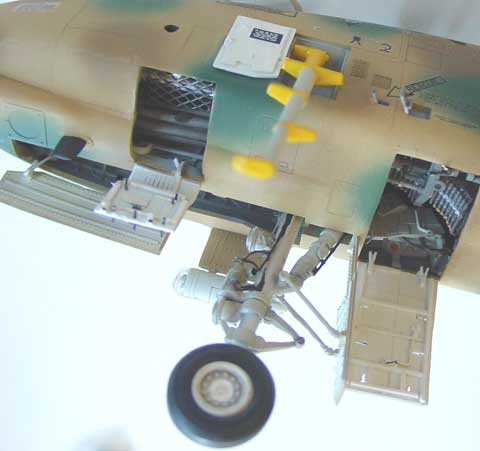
Gun bay area with opened panels
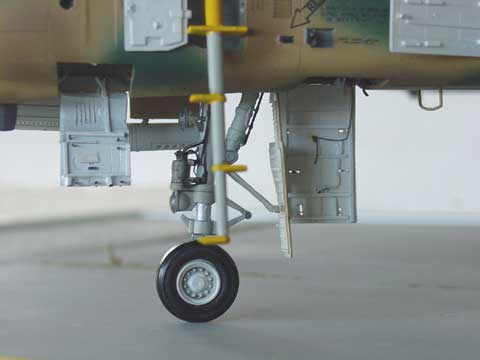
Main
undercarriage
The ladder
from the kit is OK. The anti-slip areas were painted with black on top
of the "steps".
Forward area
with opened gun access panel, note pressure locks added to the panel and
their gaps; also the opened gun nozzle vents can be seen here to advantage
in this picture.
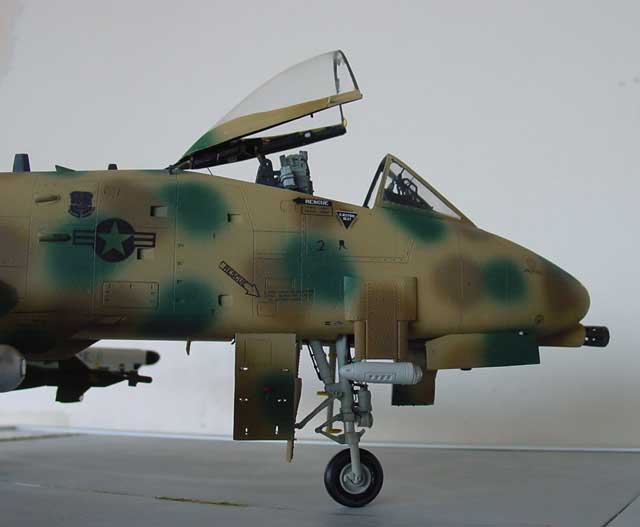
Side
view with Pave Penny Pod and corrected rear canopy and slightly tilted
forward canopy hood. The nose shape is
fatly improved here as compared to the original kit parts.
side
view of completed model
Under wing "stores"

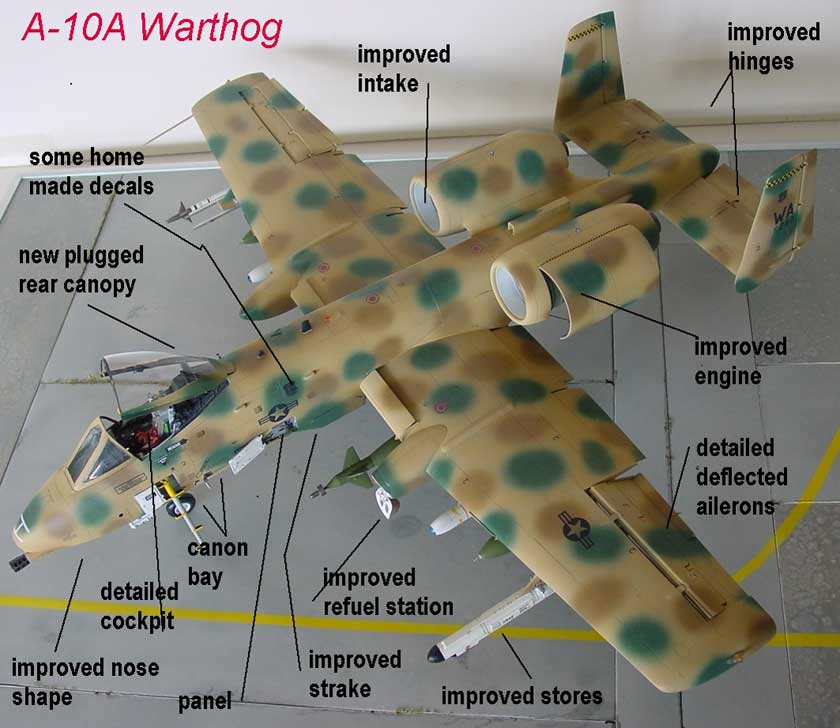
A quick overview of corrections to
this kit...
.

(c) Copyright Meindert "designer"/ All rights reserved. Your comments are welcomed by webmaster
Created this page October 30, 2003